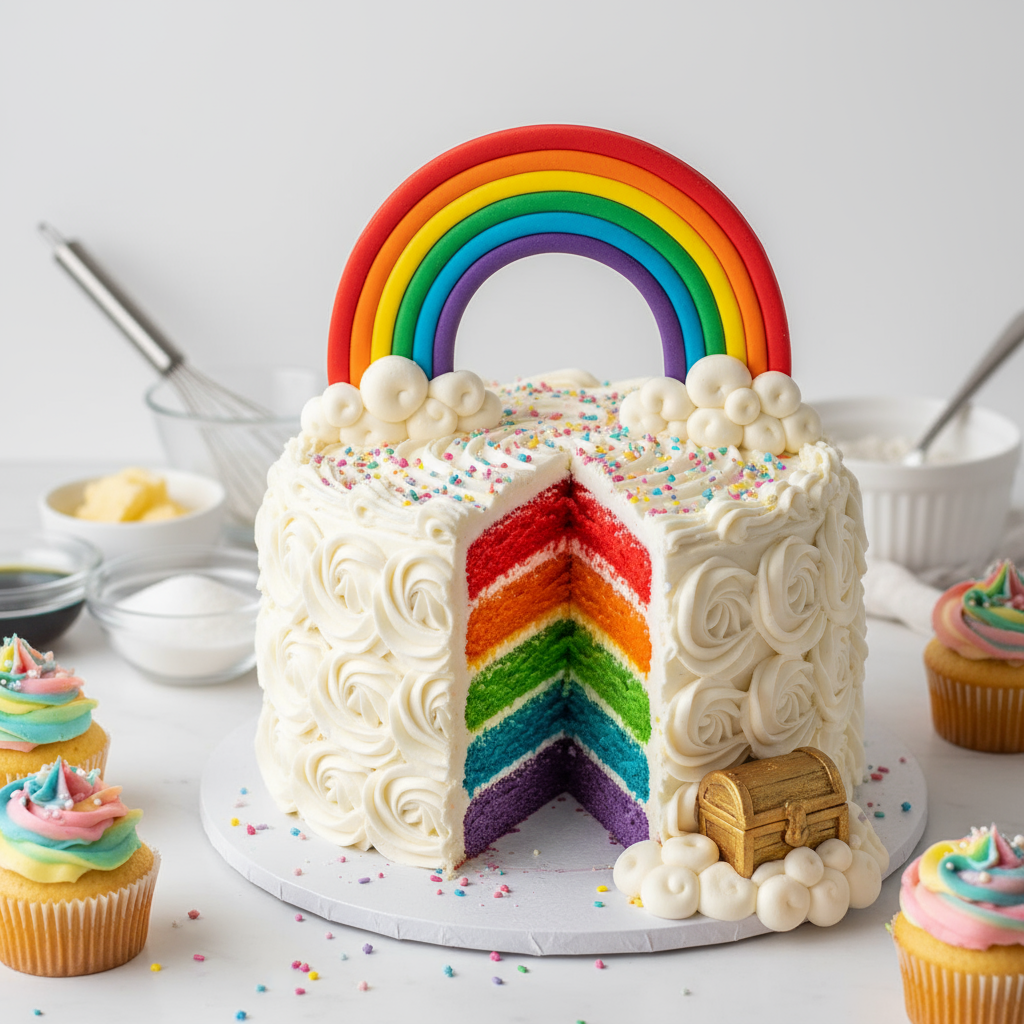
Ingredients
250g butter
softened
1 tsp vanilla essence
230g caster sugar
4 eggs
450g self raising flour
sifted
250ml milk
Food colour
blue and pink
1 orange
juice of (optional)
200g icing sugar
sifted
150g butter
softened
1 orange
zest and juice
700g readymade white icing
also called fondant icing
Icing sugar
extra, to prevent sticking
Food colouring
green, pink, blue, yellow and orange
Gold chocolate coins
12 small cupcakes cases
1 fondant butterflies and small fondant daisy flowers
Blue edible glitter
optional
Candles
Allergy Advice
Contains Dairy
Contains Eggs
Contains Gluten
Contains Soy
Equipment
- 1 Greaseproof paper
- 1 Pallet knife
- 1 Small cupcake tin
- 1 Small round cake tin approx 15cm in diameter
- 1 Piping bag and 1cm round nozzle
- 1 45cm round cake board
- 1 Cardboard craft box with lid
- 1 Serrated knife
- 1 Mixing bowl
- 1 Rolling pin
- 1 Kitchen scissors or sharp knife
- 1 Flower cutters (optional)
Instructions
- Preheat oven to 175°C. Line a small round cake tin (approx 15cm) with greaseproof paper and place cupcake cases in a cupcake tin.
- Cream together butter, vanilla and sugar until light and fluffy; slowly add in eggs one at a time.
- Fold in flour and milk in two stages, don’t over mix.
- Spread one third of the cake mix into the cake tin.
- Split the remaining mix into two, colour one with blue and the other with pink, gently folding through the colour. Fill cupcake cases to half way point.
- Layer remaining mix evenly into the cake tin. Bake in oven until the mix springs back when gently pressed or when a skewer comes out clean. The cupcakes will take approx 8-10 minutes, the sponge approx 35-45 minutes.
- Keep the sponge in the tin for approx 5 minutes before turning onto a wire rack – keep the bottom side up at all times to avoid making lines as this will be the presentation side up. You can freeze your sponge and cupcakes at this point, tightly in cling film.
- When the cake is totally cooled (best if you can keep it in the fridge to chill right down), you will need to flatten the ‘bottom’ (which was the top). Place a sheet of greaseproof paper on the presentation side and turn over. Use a serrated knife and cut the top of the cake so it’s as flat as possible.
- To guarantee a moist cake, squeeze an orange over the sponge and allow the juice to soak through before spreading on the butter cream (this is optional).
- For the buttercream icing, place all of the ingredients into a mixing bowl, mix on low until combined before turning on high speed. Continue to beat on high until the mix is light and fluffy – at least 5 – 10 minutes.
- Using a small pallet knife or smooth edged knife, spread the butter cream around the cake as evenly as possible. The trick is to have it as smooth as possible as the icing will show any bumps and lumps.
- For the fondant rainbow, use 200g of the fondant icing. Break it into small pieces and knead it until it is soft and smooth.
- Split the fondant evenly into four and colour each ball with pink, orange, yellow and green. Knead each ball until the colour is incorporated.
- Place the four balls side by side on a piece of greaseproof paper (8cm x 20cm) and gently roll flat with a rolling pin, rolling lengthways only, until the fondant is just under 1cm in thickness and approx 15-18 cm long.
- Trim the edges with a sharp knife so they are straight and lay the rainbow, with the greaseproof paper, over a 15cm round cake tin. Keep in a cool, dry place for at least 10 days to dry completely hard.
- To cover the cake, colour the remaining white fondant with green and knead until the colour is fully incorporated.
- Roll out the green fondant to approximately 1/2cm thickness and wide enough to overhang the cake. Use icing sugar to prevent sticking.
- Using your rolling pin, loosely roll the icing into the rolling pin and ‘unravel’ it over the cake. Use your hands to gently manipulate the icing so that it sits smoothly on the cake.
- Using kitchen scissors or a sharp knife, cut around any excess icing from the bottom so that it has an overlap of around 2-3cm.
- Put a sheet of greaseproof paper on the top of the cake and gently turn over to expose the bottom. Fold in the icing overlap so that the edges are all sealed.
- Turn the cake over onto your serving plate or cake board, positioning the best side forward.
- To decorate the cupcakes, pipe a little butter cream into the base of fresh cupcake cases, pop the sponge on top and pipe more butter cream on top.
- To finish the cake, wrap the gold ribbon around the base of the cake and secure with a pin. Repeat this process with the happy birthday ribbon.
- Fill the treasure box with fabric and gold chocolate coins, and 'glue' it to the cake board with a teaspoon of butter cream.
- Gently position the dried rainbow to rest at the base of the treasure box and on top of the sponge. Use butter cream to attach the top of the rainbow to the cake.
- Use any left-over fondant to cut out flowers. Allow to sit for 15 minutes before gluing onto cake with butter cream.
- Arrange butterflies around cake and on cupcakes, securing with butter cream. Add butterflies to cupcakes just before serving to prevent them from going soft.
- Dust with edible glitter and position candles on top of cake.
Notes
Tip
I usually make cupcakes if I have some cake mix left over so if you prefer, cut down the quantity of cake mix or use a larger cake tin if you would prefer not to have any.
Tip
Icing the cake is the trickiest part – I would recommend a time when it’s quiet and you don’t need to rush.
Tip
Once the cake has been iced all around with fondant icing, this acts as cling film and stops the cake from drying out. You can do this stage ahead of time by at least one to two weeks.
Tip
Don’t worry if it doesn’t look perfect as the decorations will hide any imperfections!
Storage
Keep the finished cake at room temp in a dry cool place, not the fridge, or the fondant icing will start to break down and go gooey.