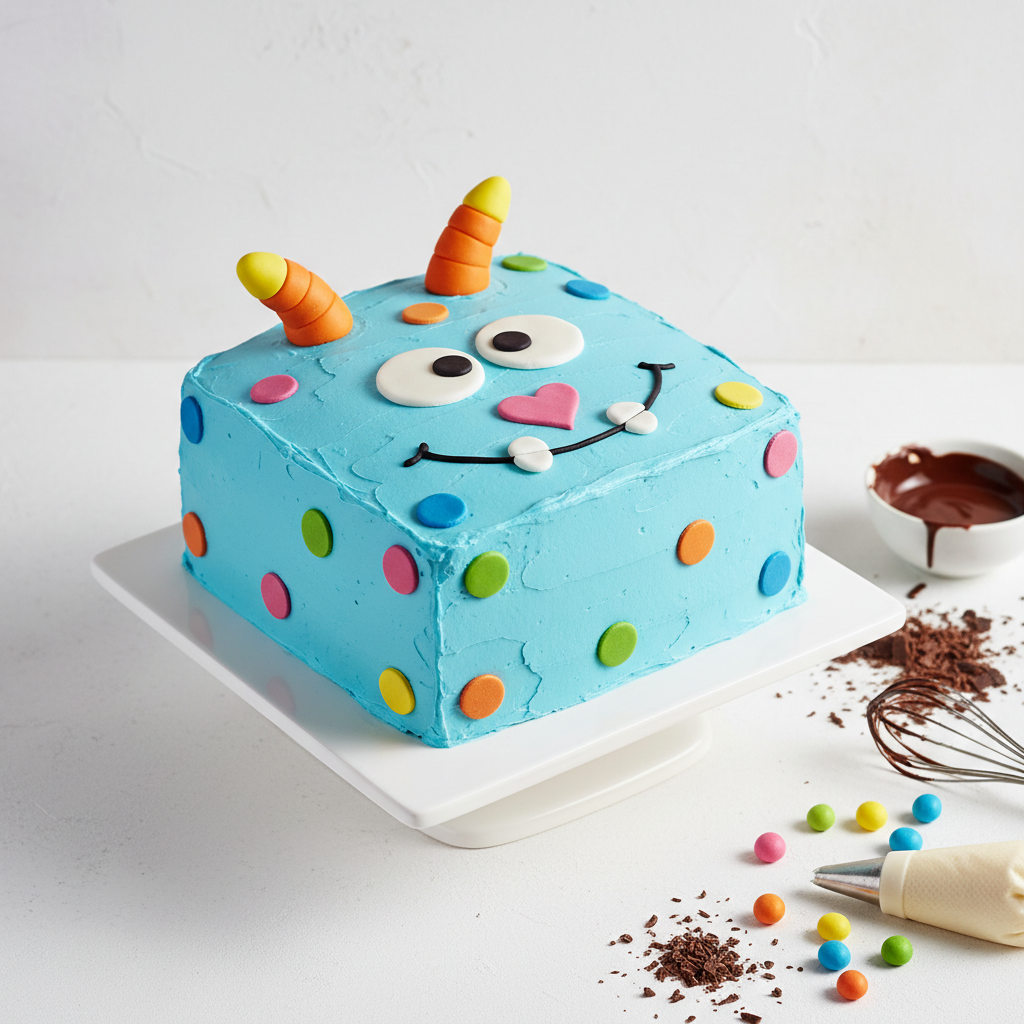
Ingredients
350g butter
softened
325g sugar
3 cups self raising flour
sifted
½ cup cocoa
2 tsp baking powder
1½ cups sour cream
4 eggs
1 cup golden syrup
300g butter
for buttercream, softened
500g icing sugar
for buttercream, sifted
60g melting chocolate
for buttercream
1 egg
for buttercream
700g white ready-made icing
also known as fondant icing
Food colouring
orange, pink, blue, black, yellow
edible glitter
Blue and yellow, optional
Equipment
- 1 26cm round cake tin
- 1 Greaseproof paper
- 1 Serrated knife
- 1 Pallet knife
- 1 Small star or flower cutter
- 1 Sewing machine
- 1 Food processor or kitchen mixer
- 1 41 cm square cake board
- 1 50cm fabric
- 1 Packing or wide sticky tape
- 1 Pins
- 1 Rolling pin
- 1 Chopstick
Instructions
- To make the chocolate cake, preheat oven to 200°C. Line a 26cm round cake tin with greaseproof paper.
- Blend butter, cocoa, sugar, flour, baking powder, golden syrup, sour cream and eggs in a food processor or kitchen mixer and mix well.
- Pour into the tin and bake for 10 minutes; reduce heat to 180°C and bake for another 30-40 minutes or until the cake springs back when gently pressed.
- Allow the sponge to cool in the tin for 5-10 minutes before turning over onto a cooling rack.
- To make the buttercream, place all of the ingredients into a mixing bowl, mix on low until combined before turning on high speed. Continue to beat on high until the mix is light and fluffy – at least 5 minutes.
- To assemble the cake, trim the top of the sponge to flatten it. Using a serrated knife, cut the sponge into three layers horizontally.
- Place the bottom layer of sponge onto greaseproof paper. Spread a third of the buttercream evenly over the sponge. Lay the middle sponge on top, repeat with another layer of buttercream, then place the top layer of sponge on top.
- Cover the edges and top with the remaining buttercream. Allow to set in the fridge for approx 10 minutes.
- Knead the white ready-made icing (fondant) until it is soft and smooth. Divide and colour the fondant: 425g orange, 80g black, 45g blue, 15g white, 85g yellow, 40g bright pink, 10g light pink.
- Roll out the orange icing until it is large enough to cover the cake. Roll it up onto your rolling pin and gently unravel it over the cake. Trim away any excess.
- Create a stencil of the decorations on greaseproof paper. Make the sunglasses first by rolling out the black icing, laying the paper on top, and tracing the shape. Cut out with a sharp knife and lay onto the iced cake.
- Cut out the light blue and white strips for the top of the sunglasses and position them. Cut out white stars and position on one corner of the sunglasses.
- Roll out yellow fondant, mark out the hair using the stencil, and cut with a sharp knife. Position at the top of the cake, gently over the sunglasses to create a fringe.
- Make the dummy: Use the stencil to cut out the dark pink base and position it. Make the ring by rolling a short cylinder and creating a hole. Place it in the center of the base. Use light pink fondant to create a 13cm cylinder, flatten the center, and position it around the ring.
- Dust the hair with yellow edible glitter and the sunglasses with blue edible glitter (optional).
- To make the baby bonnet, cut pink fabric into a 11cm x 57cm strip. Fold in half lengthways and iron. Gather lace and sew it onto one length of the fabric. Sew a 1cm width ribbon onto the other length.
- To dress the cake board, lay your chosen fabric face down, place the board in the center, and secure the edges with wide tape.
- For final assembly, gently place the chilled cake on the fabric-covered board. Wrap the 2.5cm width pink ribbon around the base of the cake and secure with a pin. Position the bonnet around the top of the cake and tie at the base with a bow.
Notes
Tip
I’m not very good at drawing so I googled images of Lady Goo Goo and printed one off. Then I enlarged the image so that it was the same as the size of the cake and used this as my stencil.
Tip
If you don’t have a sewing machine or have run out of time, use a paper doyley instead and glue onto the ribbon for the bonnet.
Tip
If the sponge feels dry, squeeze fresh orange juice onto the sponge – this is optional but will guarantee a moist sponge.
Storage
The chocolate cake can be made up to a month in advance, wrapped well in cling film, and kept in the freezer. Once the cake is iced with fondant, keep it in a dry place. Do not place it in the fridge or anywhere moist as the fondant will go soft and gooey.