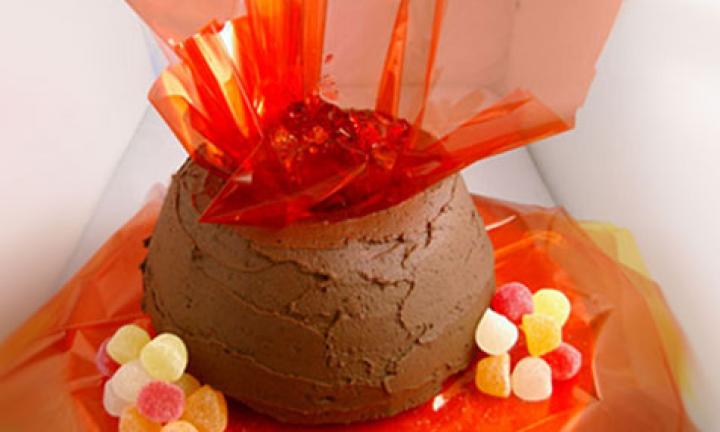
Volcano birthday cake
Ingredients
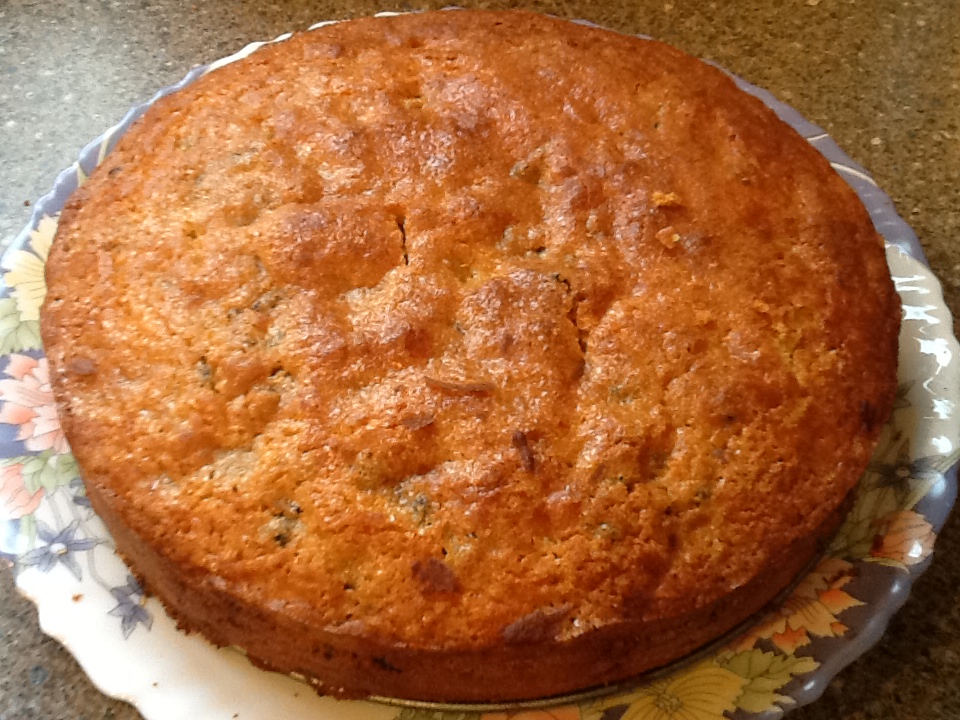
Chocolate mud cake
- 200g unsalted butter, softened
- 200g good quality dark chocolate, broken into pieces
- 160mL espresso coffee (or 6 teaspoons instant dissolved in 160mL water), optional
- 125g (nearly 1 cup) self raising flour
- 125g (nearly 1 cup) plain flour
- 50g cocoa powder
- half a teaspoons bicarbonate of soda
- 480g (2 and a half cups) caster sugar
- 60mL (quarter a cup) vegetable oil
- 4 eggs, lightly beaten
- 110mL buttermilk
Chocolate ganache
- 200mL thin cream
- 200g good quality dark chocolate, broken into pieces
Decoration
- 2 sheets red cellophane
- 1 sheet yellow cellophane
- 1 cup red jelly (pre-made)
- 1 cup orange jelly (pre-made)
- 1 cup red, yellow and white jubes
You will need a Baba cake tin (a deep ring tin; mine has 21cm top diameter x 10.5cm height) and 30cm round cake stand or plate for this recipe. And a plastic table cloth to catch the lava flow!
Method
Preheat oven to 160C. Generously grease the tin and then sprinkle with 2 tablespoons of flour. Jiggle the tin around to coat evenly, then discard any remaining flour.
Place the butter, chocolate and coffee (with water if using instant) in a saucepan and stir over low heat until melted, remove from heat and allow to cool slightly.
Sift flours, bicarb and cocoa into a large bowl of an electric mixer, add the sugar and beat on low speed to combine. Add the combined eggs, oil and buttermilk and beat on a low speed until well combined.
Spoon into tin and bake for about 1 hour and 15 minutes or until a skewer inserted into the cake comes out clean. Leave the cake in the tin until cold. Ideally, make the cake the day before and then once cool to touch, refrigerate over night.
Chocolate ganache
Heat cream in a small saucepan until close to boiling, remove from heat and add chocolate. Stir until chocolate has melted and the mixture is smooth. Leave to cool for at least an hour or until thick enough to thickly coat the back of a spoon.
Use a small knife to loosen the cake from the sides and middle tube of the cake pan. Be patient, I usually have to do this 2 or 3 times before the cake comes out.
Cut a sheet of the yellow and red cellophanes in half. Layer each sheet on the cake stand or plate (yellow, red, yellow, red). Carefully turn the cake onto the cellophane Lava Pool. Spread a generous layer of cooled chocolate ganache over the top and side of the cake using a butter knife or offset spatula (from cake decorating shops).
Press a small cup into the mouth of the volcano and line with a half sheet of red cellophane. Press the cellophane right in so the ends stick up like erupting lava. Spoon red and orange jelly into the cup, so it is just overflowing the brim of the cup. Use the jubes to form piles of molten rock at the base of the volcano.
Refrigerate the cake until needed, or leave at room temperature and just load up with jelly before the big moment. To cause the eruption, lift a corner of the cellophane and the jelly will tumble down the cake and into your carefully placed lava-catching devices!
Notes:
- Preparation time: 25 minutes, baking time: 1 hour 15 minutes, decorating time: 20 minutes.
- This chocolate mud cake is sublime and best at room temperature. A little too much chocolate (and optional caffeine) for small children, but great for all the chaperoning adults!
- Some small chocolate honeycomb squares would also look great as boulders. My son (now an elderly 7yo) is obsessed with secret agent Lego at the moment, so we had our volcano decorated with agents chasing Dr Infernos bad guys across the dangerous slopes!