Project ideas with Resene
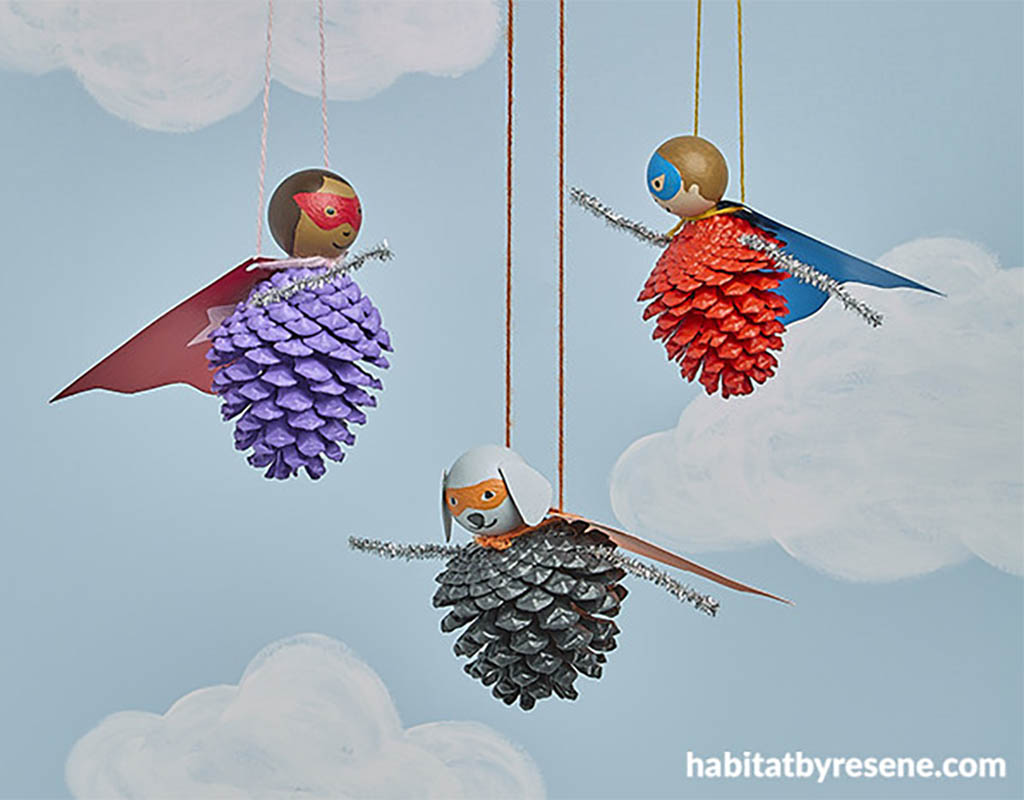
Supergirl, Superboy, and Superpup to the rescue! The kids will love making their own DIY pinecone hero!
They can choose their colours for all of the elements and make their very own hero. Once finished, they can hang them up, let them fly around, and create a story about their hero’s powers and mission!
Creator Shani Luckman has created step-by-step instructions below.
You will need:
- Cardboard
- Scissors
- Table tennis balls (one per superhero)
- Hot glue gun
- Small paintbrush and very fine artist’s brush
- Pencil
- Wool or string
- Hole punch
- Pipe cleaners
- Drop cloth
- Resene testpot paints in the colours of your choice. Shani used the following:
Superhero boy: Resene Amped, Resene Key Largo, Resene Happy, Resene Okey Dokey, Resene Noir and Resene Brown Sugar
Superhero girl: Resene Studio, Resene Candy Floss, Resene Coconut Ice, Resene Brown Sugar, Resene Rebel and Resene Noir
Superhero pup: Resene Noir, Resene Gull Grey and Resene Chilean Fire
Step-by-step instructions:
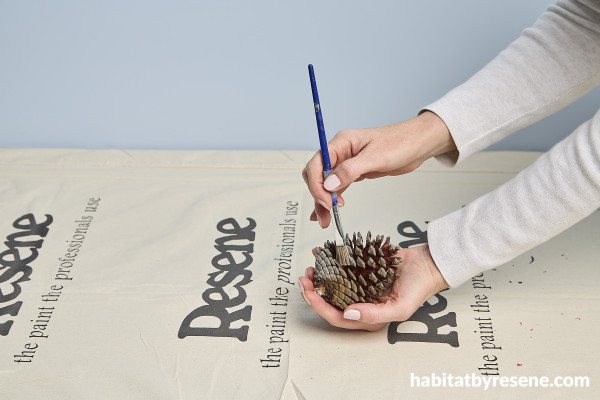
Step 1: Clean any dirt and dust off your pinecone to ensure a smooth surface for painting. You can do this by using a small paintbrush to dust between the grooves. Alternatively, you can wash the pinecones with water and dishwashing liquid and leave them to dry. If you wash your pinecone it will close up once wet and will take a few days to completely dry out and open up again.
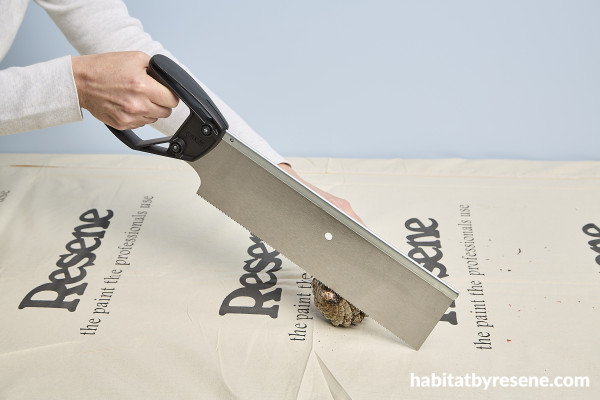
Step 2: Remove the stem at the top of the pinecone (if there is one) with a handsaw (a parent will need to do this step!).
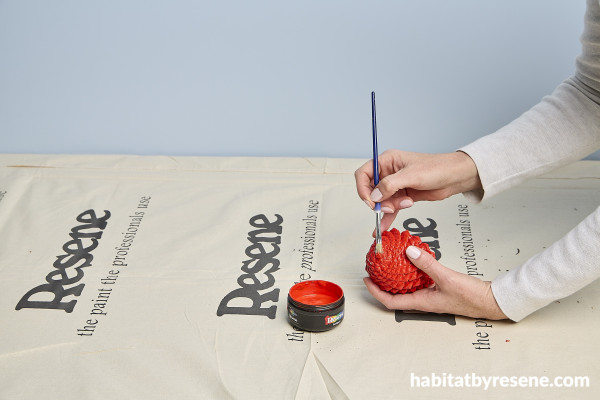
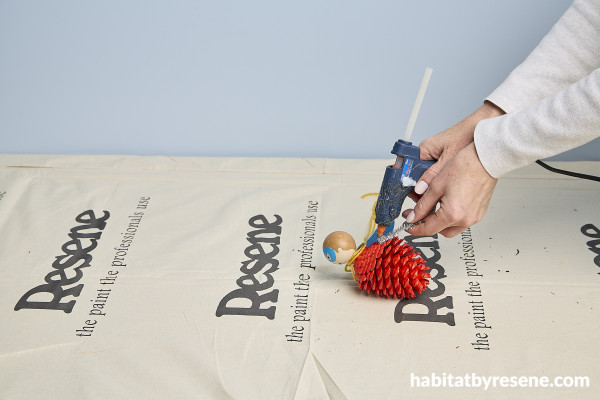
Step 3: Apply two coats of your chosen Resene paint colour and paint the entire pinecone, allowing dry time between coats then using a hot glue gun, squeeze a blob of glue onto a table tennis ball and stick it to the top of the pinecone (the end where the stem has been removed).
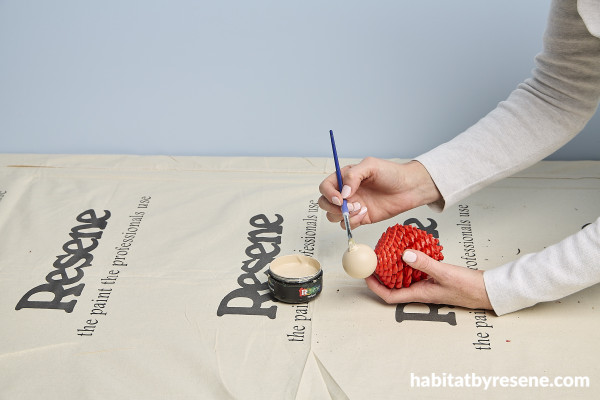
Step 4: Paint the head with your chosen Resene paint colour. We have used Resene Okey Dokey for the superhero boy, Resene Brown Sugar for the superhero girl and Resene Gull Grey for the superhero pup. Once dry, apply a second coat.
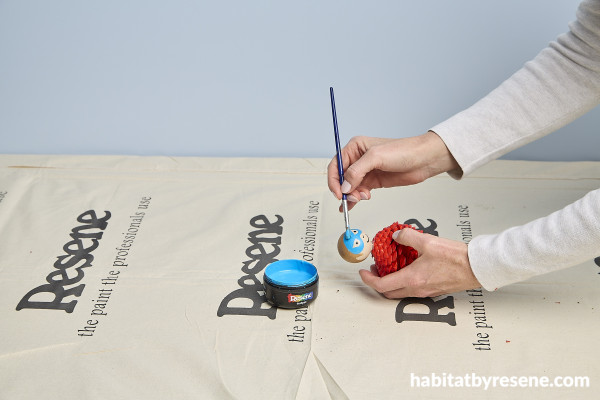
Step 5: Using a pencil, draw the outline of the mask and features of the superhero’s face. Using a small artist’s brush, paint within your outlines with a colour of your choice. We used Resene Key Largo for the superhero boy’s mask and Resene Brown Sugar for his hair. For the superhero girl’s mask we used Resene Candy Floss and for her hair we used Resene Rebel. For the superhero pup’s mask we used Resene Chilean Fire. For all the eyes and mouths we used Resene Noir.
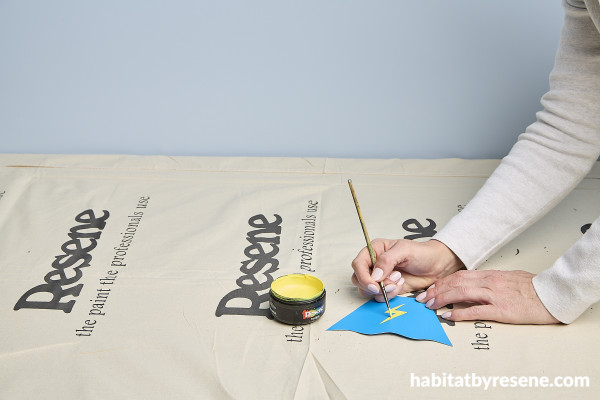
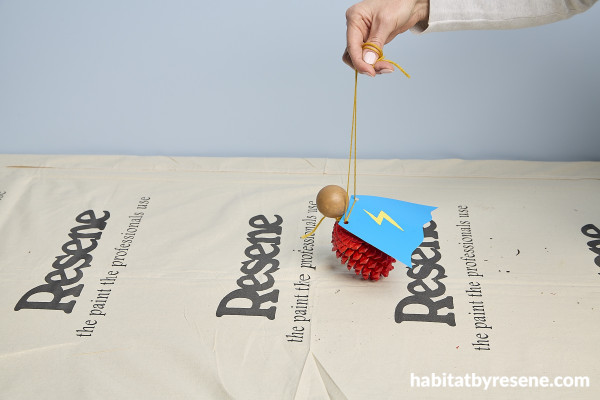
Step 6: On one side of the cape paint a cool symbol such as a lightning bolt, star, your initials – or come up with your own unique superhero symbol! It’s a good idea to draw an outline of your symbol with pencil and once you’re happy with it you can paint it. Once the cape is dry, punch two holes in the top two corners of the cape using a hole punch.
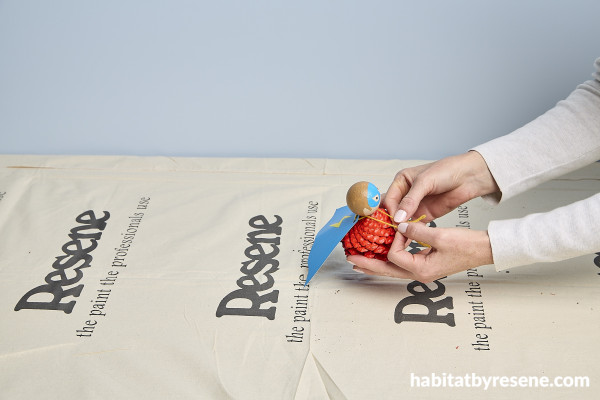
Step 7: Using a piece of wool or string about 10cm long, thread the wool through the holes towards the front, wrap the ends around the head and then back around to the front, securing them tightly with a knot.
Step 8: Cut a second piece of string or wool, measuring about 20cm long. Thread the ends of the wool through the holes in the corners of the cape, but this time poking them through from the underside of the cape towards the back. Tie the two ends together with a knot.
Step 9: Using a pipe cleaner, create the arms of your superhero. The best way to do this is by bringing the pipe cleaner around the back of your superhero, making sure there’s an equal length of pipe cleaner either side of the pinecone. Point one end of the pipe cleaner up above the head of your superhero and point the other end down. This will mimic the look of a superhero flying through the sky! Use a hot glue gun to secure the arms in place either side of the pinecone.
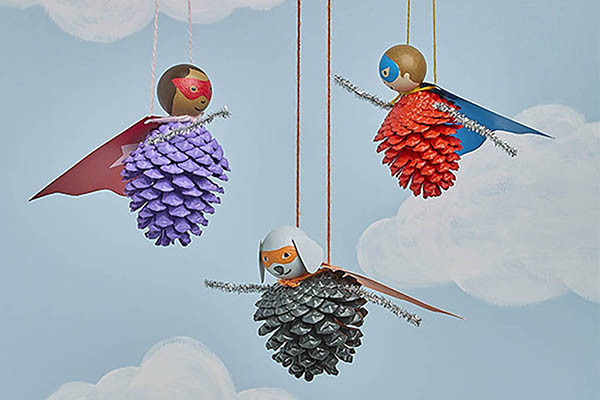
Step 10: Hang your superheros up with the long string attached, or children can play with them and fly them around the yard! Up, up, and away!
For more projects and inspiration, view hundreds of project ideas online and visit your local Resene ColorShop.
Project by Shani Luckman and images by Bryce Carleton for Habitat by Resene.
Read more on Kidspot: