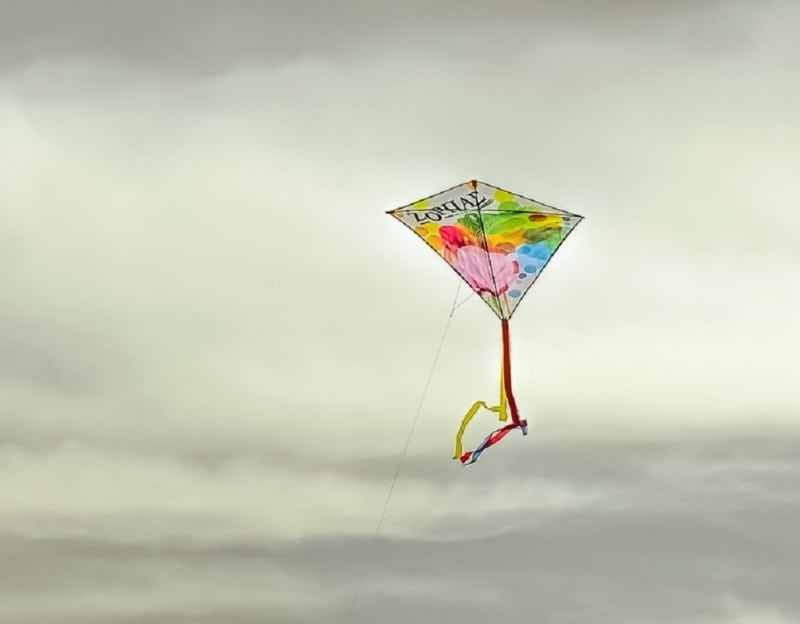
How to make a kite
Nothing beats flying a kite – except making one with your kids! After enjoying this easy art and craft activity together, head to the park to put your new kite through its paces. The step by step video below shows you how to build a kite for guaranteed every-season fun.
What you need:
- 2 pieces of 5mm square balsa wood dowel approximately 65cm in length
- stanley knife
- craft glue
- ball of jute string
- disposable paper tablecloth (available at discount shops)
- scissors
- strong clear tape
- stapler
- large embroidery needle
- ribbon (for decorating the tail)
Number of players:
1+
Activity:
Watch the Kidspot AU video to see how to make a kite…
Cut your dowel to the following lengths:
- 65cm for the vertical
- 50cm for the horizontal
Use your stanley knife to cut a notch into each end of each piece of dowel making sure, when you put the cross together, the notches all run the same way.
Place the shorter stick on top of the longer stick to form the cross (about quarter of the way down is the classic kite shape). Add a dab of craft glue to keep it all in place, then bind the sticks together with some string, without cutting the string when you’re done.
Once you’ve bound the middle X together, take the string up through the top notch and thread it around through each notch to create a diamond-shaped frame for your kite. Make sure the string is taut.
Tie the string toward the centre of your kite and tie it off with a knot.
Cut the tablecloth fabric so that it is slightly larger than the kite frame.
Fold the fabric over the string frame, tape it down and staple it for good measure.
Reinforce the top and bottom ends of the kite with lots of tape.
Use a skewer to poke a hole through the top and bottom ends of the kite frame.
Thread the large embroidery needle with jute string. Push it through the top end, knot it at the back, then pull the string down to the bottom end and push the needle through there. Knot the string to secure it there, leaving a long tail dangling down.
The string that runs down the centre is your bridle. Take the ball of string, attach one end to the cross-point of the bridle (where the X of the kite is) and now you have your flying string.
Take a left-over piece of dowel and wind about 10m of string around it to make your kite handle.
Decorate the tail with ribbons (the extra weight will help stabilise your kite when flying).
Go out to the park and give your homemade kite a whirl! But watch out for trees – they like to eat kites!


Leave A Comment
You must be logged in to post a comment.