Upcycling, which is repurposing old household items, is a great way to entertain and educate kids about the principles of recycling while still having fun.
Here are some fun ideas to craft your way to helping the planet!
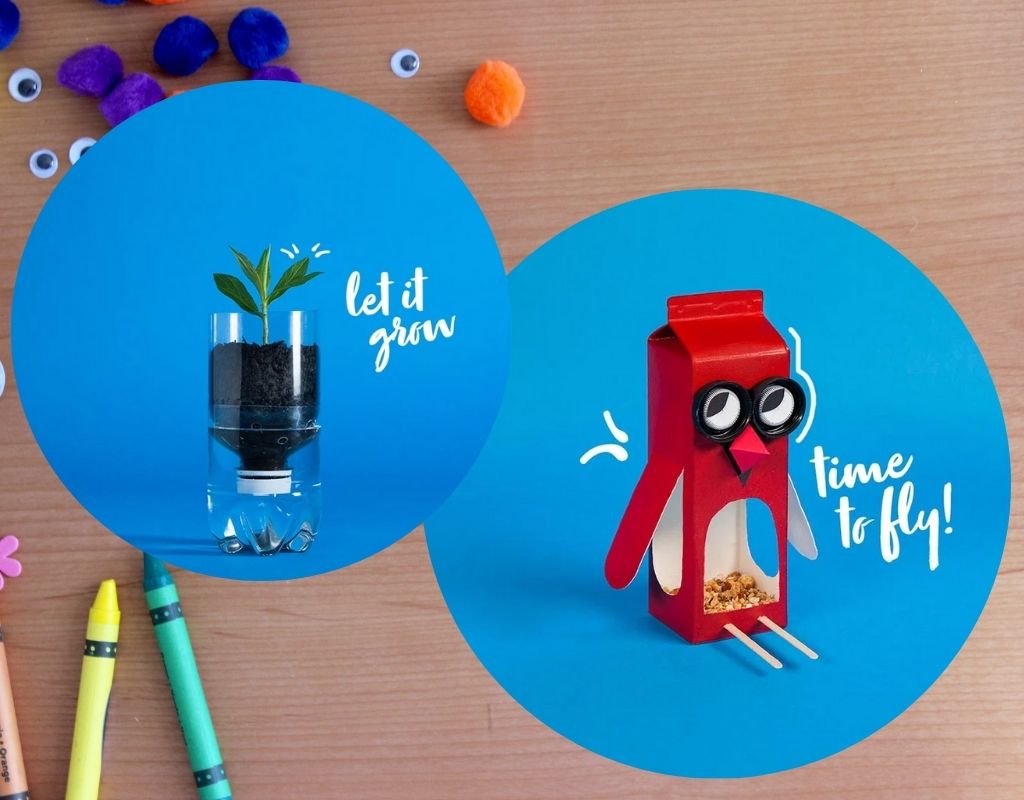
Self-Watering Seed Starter Pot Planter
This self-watering seed starter pot planter reuses 2-litre bottles.
You will need:
- empty 2-litre bottle
- potting mix
- seeds
- scissors or knife
- vegetable oil and paper towels
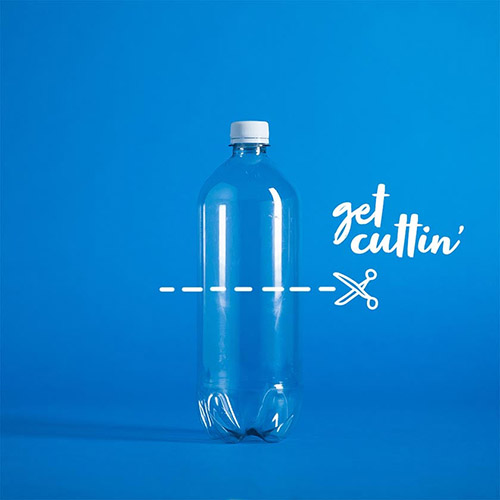
Step 1: Clean and cut the bottle in half
Remove any labels and leftover glue from the bottle.
Using scissors or a knife, cut the bottle in half about 12cm from the bottom.*
* Be careful when using sharp objects.
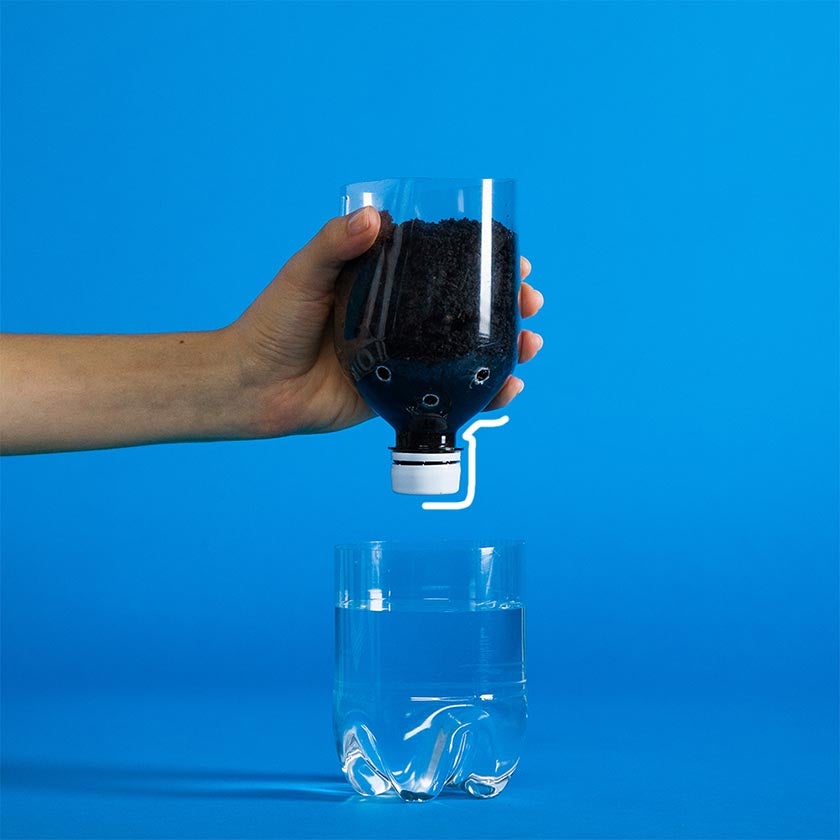
Step 2: Make holes and add potting mix to the top
Puncture approximately 8 holes around the neck of the bottle and then nearly fill the top with potting mix. 3/4 fill the bottom half of the bottle, then gently lower the top, neck down (lid on), until it’s resting inside the bottom.
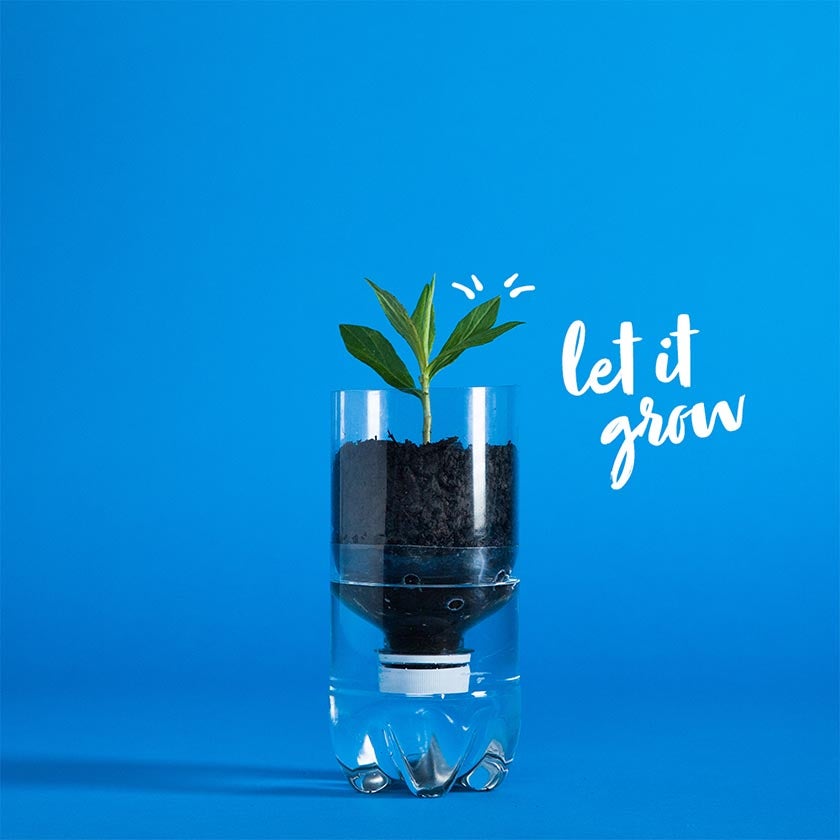
Step 3: Plant seeds, water, and wait
Plant some seeds in the potting soil and lightly water. Now all you’ve got to do is keep an eye on the water level at the bottom, but also note that when seedlings are small with shallow roots, they may continue to need watering from the top.
Juice Carton Bird Feeder
There are plenty of household items kids use on a daily basis, like milk and juice cartons, that are great foundation pieces for teaching kids about recycling.
We’ve created an easy guide for you and your kids to follow, so you can take what was once a carton of sweet juice and recreate it into a friendly, bird feeder. So finish up that last bit of orange juice, rinse out the carton, and get to making your recycling craft!
Things you’ll need:
- used juice/milk carton
- red paint (enamel)
- knife
- (2) large plastic bottle lids and (2) small white plastic bottle lids
- black permanent marker
- (2) popsicle sticks
- hot glue gun
- clothes peg
- bird seed
Step 1: Clean And Paint Your Carton
Using rubbing alcohol (isopropyl alcohol)* and a few cotton balls, remove any packaging and branding stickers from the surface of your carton. This will allow your paint to dry more evenly later on.
Paint your carton – enamel paint is ideal because it’s waterproof and will withstand rain.
Have some fun with the colours you choose, and make your bird feeder unique to you. Make sure to paint a couple coats to help the colours be vibrant and even. Let dry.
* Always remember to wear protective clothing while working with rubbing alcohol.
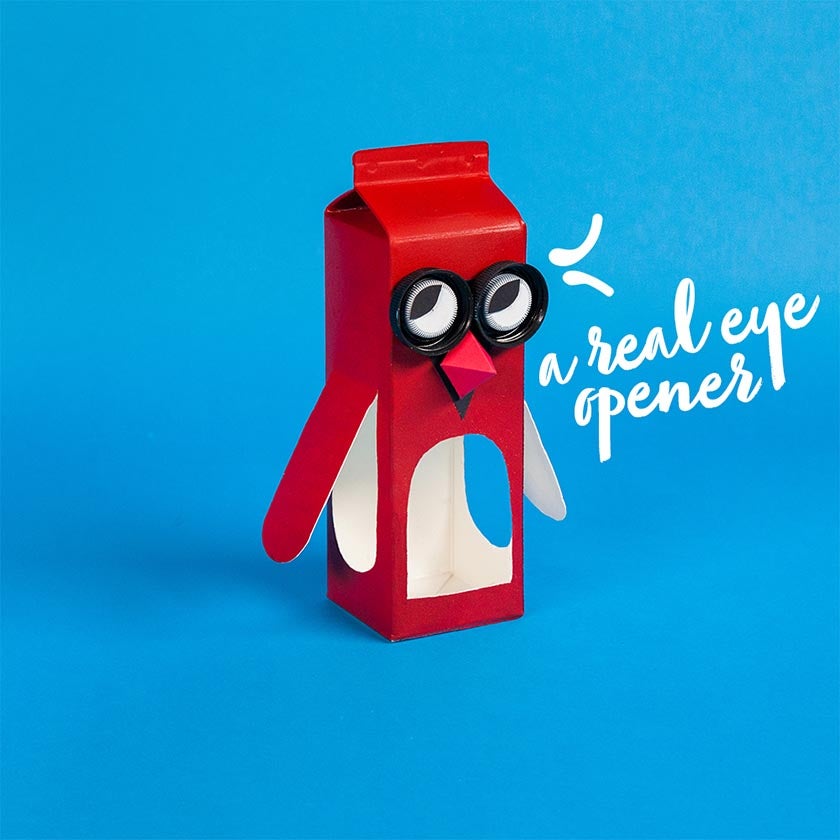
Step 2: Make wings and eyes
Using your knife, cut out the center of the front side of the carton ensuring it is big enough for a bird’s head and upper body to fit in and reach the food inside the carton. Next, use your knife to cut two flaps on each side of the carton to make wings.
Glue the bottle caps on where the eyes will be. Use black plastic caps first, then smaller white caps on the inside. Take your permanent marker and draw in pupils on the white caps. Using scraps from the carton cutouts, add a little bird beak underneath the eyes.
Poke two holes under the center cutout and glue two sticks and then pour in some birdseed, hang your feeder outside, and watch all the birdies flock to their generous friend.
Written by Kidspot NZ with information supplied by GLAD.
See more: