Sponsored content provided by Resene
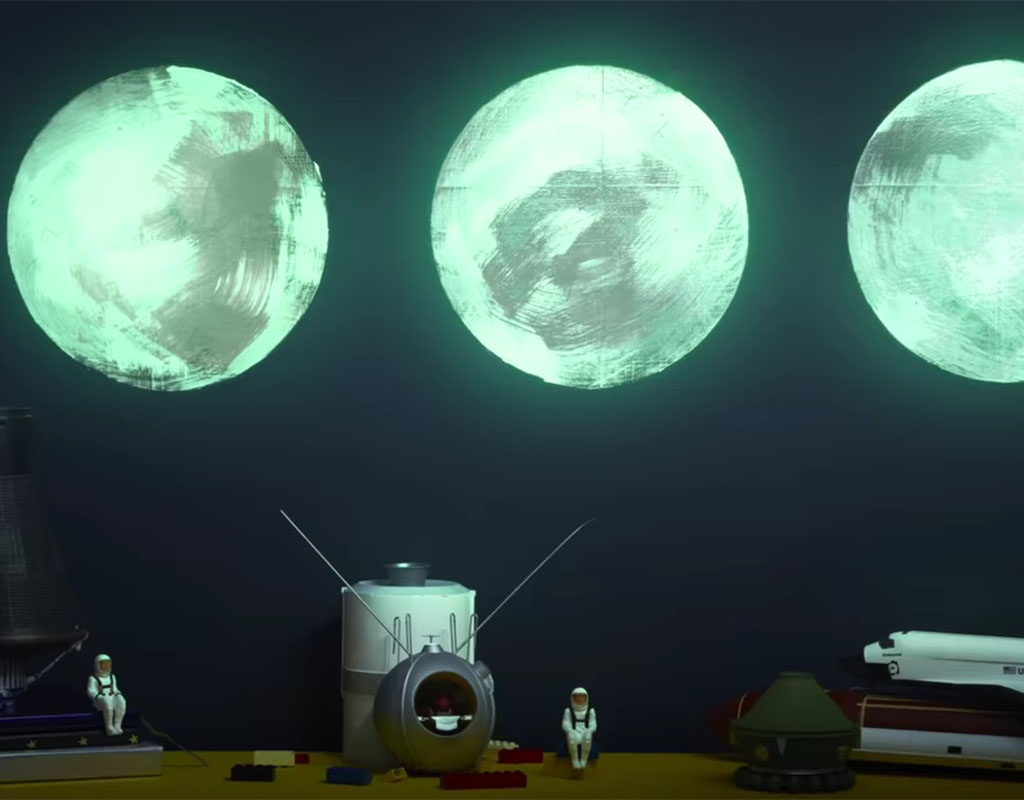
Ditch the nightlight for a glow in the dark galaxy wall – the kids will love it!
This is a simple way to create something for children drifting off to sleep to look and. The moons are painted on the wall using Resene FX Nightlight from the Resene Special Effects range and are sure to delight.
You will need:
- Resene testpots in Resene Alabaster and Resene Blue Lagoon,
- Resene FX Nightlight
- Cardboard
- Scissors
- Masking tape
- Paintbrushes
Step by step instructions
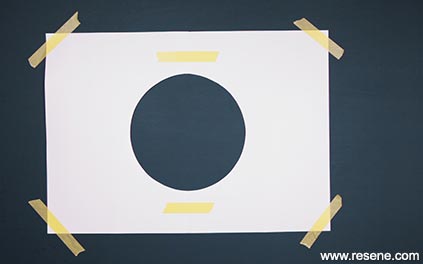
Step 1:
Trace a circle in the middle of the cardboard (we used a round plate as the outline). Cut the cardboard in half, as well as the circle from each half. Tape the pieces back together. This creates the moon template.
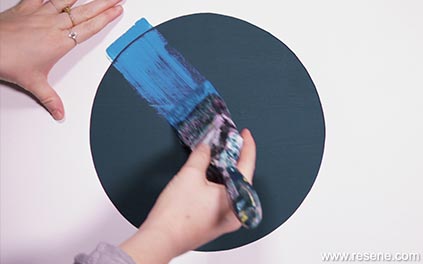
Step 2:
Using the masking tape, attach the cardboard to the wall, and roughly paint inside the circle with Resene Blue Lagoon. Leave to dry.
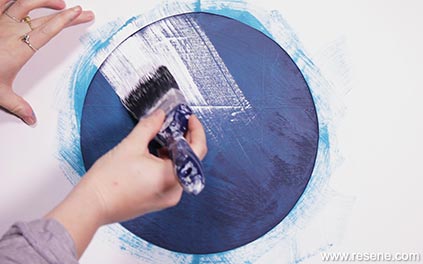
Step 3:
Repeat, using Resene Alabaster. The lighter the background, the brighter the moon will glow. Leave to dry.

Step 4:
Touch up with Resene Blue Lagoon to create a crater effect. We also painted two other moons, using Resene Sunshade and Resene Juniper as the crater colours.

Step 5:
Once dry, apply the Resene FX Nightlight. For the best result, apply three coats, leaving 45-60 minutes between coats.
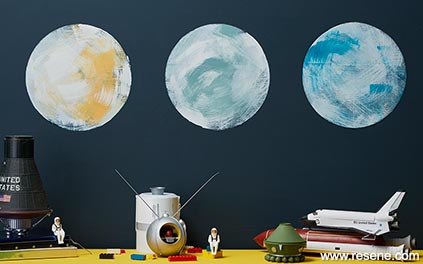
Step 6:
Leave it to ‘charge’ in UV light during the day. When the lights flick off at night, then your marvelous galaxy wall will appear!
As the night continues the glow will slowly soften.
For more projects and colour inspiration visit Resene.co.nz.
Article provided by Resene. Projects and styling: Leigh Stockton
Read more on Kidspot:



Leave A Comment
You must be logged in to post a comment.