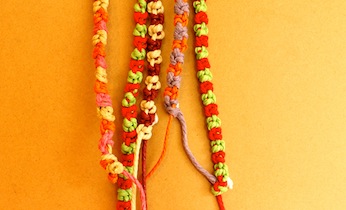
Easy friendship bracelet
Making friendship bracelets is a lovely old fashioned 'sewing circle' activity. Just sit quietly with your little girl and teach her how to make this friendship bracelet out of string for her friends. Guess what? That's quality time you've just spent with your daughter!
What you need:
- 2 x pieces of different coloured string about 50cm in length
- 1 x clipboard
- scissors
Number of players:
2
Activity:
Watch the video for the easiest instructions on how to make a simple friendship bracelet.
Start by knotting your two colours of string together at the top. Leave a 5cm tail to use as a tie-on when the bracelet is finished.
Clip the string to your clipboard, just below the knot.
Now you are going to make two alternate knots all the way down.
Knot 1: The forward knot
The forward knot is made up of two identical knots.
With the left hand string, make a 4 shape. The left hand string should cross over the top of the right hand string. Pull it back under the right hand string and then back through the hole in the four shape.
Do this twice and you have made a forward knot.
Knot 2: The backward knot
The backward knot is also made up of two identical knots. It's just a mirror image of the forward knot.
Use the right hand string to make a backwards four shape. Pull the string back through the hole in the four. Do this twice.
You have made a backward knot.
To continue your bracelet, keep knotting alternately like this. One forward, one backward (remembering that each 'knot' is made up of tying twice).
When your bracelet is long enough tie each end string off. Trim one down so that only one remains as a bracelet tie-on.
Tie it on your little girl's wrist. Spend the afternoon making one for each of her friends… or just lots and lots for you and her.
- Thanks to our sister company Kidspot Australia for creating the instructional video.