Sponsored content
Choosing and using a child restraint can be a bit tricky sometimes – and we know you’re reluctant to read that enormous (but very helpful) instruction manual (which you should absolutely read by the way!).
In New Zealand, it’s estimated that over 80% of child restraints are not installed securely. In partnership with InfaSecure, we’ve narrowed down the top 5 tips and tricks to safely securing your child every trip and every day.
1. Choosing the right restraint
Choosing the right restraint for your child can sometimes seem overwhelming, but it doesn’t have to be!
Under New Zealand law, all children under seven years of age must use an approved child restraint appropriate for their age and size. Children aged up to 8 must be secured in a restraint if one is available in the vehicle. International best practice recommends the use of an appropriate child restraint (or booster child restraint) until your child reaches 148 cm tall or is 11 years old.
Child restraint and medical professionals recommend that you keep your baby in a rear-facing restraint until as old as practicable – at least until they are 2 years old. It’s safest to keep your child rearward facing for as long as the restraint allows.
Other considerations should include how the restraint fits in your car (try before you buy), ease of use, safety features, and what your budget allows.
InfaSecure Child Restraints are manufactured to the Australian Standard (AS/NZS:1754) which has the highest level of mandatory testing worldwide. Look for the 5-tick red sticker for an Australian & New Zealand Standard-approved child restraint.
2. Harnessing all things safety!
It’s important to make sure that the harness is at the correct height for your child. For Australian & New Zealand Standard rearward facing restraints, the harness should be fitted through the slots or positioned CLOSE TO AND ABOVE the child’s shoulders, NEVER BELOW.
For Australian & New Zealand Standard forward-facing restraints, the harness should be fitted through the slots CLOSEST to the child’s shoulders. This means they can be above or below the shoulders, whichever is closest. They should be no further than 2.5cm distance from the shoulder in either direction.
If you have an EU or US standard restraint, it is recommended that you check your manufacturer’s instruction guide as harness set-up may differ.
A tight and well-fitted harness is essential to ensure your child is safe in their restraint. If a harness is loose, the child’s head and upper body can move too far forward, and they have the potential to be ejected in an impact. To check the harness, start by buckling your child in their child restraint. Then, try to ‘pinch’ the harness strap on the child’s shoulder/collarbone. If you can pinch the webbing, then the harness is too loose and will need to be tightened. If your fingers slip on the webbing and you aren’t able to pinch it, then it’s tight and secure.
The Pinch Test should be done every time you put your child in their child restraint. It only takes a few seconds, and it could save your child’s life in an impact. Making sure the harness is tight is half the job done. When checking that the harness is tight, it’s also important to check for twists in the straps. The straps are easily twisted when moving children in and out of their child restraints. By checking the harness every time, you can minimise the amount and type of twists that occur.
It is particularly important for newborns that they are positioned correctly in the restraint. Ensure that your rearward restraint is installed at the correct angle outlined in your user manual. Baby should not be slouching and there should be no gaps between the restraint and their shoulders or bottom. Parents should be able to place one finger between baby’s chin and chest to assist with optimal head positioning.
3. Talking tethers
If your restraint is fitted with a top tether, it is essential that it is used as per manufacturer instructions, and used with an approved vehicle anchor point. The top tether is the webbing that comes from the top/back of the child restraint and has a metal hook on the end which is attached to the vehicle anchorage point. This tether is important for proper installation because, without it, there can be potential for serious injury in a crash (or even braking hard). It helps stabilise the top of the child restraint and prevents it from rotating over. If you’re not sure where your anchor points are, you should check your vehicle owner’s manual, or contact the manufacturer.
The top tether strap should have all of the slack removed, but shouldn’t be over-tightened. The child restraint lifting off the vehicle seat can be an indication of an over-tightened top tether strap.
4. Get it right, get it tight!
Getting a tight install of your child restraint can be difficult but we’re here to help!
When fitting a child restraint it’s important to follow the manufacturer’s instructions, as a restraint that is not fitted or used correctly significantly reduces the safety protection provided by the restraint.
When threading the child restraint belt through the belt path or installing with ISOFix, put your knee and some weight into the child restraint to ensure it is pushed into the vehicle child restraint before you clip in the child restraint belt or ISOFix. The ISOFix windows on both sides of the restraint should be completely green for InfaSecure child restraints, indicating a tight fit.
It’s important that the child restraint moves no more than 2.5cm side to side at the belt path. You can check this by wiggling the child restraint at the base closest to the belt path (not the top of the child restraint – it is normal for this area to move more than 2.5cm). If your child restraint does move more than 2.5cm or feels loose, you should reinstall the child restraint more firmly.
For child restraint belt installation, you can use a locking device to ensure this install stays tight. We recommend using the InfaSecure Lockie, SafeGrip, or Gated Buckle (vailable for purchase at InfaGroup.co.nz).
If you are unsure on how to install your restraint correctly or would like your restraint checked, we recommend connecting with an independent Child Restraint Technician in your area.

5. So you’ve spotted a child restraint on the side of the road …
You’ve probably seen second-hand child restraints on the side of the road (often with a sign stating, “Free” or “Please take me”) or on Facebook Marketplace (even in good, used condition). And while the people who have put them out mean well, there are real dangers associated with using these restraints.
Even today’s most basic budget-friendly Australian & New Zealand standard child restraints can provide a higher level of protection than older, pre-owned child restraints with an unknown history.
It’s impossible to know if the child restraint has been in an accident and if the child restraint’s structural integrity has been compromised. Damage to child restraints after an accident can be invisible – such as fractures in the shell or nicks in the webbing. There is no real way to check for this kind of damage, nor are there any organisations that can “clear” a child restraint of suspected damage.
Roadside second-hand child restraints or hand-me-downs are most definitely not recommended.
There are many entry-level or budget-friendly child restraints available in New Zealand that don’t compromise on safety. If your child restraint features the AS/NZS:1754 sticker, you’ve got yourself an incredibly safe child restraint no matter the cost! There is a suitable child restraint solution for all price points, children, and families.
Top budget-friendly child restraints
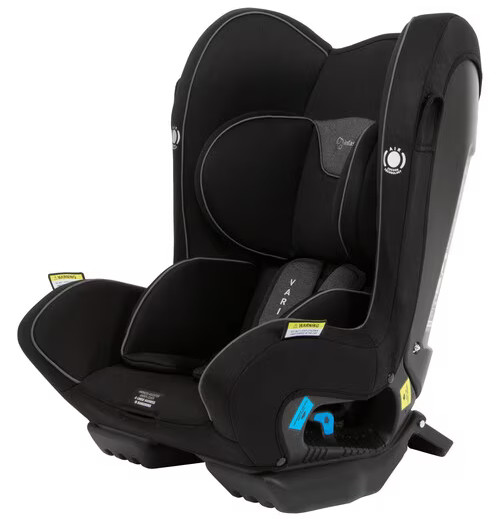
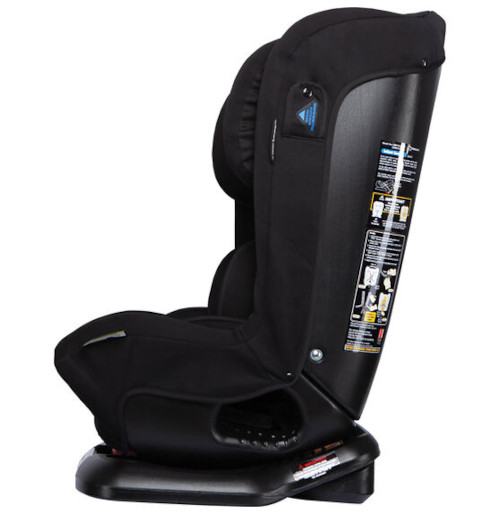
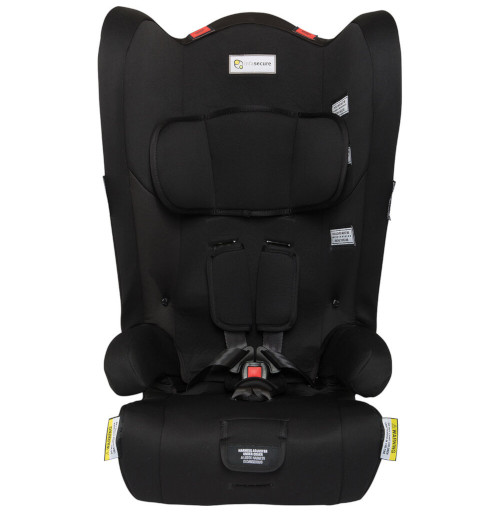
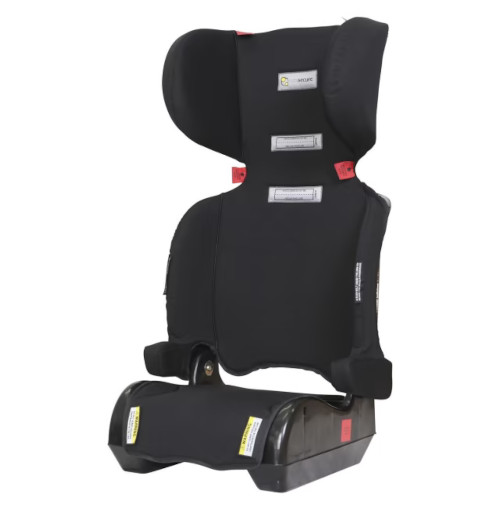
Check out some of our top pick budget-friendly child restraints below.
*At InfaSecure, they’re passionate about educating parents and caregivers on best practice use of child restraints. This guide has been written with this in mind. Advice given is broad in nature. We recommend that you contact your specific child restraint manufacturer directly for any specific help with your restraint.
Content provided by Infa Group.
See more:




Leave A Comment
You must be logged in to post a comment.