Sponsored content provided by Resene
Learn how to prepare surfaces and apply paint to get the best from your paint finish with these handy tips from Resene.
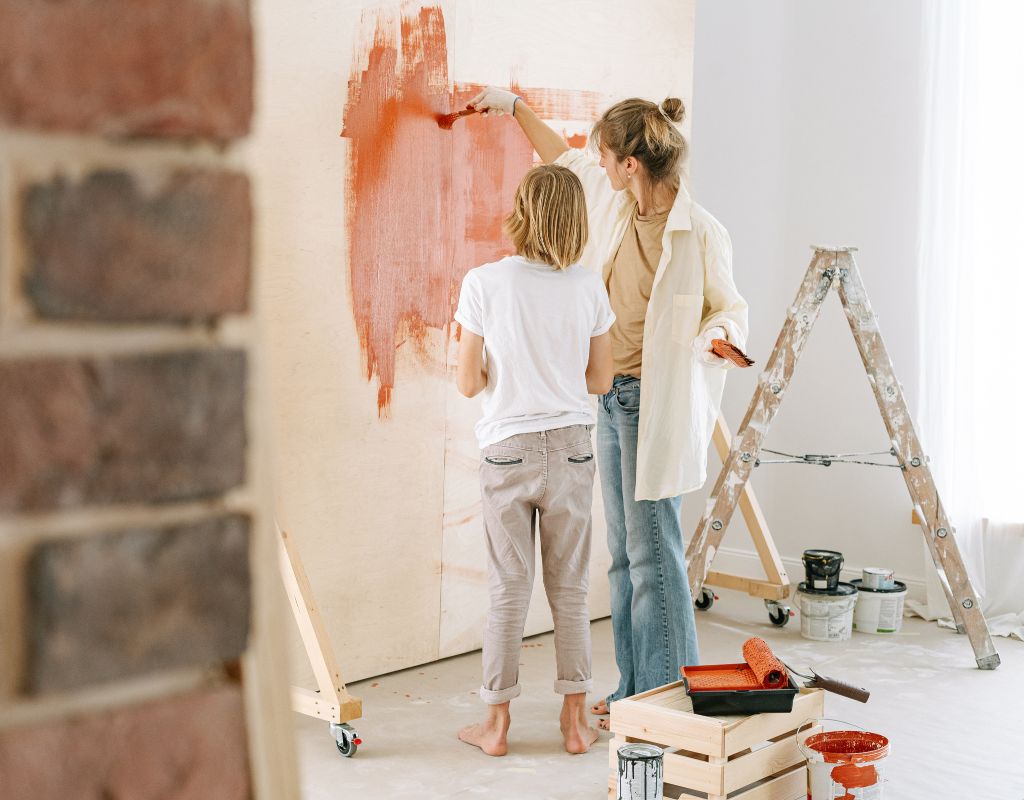
Painting a wall with Resene SpaceCote is straightforward and easy to do. The results will be impressive and will significantly improve the look of your home. The same application techniques apply equally to other Resene interior paint finishes, such as Resene Zylone Sheen.
You will need
- 35-50mm PAL Legend brush and/or a cutting-in brush
- 220 grit zinc sterate (blue/grey) sandpaper
- PAL No. 1 Roller
- Resene Interior Paintwork Cleaner (concentrate)
- Roller handle and paint tray
- Selleys No More Gaps
- Selleys RapidFilla
- Drop sheet,carpet guards, meths (for clean up on light switches etc)
- Extension pole for roller (aluminium if doing a lot of decorating)
- Masking tape
- Pole sander
- Rubber gloves (for use with the caustic Sugar soap)
- Sugar soap
Video tips
Before starting
- If the wall is new, ensure it is clean and dust free and has been sealed with either Resene Broadwall Waterborne Wallboard Sealer (see Data Sheet D403) or Resene Sureseal (see Data Sheet D42).
- If the wall has been previously painted, use a clean cloth and wipe the wall down using a solution of Resene Interior Paintwork Cleaner and fresh water.
- Fill any gaps with Selleys No More Gaps and any holes or voids with Selleys RapidFilla or PermaFill.
- You will need a PAL No. 1 Roller (8mm fine Dacron) and brush for cutting-in.
- Lightly dampen the roller sleeve before use. Ensure the excess water is removed – it should be slightly damp rather than wet to touch.
- Mask skirting boards and light switches etc to prevent any paint splatter from the roller. Ensure flooring is protected with drop sheets and paint shields.
- Pour approx 3/4 litre to 1 litre of paint into the roller tray and work the roller well into the paint. With new roller sleeves this usually takes a couple of minutes.
- Then decant about half a litre of paint into a paint pot – wipe the edge and rim to remove the excess paint. Once done replace the lid back onto the container.
Please take the time to carefully read through the instructions on the label. More information including Data Sheets and Safety Data Sheet/s (SDS) can be found on the Resene website.
Application
- Paint the edges using a brush you are comfortable with – we recommend the 50mm Legend cutting-in brush. Paint 40mm to 50mm out from the edges.
- As a rule the more confident and experienced you are the bigger the brush you could select. Bigger brushes hold more paint and are quicker.
- Now load the brush with paint. Hold the brush well down the handle as this gives better control.
- Wipe the leading edge of the brush for more accuracy.
- Cut-in one wall at a time – painting all edges, corners and around light switches etc.
- Start with the corner and bring the line of the paint out from it to make rolling easier.
- You can work either left to right or vice versa – depending on what is more comfortable.
- Begin each brushstroke about 100mm along from the end of the previous section, slightly away from the edge itself and work the paint back towards the paint’s wet edge and then back along the edge.
- Once you have finished cutting-in, roll the excess paint off the roller and attach the extension handle. The extension handle can make the job much easier.
- With the roller loaded with paint lay it carefully against the wall.
- Roll in an upwards direction first, moving across the wall area in a rough ‘W’ pattern.
- Aim to complete 1m2 with each roller load, spreading the paint as evenly as possible.
- If you use a 230mm roller sleeve more area will be covered with each roller load than if the smaller 180mm roller is used.
- Invert the roller and run it as close to the leading edge of the skirting board and corners as practical.
- Once you have covered approximately 4m2 you will need to lay-off the painted area to achieve an even consistent finish.
- To lay-off first ensure the roller sleeve is not fully loaded with paint. Using only light pressure, lay the roller approx 300 millimetres above the skirting board, now slowly roll up towards the scotia – getting as close as practical to it.
- Lightly roll back towards the skirting board but pull the roller away from the wall about 200mm above the skirting board.
- Repeat the process overlapping the area just completed by approx quarter to a half of the roller length.
- Reload your roller and move onto the next section of the wall repeating the earlier steps.
- Adjust the roller angle to get as close as practical to the edges of corners and around door and window frames.
- Allow a minimum of two hours to dry and apply a second coat.
- Ensure the room has good ventilation and warmth to ensure the paint cures well.
- Painting a wall with Resene SpaceCote is straightforward and easy to do. The results will be impressive and will significantly improve the look of your home.
Flys, bathrooms and other tips
Resene Fly Deterrent additive is available for dosing into Resene waterborne paints, including Resene SpaceCote Low Sheen (see Data Sheet D311) and Resene SpaceCote Flat (see Data Sheet D314), to deter flies from landing on the painted surface reducing the appearance of fly spots.
In mould-prone areas, such as bathrooms, consider purchasing Resene SpaceCote Low Sheen Kitchen & Bathroom (see Data Sheet D311K) or Resene MoulDefender, which can be dosed into a wide range of Resene waterborne paints, to inhibit mould growth.
For easy reference, you can download this project sheet as a PDF.
For more projects and colour inspiration visit Resene.co.nz.
Article provided by Resene
Read more on Kidspot: