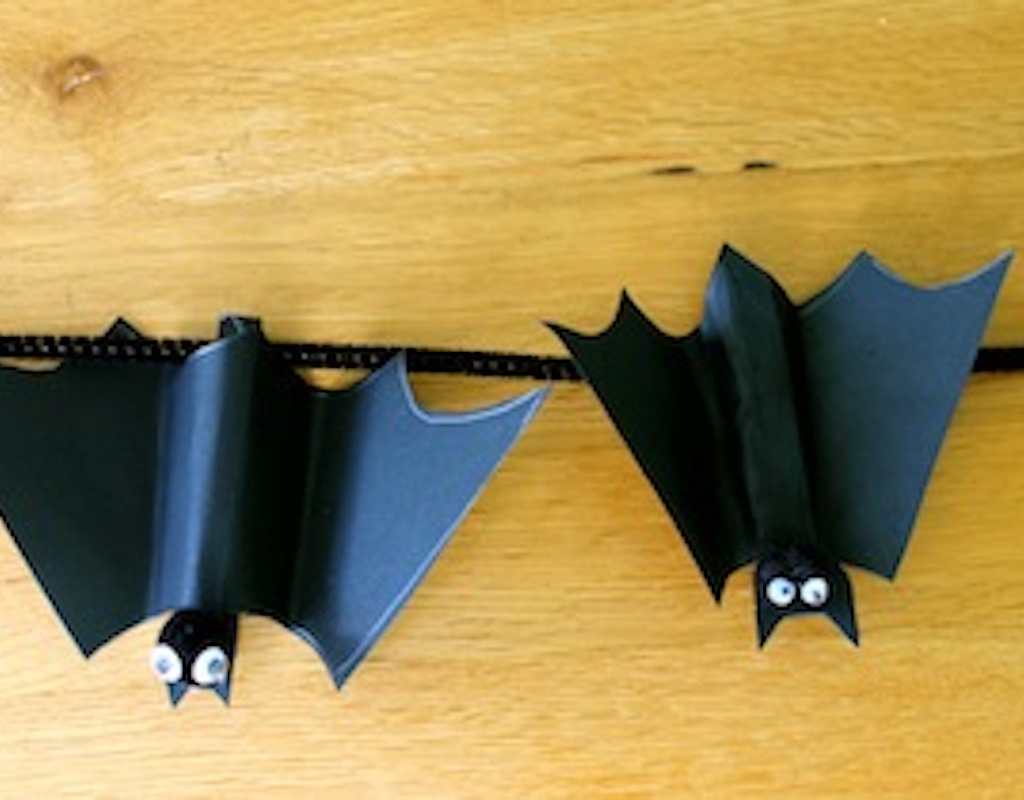
Making your own Halloween decorations is a fun craft activity for kids. These spooky upside down peg bats are a great Halloween idea.
What you need:
- 1 x wooden clothes peg
- A4 sheet of black card or paper
- 1 x small black pom pom
- 2 x small googly craft eyes
- glue
- scissors
- pencil
- black paint
- glue
Activity:
Start by painting your wooden clothes peg black.
Whilst it’s drying, prepare the rest of the bat’s accoutrements.
Using the peg as a sizing guide for body length, sketch out a wing shape onto the black card. Make sure it will fit onto the peg leaving room for the bat’s head and legs.
Using your small pom pom as a sizing guide, sketch out a small head shape with ears onto the black card.
Cut out the wings and head shape.
To make his face, glue the black pom pom to your head shape.
Glue the two eyes to the pom pom face.
Now glue the whole headpiece onto the top end of the peg (the end that doesn’t pinch onto the clothesline, the pinching end is for his legs, so you can hang him upside down.)
Now glue the bat’s wings to his body (the clothes peg).
Fold the wings in two places – around the peg’s width and then halfway along each wing – to give it some depth.
Make lots and hang them upside down from a piece of string on your front porch for Halloween.
- Thanks to Kidspot Australia for creating the instructional video.