Creating a three dimensional shape from a flat piece of paper is a great way to teach your child about shapes and volume. This pop-up paper village comes with free printables. Just add crayons, scissors and glue.
What you need:
- 1 x large house printable template
- 1 x small house printable template
- 1 x town hall printable template
- 1 x apartment block printable template (1 of 2)
- 1 x apartment block printable template (2 of 2)
- 1 x corner shop printable template
- 6 x A4 sheets of thick paper (210gsm is ideal as it will still go through the printer)
- glue
- scissors
- paints, crayons, textas or coloured pencils
- sticky tape
Hints and tips:
If you don’t feel confident drawing on your own facade, we’ve included an accessories page here with windows and doors.
How to make a pop-up paper village
Watch the video below to see the pop-up paper village take shape before your very eyes.
Start by printing out your free printable templates. The shapes work best if you use thick paper, so try to get 210gsm at least.
The easiest way is to paint the facades on your printables, and then cut them out for construction. So use your imagination or use the accessories template for inspiration.
Now cut out your paper village printables. Fold on the dotted lines (don’t forget to fold where the roof meets the building) and put glue on the tabs to stick them all together. You may need to hold them in place until the glue sets, so small children will need help here.
Lay out a big piece of butcher’s paper and draw a road onto it. Set out your papercraft village. Add trees (Lego trees and people are perfectly scaled for this pop-up village!) people, cars (Matchbox cars might work well too) whatever you fancy. We even added a grizzly bear and Darth Vader to our village! There’s no rules when if comes to your papercraft village.
Hints and tips:
- You could also use scrapbooking paper (available at craft shops) to create a patterned village!
- Spend some time ‘researching’ building types with your child to get a good idea of how to decorate your town hall and bigger buildings. Just look in picture books or even on the internet if you are feeling fancy and digital.
NOTE:
Pop-up paper village printables should be printed in the ‘portrait’ setting. If you have trouble printing, please check your printer settings.
Thanks to our sister company Kidspot for creating the instructional video.



What a great winter holiday idea!! Crafting when its cold and wet outside is a great way to fill in the time. This idea of making a pop up village is so cool! Something completely different from the norm. I will be bookmarking this to try!
This is really cool! I love this sort of arty thing – my 6 year old loves drawing and colouring at the moment and is always in her room designing pictures of mainly girls with cool outfits on 🙂 I’m going to print some of these out so she can make some with her Dad over the school holidays!
I am such an Art Attack, Mister Maker wanna try doing it kind of parent but sometimes it doesn’t happen halfway through. Although to be fair, when I want to do arts and crafts with my 4 year old, he’s not that interested in the finished product but with just the beginning let’s just paint whatever mom. 😛 And then we just get a half a mess and it’s part of the fun. I might wait a little more till he grows up and gets interested with the finished product.
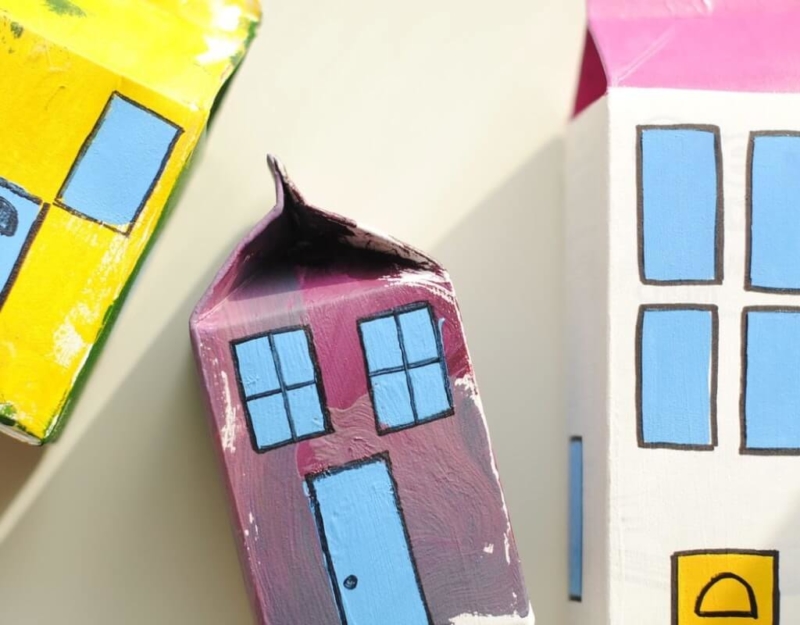
Such a great idea. This will be super cool to do over the holidays and looks very easy. I myself actually thought they were made out of milk cartons as that’s what it looks like. But this is cool. Thanks kidspot for the great idea.
Oh I love this. It reminds me of a school holiday once with my little brother. We made a whole town and our lounge was full of little buildings and homes. It was so fun. Thanks for brining back that memory. I also love that you have included templates. That makes it a bit easier for little kids.
What an exciting craft… reminds me of school projects u just had to do then you keep them safe cos you realize just how cool they are…my kiddies really love crafting…so may actually attempt over the upcoming school holidays…