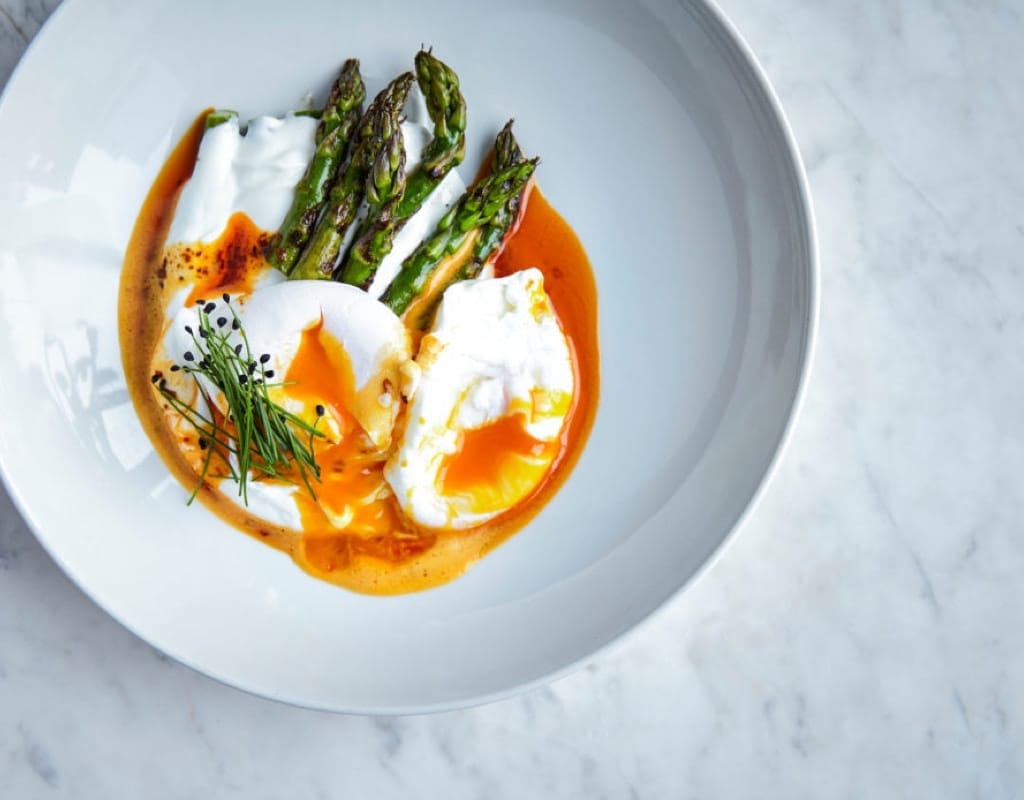
A quick and easy breakfast that is packed for all nutrients, this delicious recipe takes no time to whip together.
Recipe provided by NZ Eggs
See more recipes:
Recipe provided by NZ Eggs
See more recipes:
Recipe provided by NZ Eggs
See more recipes:
Veal schnitzel or Wiener schnitzel as it is known in Europe is a classic dish. Escallopes of veal are given a light crumb coating, fried and served with lemon wedges. It’s delicious no matter what you call it.
Using a meat mallet, pound the veal slices until thin and equal in thickness.
Set up your crumbing station by laying out the flour on a dinner plate. Lightly whisk the egg with the milk in a bowl. Place the breadcrumbs on a plate.
Coat the veal pieces in the flour, dip in eggwash and coat in breadcrumbs.
Heat the oil and butter together in a frying pan and cook each piece for 3-4 mins each side. Drain on paper towels. Serve with lemon wedges.
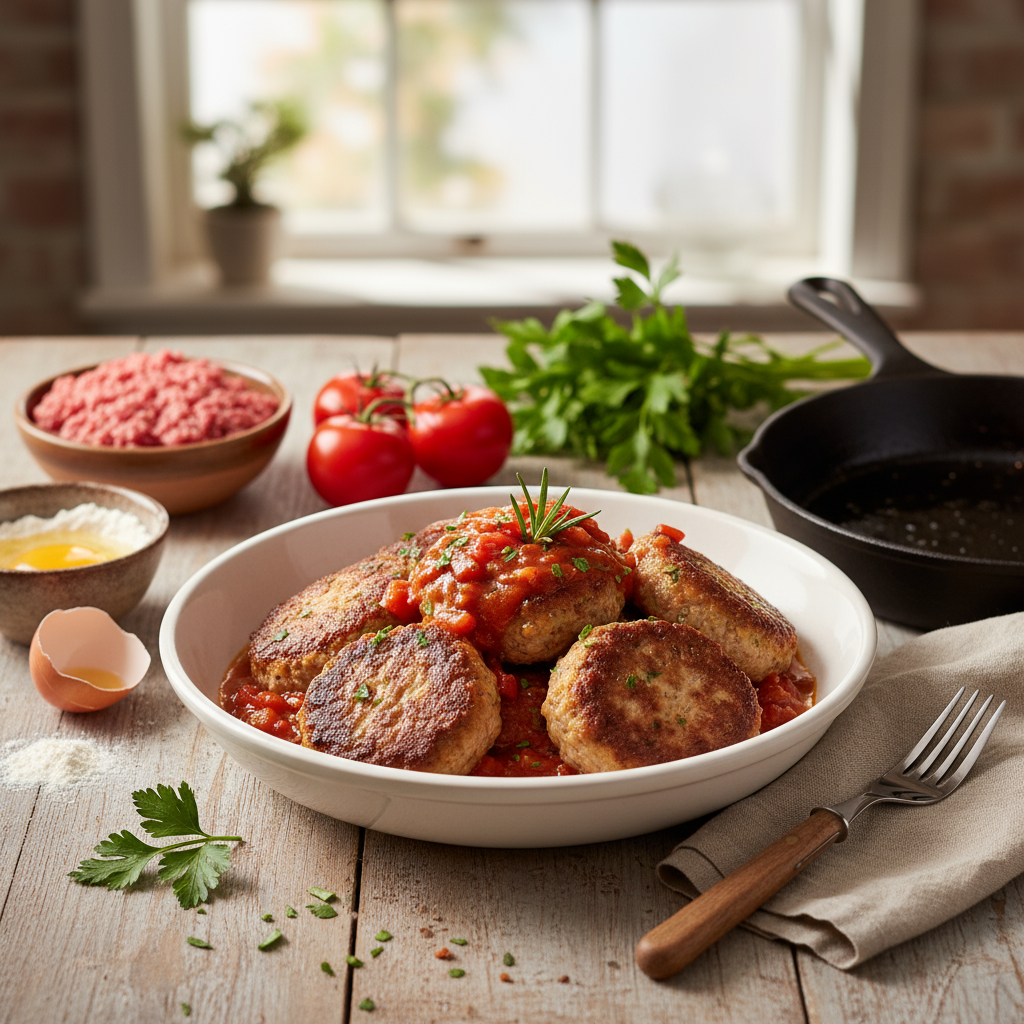
In a bowl, combine the diced onion, mince, egg, breadcrumbs and salt and pepper.
Shake the flour over the bench and turn the mince mixture out.
Form into a large flat patty and use a scone cutter to cut rounds out. Coat each patty in the flour.
Fry in the vegetable oil on a medium heat to ensure they are cooked through.
Set aside and keep warm when done.
Pour excess oil from the pan and fry the sliced onion and garlic until soft and add the tomatoes.
Dissolve the gravy mix into the cold water and add to the pan. Stir until thickened.
Add the rissoles back into the gravy to reheat and serve.
You can just form these into a block and cut square rissoles if you like.
If they are getting too burnt on the outside, just remember they will cook a little further if you simmer them in the gravy.
This recipe was created by Jennifer Cheung for Kidspot, New Zealand’s best recipe finder.
Katie from Busy Happy Kids knows how challenging it can be to come up with snack ideas for the kids. Not only do we need some nutritious goodies to pack into the lunch boxes, but often the after school munchies have the kids reaching for a snack too.
In order to help you avoid the pitfalls of processed and often unhealthy snacks, Katie has created a handy list of some superb snack ideas that the kids will love. If you would like to order a fridge magnet of the list, pop on over to her Facebook page, Busy Happy Kids NZ and drop her a message – they’re just $5 incl P&P!
To help you out we’ve even included some Kidspot recipes below for those that require a little bit of preparation. Happy snacking!

Pop the homemade tomato relish in a little leakproof tub and don’t expect any leftovers! Get the recipe for Sweetcorn fritters with tomato relish
Perfect for an after-school snack, toasty dippers are the perfect partner for homemade hummus. Get the recipe for Hummus with toasty dippers
The trick to a great sandwich roll up is choosing fresh, tasty bread that the kids like – otherwise they will never even consider trying the filling. Get the recipe for turkey pest roll-ups
These little frittatas are made with bacon and peas but you can substitute these for other cooked deli meats or veggies. Try diced capsicum. leftover roast pumpkin or kumara, or grated zucchini. Get the recipe for Mini bacon and pea frittatas
Boost or protein balls come in many different forms. This recipe uses dates, peanut butter, raw cacao powder and almonds. Get the recipe for chocolate nut balls
A Kiwi kids classic. We’ve topped our version with a lemon icing which can be drizzled over the top. Get the recipe for Weet-Bix slice with lemon icing
We totally didn’t sneak in some veggies … or did we? Get the recipe for veggie pikelets
![]()
From Katie at Busy Happy Kids:
I started Busy Happy Kids to share activities and ideas on how parents can encourage their children to be active and get outdoors. I was a Physical Education and Health teacher prior to having children and really love encouraging other families to be active. I progressed into sharing recipes and shopping lists/menus to teach parents how to shop on a small budget.
Visit the Busy Happy Kids website for more food ideas, recipe and fun activities to do with the kids.
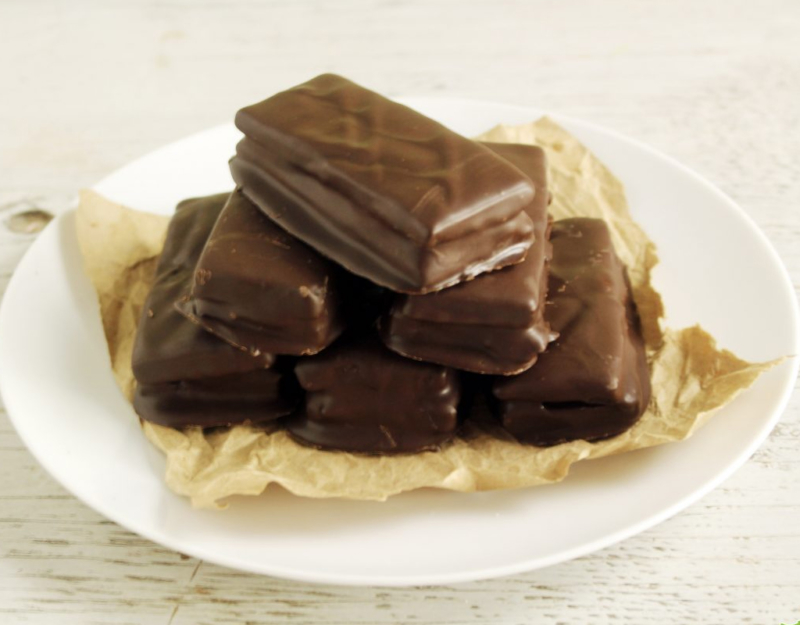
Biscuit
Filling
Find more sugar-free recipes at Natvia
This recipe is bought to you by Taylor Farms New Zealand
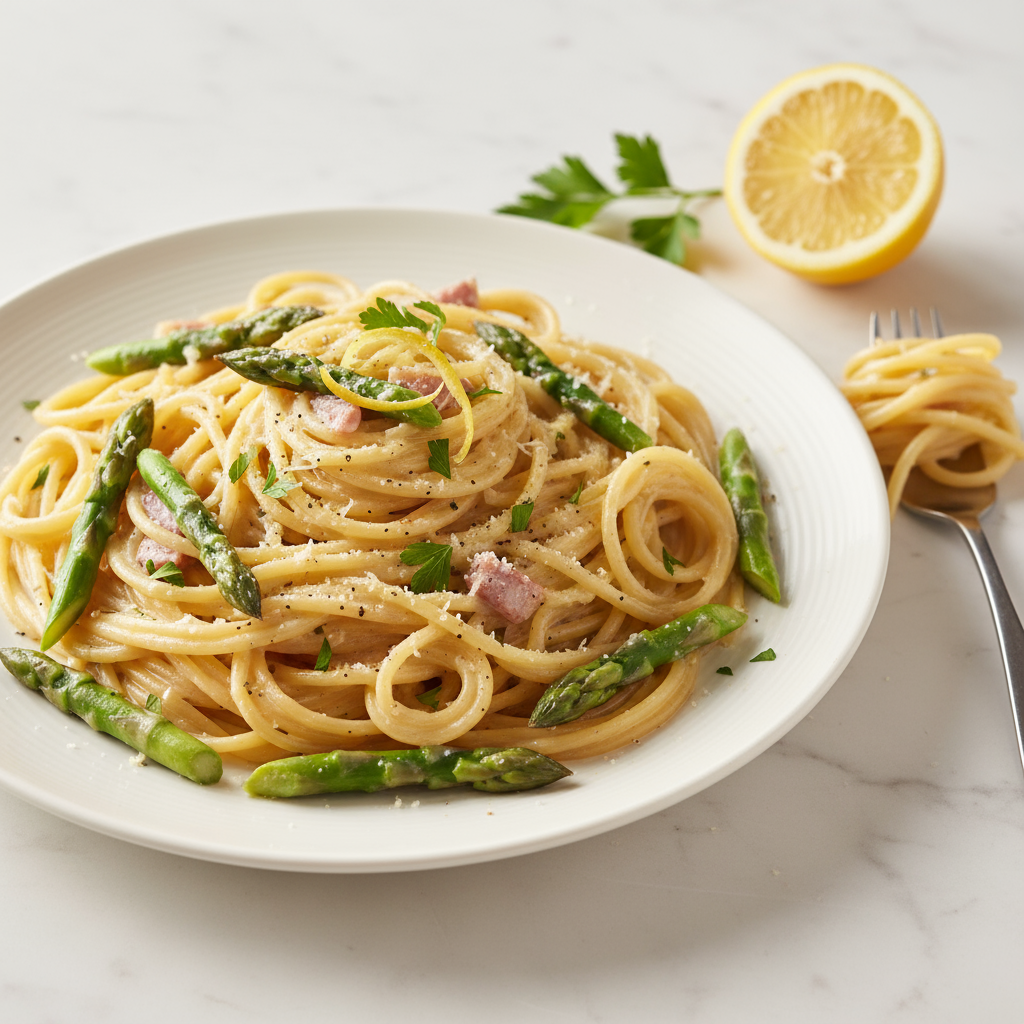
500g penne pasta, cooked al dente
4 cups bolognaise sauce
1 ½ cup pizza cheese, grated
1 cup parmesan cheese, grated
2 eggs, lightly beaten
1 cup parsley, roughly chopped
Preheat oven to 160° C fan-forced. Spray a 33cm springform pan with cooking spray and set aside.
In a frying pan, heat cooked pasta and bolognaise sauce until hot. Remove from heat and stir in half of the pizza cheese, half of the parmesan cheese, eggs and parsley until well combined.
Pour into the springform pan and smooth top with a spoon. Sprinkle remaining cheeses over the top and bake for 20 minutes or until the top is golden. Serve hot or cold.
Serves 4-6
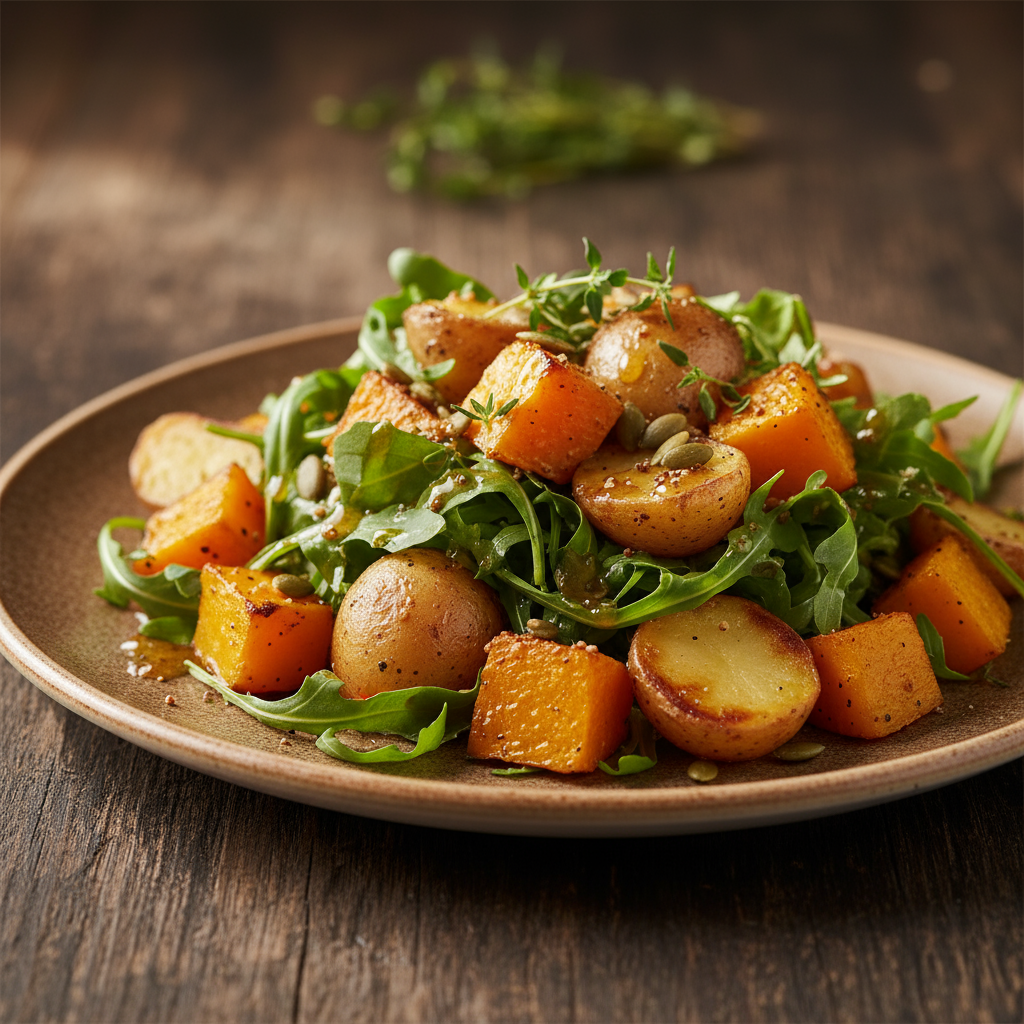
Ingredients:
Directions:
Preheat oven to 180°C. Line baking tray with baking paper and place the potatoes and pumpkin on the tray. Drizzle with olive oil and toss to coat.
Season with salt and pepper and roast for 45 minutes, turning the vegetables halfway through the cooking period.
Place in a serving dish and drizzle with the dressing. Toss the rocket through right before serving.
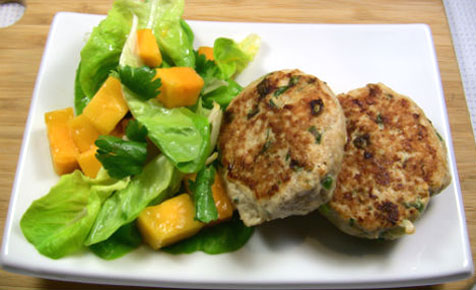
Try this gorgeous chicken and coriander rissoles served with a sweet, spicy mango salad. So fresh and easy, you’ll be asked to make this again and again.
Mix rissole ingredients together, and then make 8 balls and flatten slightly. Cover and pop in the fridge for 15-20 minutes.
Heat large frying pan to medium-high, spray lightly with Dot’s Canola Oil Cooking spray.
Remove the rissoles from fridge and cook for 3 minutes on each side or until cooked through. If you don’t have a pan large enough, cook in batches in a smaller pan. Allow to rest for a couple of minutes.
Make the salad by combining lettuce, coriander and mango together.
Mix sweet chilli sauce, rice wine vinegar, sesame and vegetable oils together in a jar and pour over salad.
Top with cashews and serve with rissoles.
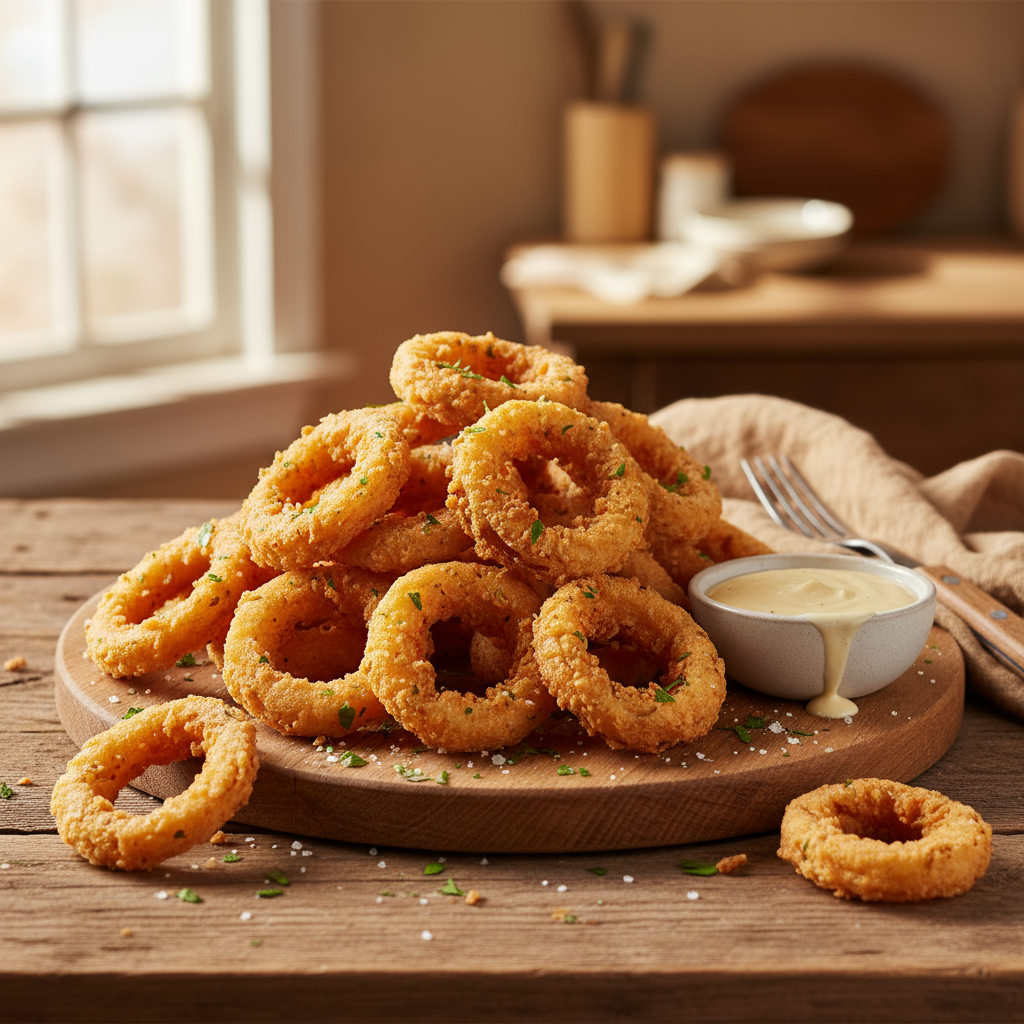
Separate onion slices into rings and set aside.
In a small mixing bowl, combine the flour, baking powder and salt.
Dip the onion rings into the flour mixture so they are completely coated.
Whisk the egg and the milk, and add into the flour mixture.
Dredge the floured rings through the batter mixture. Drain the excess of the batter off the onion rings by leaving them on a wire rack for a couple of minutes.
Place the breadcrumbs on a plate and cover the onion rings well one by one with the crumbs.
Heat oil in a small saucepan until very hot. Add the onion rings to the oil in batches of 3 or 4. Fry for 2 – 3 minutes.
Remove and drain on kitchen paper.
Season with salt. Serve immediately.
Ingredients:
Method:
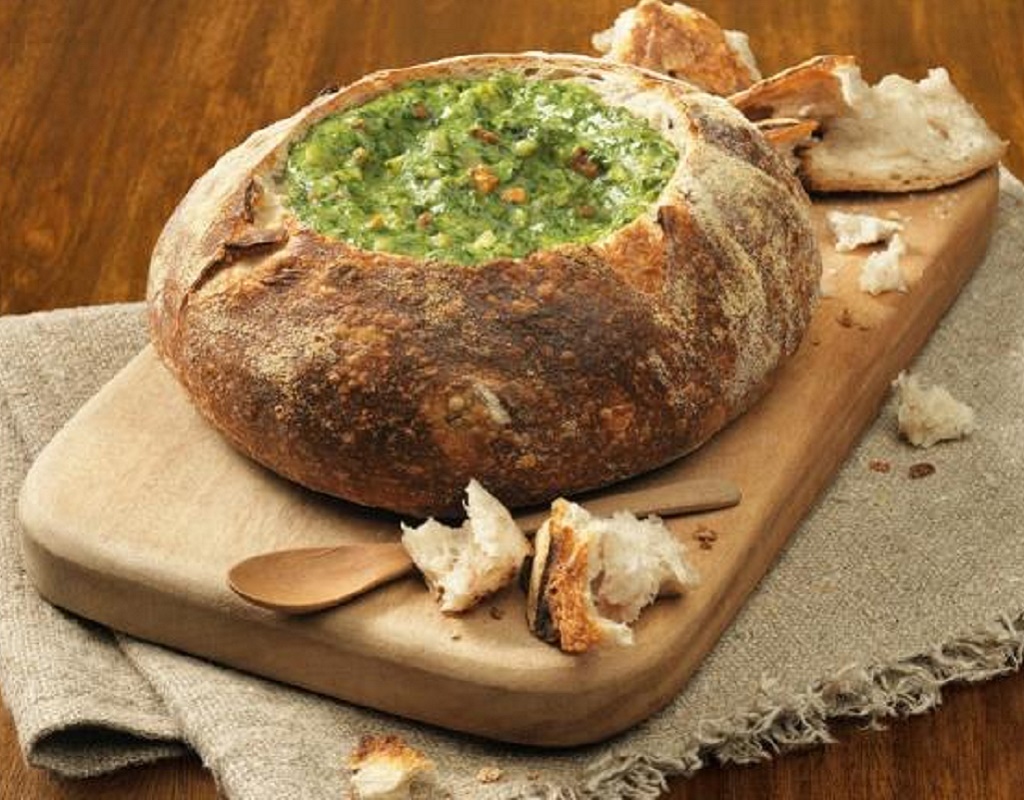
Defrost spinach and squeeze out excess water.
Combine onion, spinach, sour cream, mayonnaise and soup mix in a bowl. Refrigerate for 4 hours or overnight.
Preheat oven to 180°C. Take a lid off the Cobb loaf and scoop out bread in bite size pieces and put aside.
Spray all the bread with non stick cooking spray and bake for 10 minutes on an oven tray to crisp up.
Leave to cool and fill with spinach mixture.
Serve with lid and reserved bread.
Serves 4-6.
Ingredients:
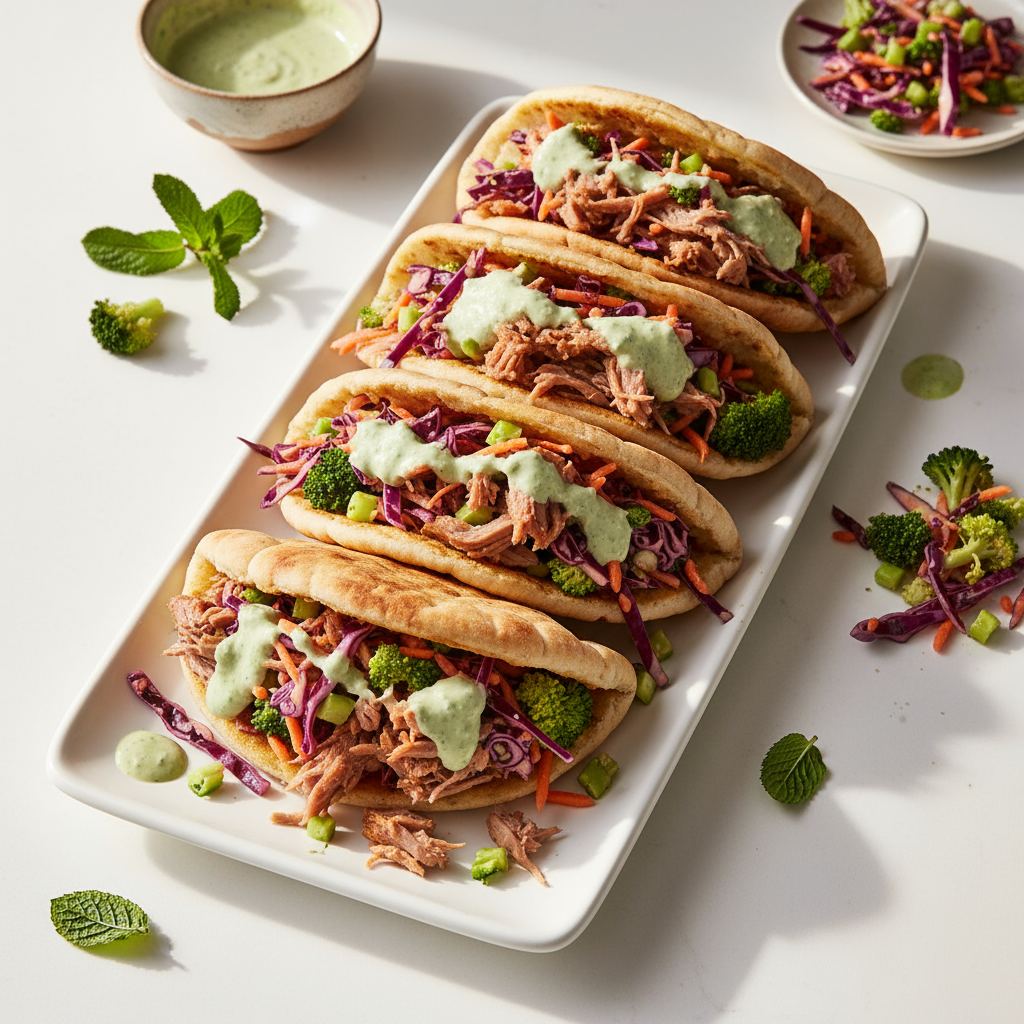
FRESH MINT DRESSING (makes 1 cup)
Method:
Toss the contents of the LeaderBrand Broccoslaw bag with the enclosed Lemmonaise Dressing sachet. Leave to chill while preparing the pita pockets.
Preheat the oven grill to 200°C. Place the lamb in a baking dish, cover with foil and heat through in oven. At the same time lay the pita pockets on a baking tray and toast for 3-4 minutes.
Prepare the dressing; in a small jug combine together the lemon juice, vinegar, sugar, garlic, mint and mustard. Season to taste. Whisk together while adding the oil last, to emulsify.
Cut the pita pockets in half and spoon in some of the prepared LeaderBrand Broccoslaw salad and slices of red onion. Top with the warmed lamb and spoon over the fresh mint dressing. Serve immediately garnished with fresh mint leaves.
Brought to you by ![]()
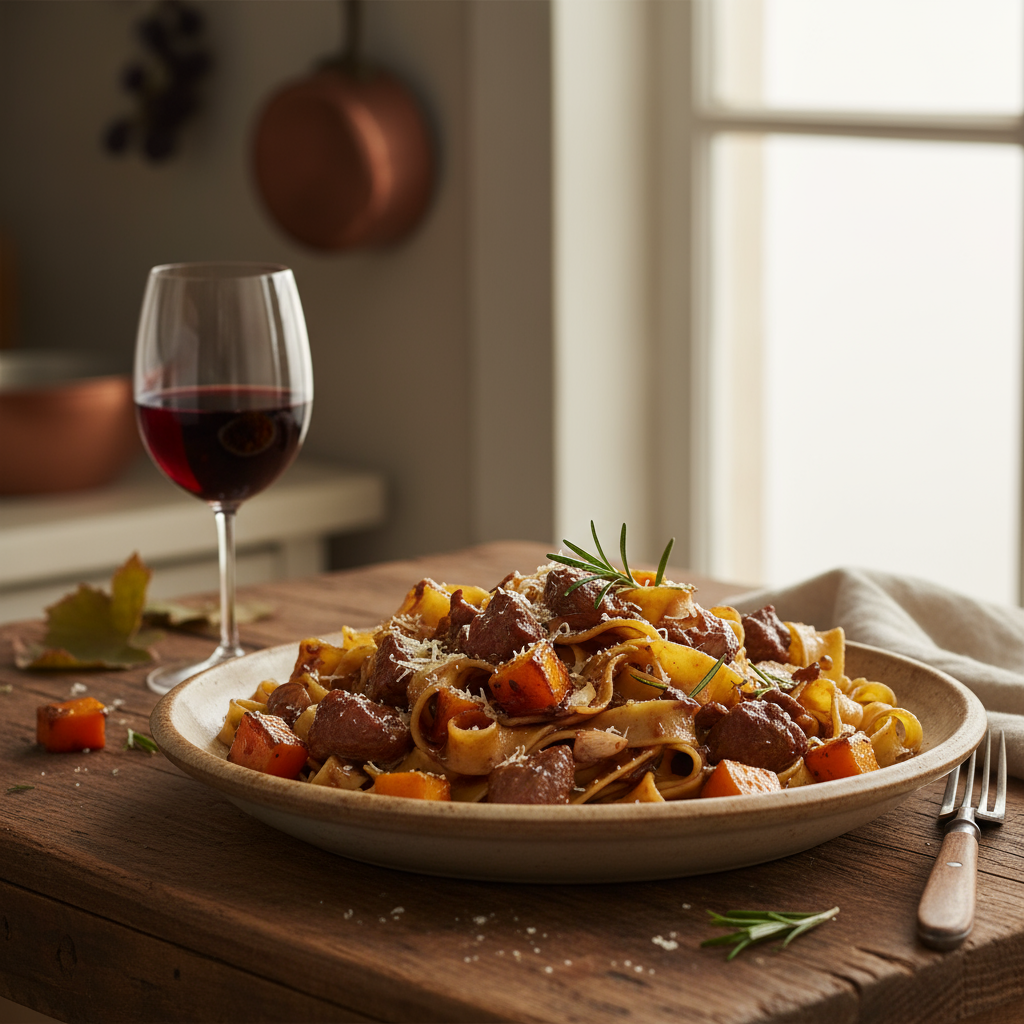
Serves 4 People | Prep. 10 min. | Cooking time 25 min.
Ingredients:
Method:
In a large fry pan, gently cook onions and garlic in a little oil.
Once golden, add the herbs and meat. Brown the meat then add Barilla’s Red Wine & Garlic sauce and bring to a simmer for 10 minutes. Season to taste.
Season the pumpkin with salt and olive oil on a plate. Cover with plastic wrap and cook in a microwave for 2 minutes. Being careful as you take the plastic off, cut the pumpkin in cubes.
Meanwhile, bring plenty of salted water to the boil, (7g to 1L of water), and when boiling add the Pappardelle and stir.
Drain pasta al dente and toss it together in the sauce for a further 2 minutes.
Remove from the heat and add the cheese, stirring in the pumpkin and a drizzle of olive oil.
Chef Tip: You can change the vegetables, according to the season, using green peas, broccoli etc.
Chocolate cake:
This can be made up to a month in advance and kept in the freezer.
Decorations:
Royal icing to glue fondant walls:
Equipment and other items needed:
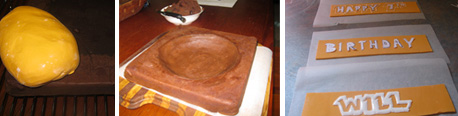
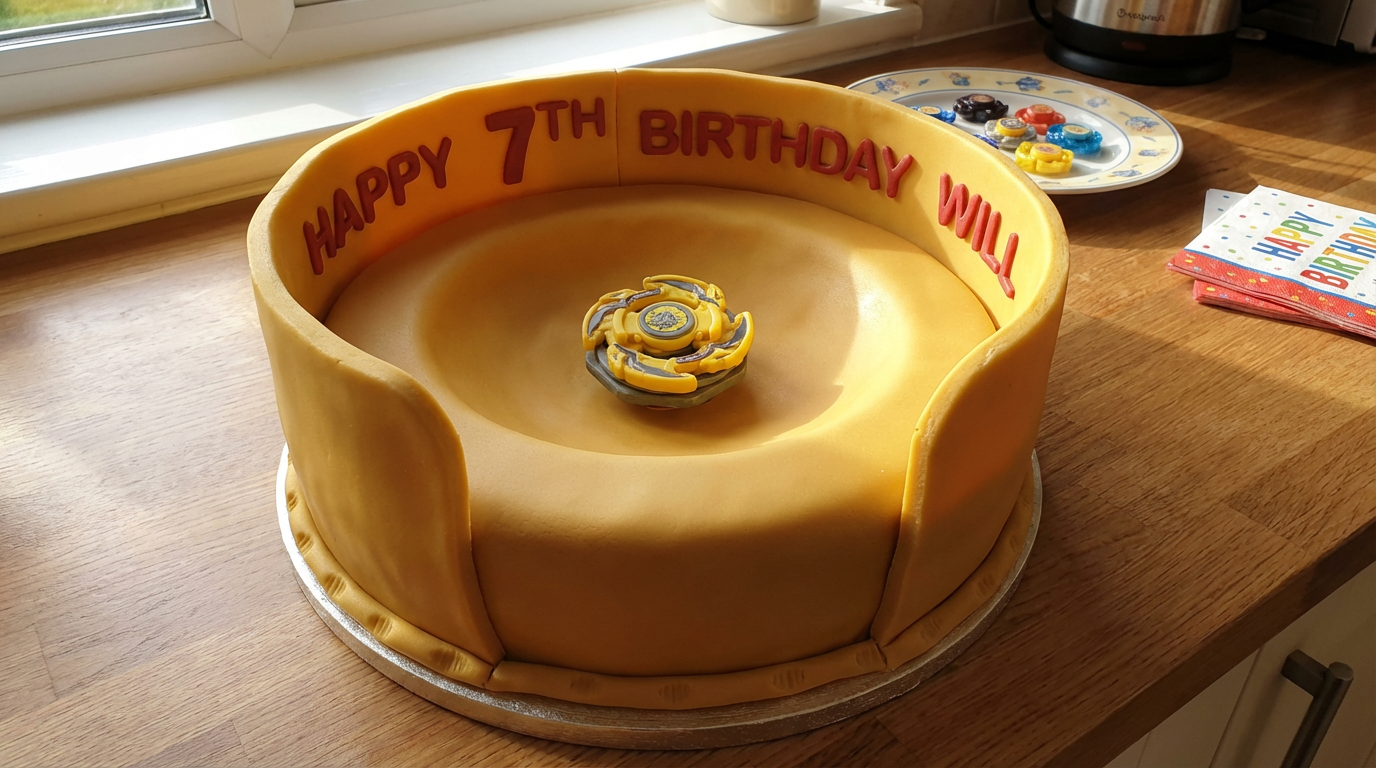
1. Colour the fondant icing before rolling out 2. Gently scope out a disc of cake to create the beyblade stadium 3. Roll out and cut fondant into rectangles and allow to dry before stenciling letters
Chocolate cakePreheat oven to 180°C.
Line tin with greaseproof paper.
Melt the butter and chocolate in the microwave, on high, for one minute or until chocolate is melted.
Beat eggs and sugar in a mixing bowl until pale. Mix in the butter/chocolate mix before folding in flour.
Pour into tin and bake in oven until the mix springs back when gently pressed.
Keep the cake in the tin for approx 5 minutes before turning onto a wire rack – keep the bottom side up at all times to avoid making lines as this will be the presentation side up.
When the cake is completely cooled (best if you can keep it in the fridge to chill right down before going any further) you will need to flatten the ‘bottom’ (which was the top.) Place a sheet of greaseproof paper on the presentation side and turn over. Use a serrated knife and cut the top of the cake so it’s as flat as possible. I usually cut a little at a time so that I don’t accidentally cut away too much cake! These bits of cake can be used as fillers for any holes in the sponge or to adjust the cake if it’s not evenly cut.
Turn back over onto greaseproof paper and cut a circle in the centre to create the dome shape. Go slowly and steady to avoid cutting through to the bottom.
Keep aside any large pieces of sponge to be used for the main pieces of the beyblades. Mix the sponge off cuts with a little water until it becomes a putty consistency. Use this to create a smooth surface over the entire sponge. It is now ready to cover with fondant icing.
Readymade white icingThis is also known as ‘fondant icing’ and can be found in larger quantities in cake specialty shops – they also sell them already coloured if you don’t wish to do that yourself. It will keep for a long time if stored in a cool place and if wrapped very well – I usually use a few layers of cling film before placing in an airtight container.
Usually the icing is quite firm to touch when you open the packet. Break it into small pieces with your fingers and begin to ‘work’ or ‘massage’ it until you notice is becomes smoother and softer. At this point, bring the icing together and knead as you would a dough until it is soft and smooth (the smoothness reminds me of my kids’ baby bottoms!). Once it’s smooth and soft you are ready to add the colour. Set aside a small amount (around 50g) for the yellow parts of the beyblades, 100g for the grey icing and 50g for the blue pieces.
Flatten a little, press some ‘creators’ into the dough and add a few drops of orange colour. Again, going slowly but steady is better than adding too much at once (unless you are after a very bright colour!) until you have achieved the strength of colour you are after. To work the colour into the icing, continue kneading as you would a dough. If the icing starts to stick to the bench use icing sugar, as you would flour to dough.
Once the orange is mixed evenly throughout, roll out to approximately 1/2cm thickness. It can be easier to roll it out on greaseproof paper – don’t forget to use icing sugar if it starts to stick. Use your rolling pin gently and turn the icing regularly so that the bottom won’t stick.
Using your rolling pin, and starting closest to your body, loosely roll the icing into the rolling pin. ‘Unravel’ the icing over the larger cake, making sure you allow enough icing to fall over the edges. This is the trickiest part of the whole process so the less kiddies around at this stage will probably make things easier. Use the natural curves of your hand and fingers to manipulate the icing so that it sits smoothly on the cake or use a ball of fondant dusted with icing.
Using kitchen scissors or a sharp knife, cut around any excess icing from the bottom and gently tuck in to hide the ends.
Carefully transfer the cake onto your serving plate or cake board.
To make the side wallsYou will need to make these at least seven days before you put them on the cake to allow them to dry and go hard. Make at least one extra wall just in case you have any disasters!
Roll out a strip of orange icing to the length of each side and approximately 5-8cm in height.
Cut out squares and allow to dry for at least seven days, more is better to prevent decoration disaster!
Once they are dry, use a stencil to pipe on wording or use letter cutters and stick on with a little water.
Also cover each icy pole stick with fondant icing, trim ends with a sharp knife and allow to dry.
Glue the poles to the walls at least 2-3 days before hand using royal icing. Allow to set until hard.
Making the glueCombine the egg white, lemon juice, food colour and icing sugar into a bowl and mix until the egg white is stiff. Place in a piping bag ready to glue.
To finish the cakeGlue the walls to the cake at least one day prior to the party – use props to help keep them upright and in the right position.
Although I am a qualified chef, I’ve had no formal cake making training. What I have learned is through trial and many errors. I hope that by sharing my knowledge, you can become as confident and as excited about cake making as I am! (without the mistakes!) I think the most important thing is to ‘give it a go,’ you’ll be producing amazing cakes before you know it!
Please feel free to contact me for any questions at info@chefsoniaandyou.com or at Chef Sonia & You .
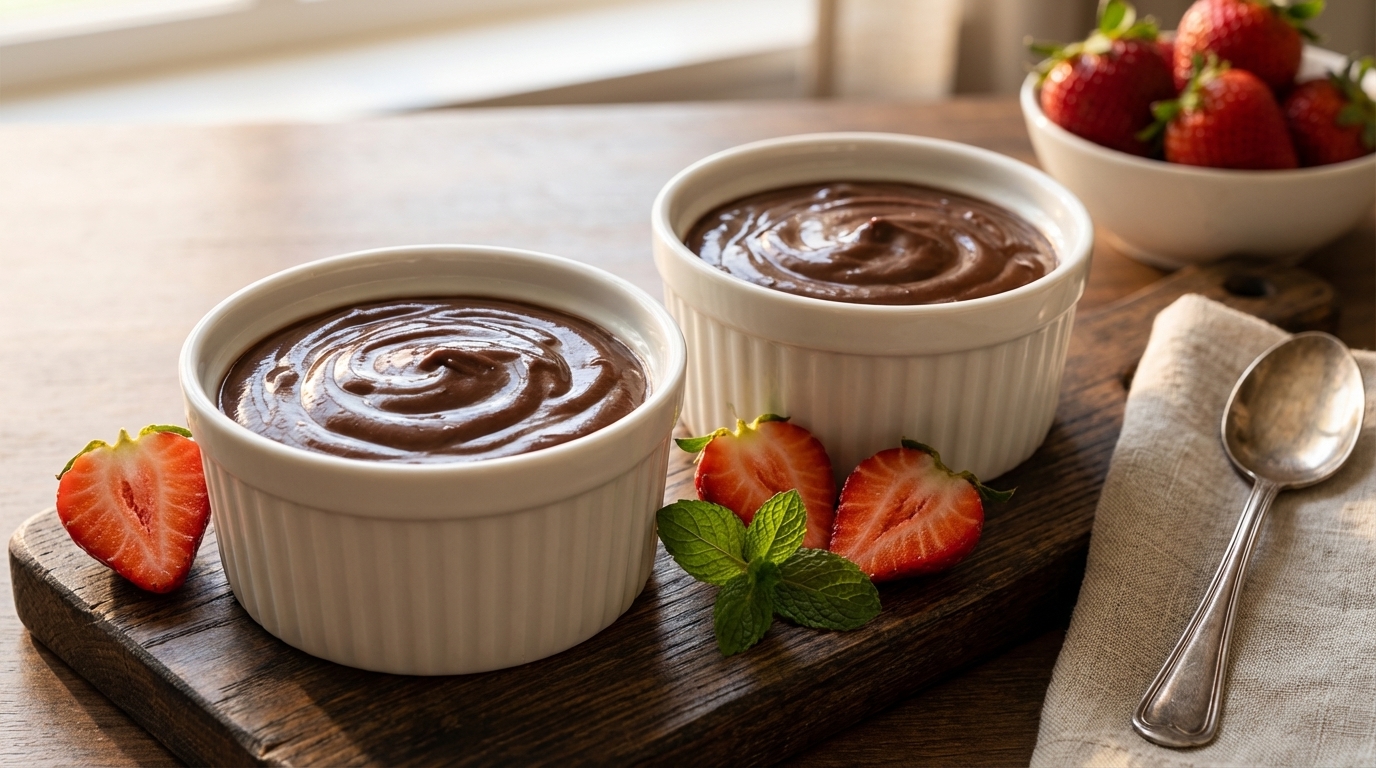
Pour cream into a small saucepan and heat until near boiling.
Remove from heat and add chocolate (I buy a 200g block and bash it against the bench before opening, then just pour the pieces into pan).
Stir well until chocolate has melted and mixture is smooth; it will still be a bit speckled at this point.
Whisk in egg yolks and your liqueur of choice.
Pour this chocolate heaven into small glasses, bowls or espresso cups. Refrigerate until cool or until needed. The mixture doesn’t set; it is a chocolate pudding creamy consistency. OMG.
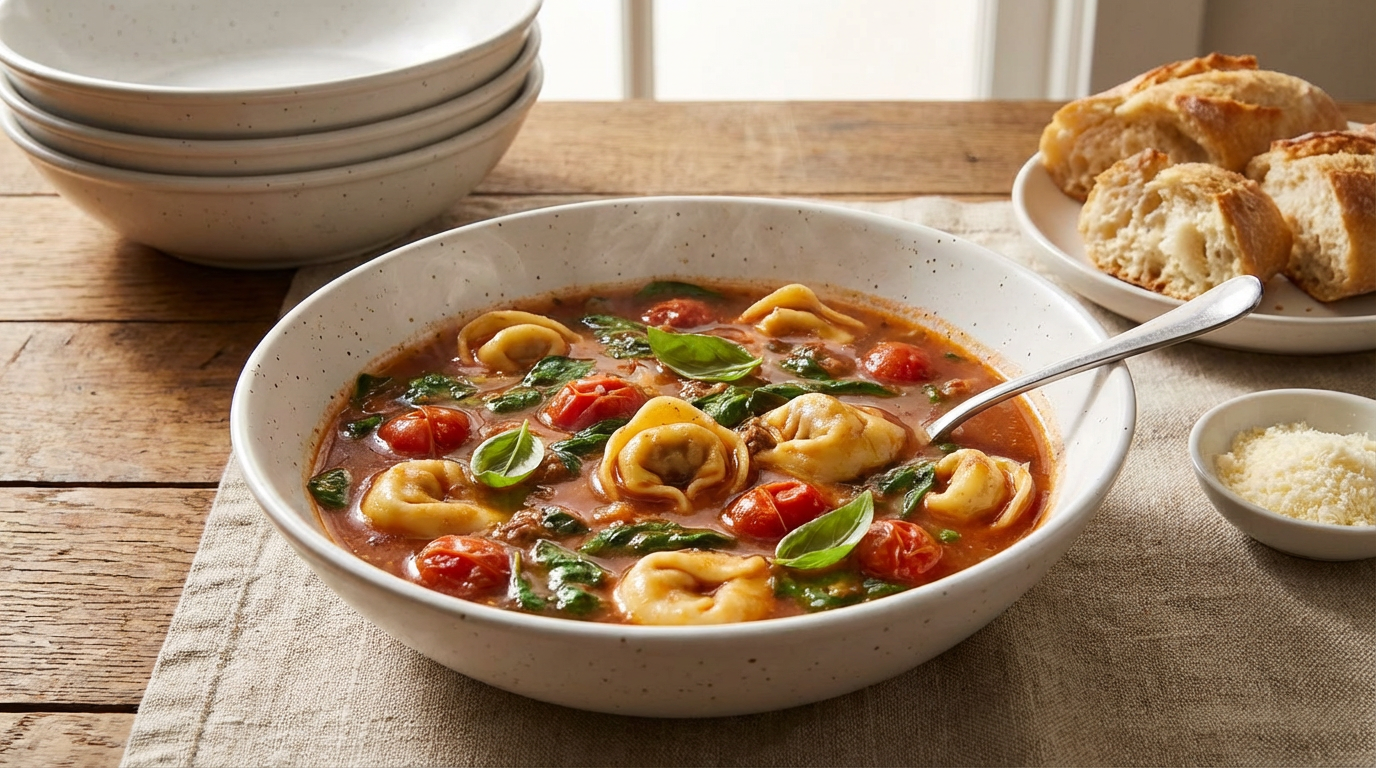
In a large soup pot, heat the oil and fry the onion until translucent.
Add the garlic, carrots, zucchini and tomatoes and cook for 3 minutes.
Add the boiling water, stock, bay leaves and oregano.
Return to the boil and pour in the tortellini.
Cook for 15 mins or until the tortellini is cooked.
Stir in the spinach leaves just before serving.
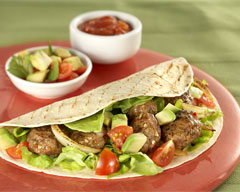
8 sizzling Fajitas
Tip: Add some Old El Paso™ Fajita seasoning to sliced onions and cook on the BBQ or pan. Great, with Steak, sausages and hamburgers.
Green dressing:
Preheat a barbecue grill to high heat. In a bowl, toss the beetroot and zucchini slices in oil and season to taste. Chargrill the beetroot for 5-7 minutes, turning each side until cooked and then set aside. Grill the zucchinis for 3-4 minutes, turning each side until tender and set aside.
Chargrill the corn cob until the kernels start to blister. Cut the charred corn kernels away from the husk.
Spread walnuts over half a piece of foil, fold over and scrunch edges to seal. Place the walnuts onto the barbecue hot plate, cook for 2-3 minutes until lightly toasted. On a platter, place the quinoa and top it with the chargrilled beetroot and zucchini slices. Drizzle generously with the dressing, sprinkle over the walnuts and extra mint to serve.
For the dressing, combine all the dressing ingredients in a small food processer, process until smooth and season to taste.
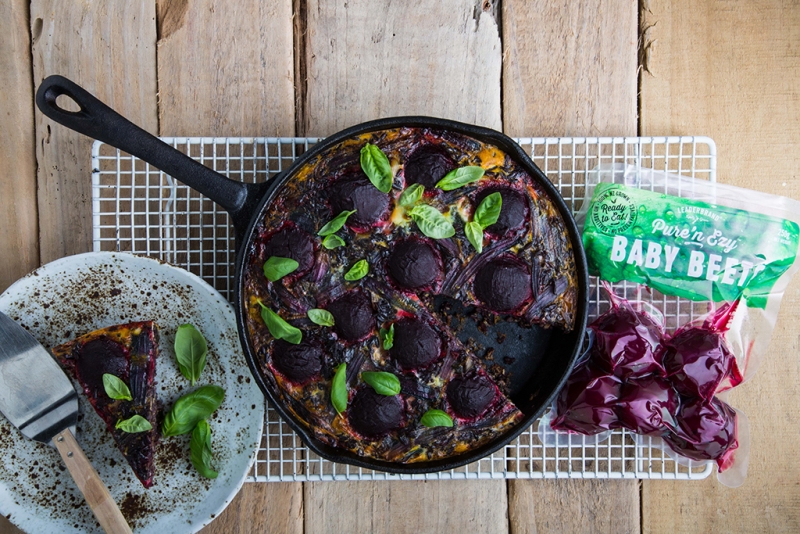
Place wild rice in a saucepan with two and half cups of cold water, cover and bring to the boil over a high heat. Turn down and simmer for 25-30 minutes until the water has mostly evaporated. Take off the heat, cover and set aside to finish steam cooking and leave until cool.
Preheat oven to 180°C. Warm the oil in a 25cm oven-proof frying pan or frittata pan on a medium heat. Cook the onions until tender, for 2 minutes, stirring constantly. Add the spring onions and cook a further 2 minutes.
Take off the heat and add the balsamic vinegar and stir. Add the onion mix to the cooled rice mix, add nutmeg and basil, and season to taste with salt and freshly ground black pepper. Mix until well combined.
Remove beetroot from the packaging and cut in half. Return the greased pan to a low heat, spoon in the rice mix. Arrange the beetroot on top of the rice mix, then pour over the beaten eggs, letting it sink into the rice mixture.
Cook dish in oven for 30-35 minutes, until the egg has set. Allow to stand for 10-15 minutes, before serving. Can be served hot or cold.
Notes:
Preheat oven to 180°C. Butter a baking sheet and set aside.
In a large mixing bowl, mix butter and sugars until creamy, then stir in the eggs, vanilla and banana. Stir in flour, bicarbonate soda, and salt. Add rolled oats and stir through until well combined.
Form small balls and allow enough room around each ball on baking sheet for it to expand while baking.
Bake for 12-15 minutes and cool. Store in an airtight container for up to a week.
Notes:
This recipe was created by Kristine Duran-Thiessen for Kidspot, New Zealand’s best recipe finder.
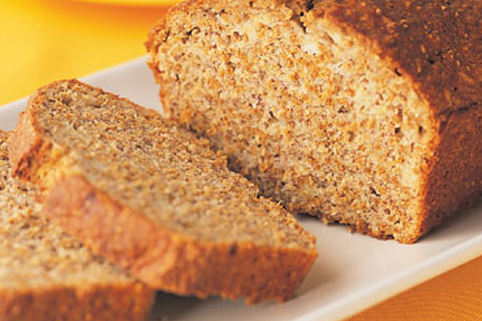
Preheat oven to 180°C.
Cream butter and sugar until light and fluffy.
Add egg and vanilla essence.
Beat well.
Stir in banana and Kellogg’s Rice Bubbles.
Sift dry ingredients together.
Add to mixture with nuts, stirring only until combined.
Spread into a greased 23 x 14cm loaf tin.
Bake in a moderate oven (180°C) for 40-50 minutes or until cooked.
Cool thoroughly before slicing.
Spread with butter and serve.
Preheat the oven to 180°C. Grease a 2.5L baking dish with butter and set aside.
In a bowl, mix the flour, sugar, baking powder and salt together.
Mix the banana, egg, milk, butter and vanilla into the flour mixtur until well combined.
Pour into baking dish.
In a small saucepan add all of the topping ingredients and bring to the boil.
Pour the boiling topping mix over the pudding mix and bake for 40-45 minutes or until a skewer pushed into the centre comes out clean.
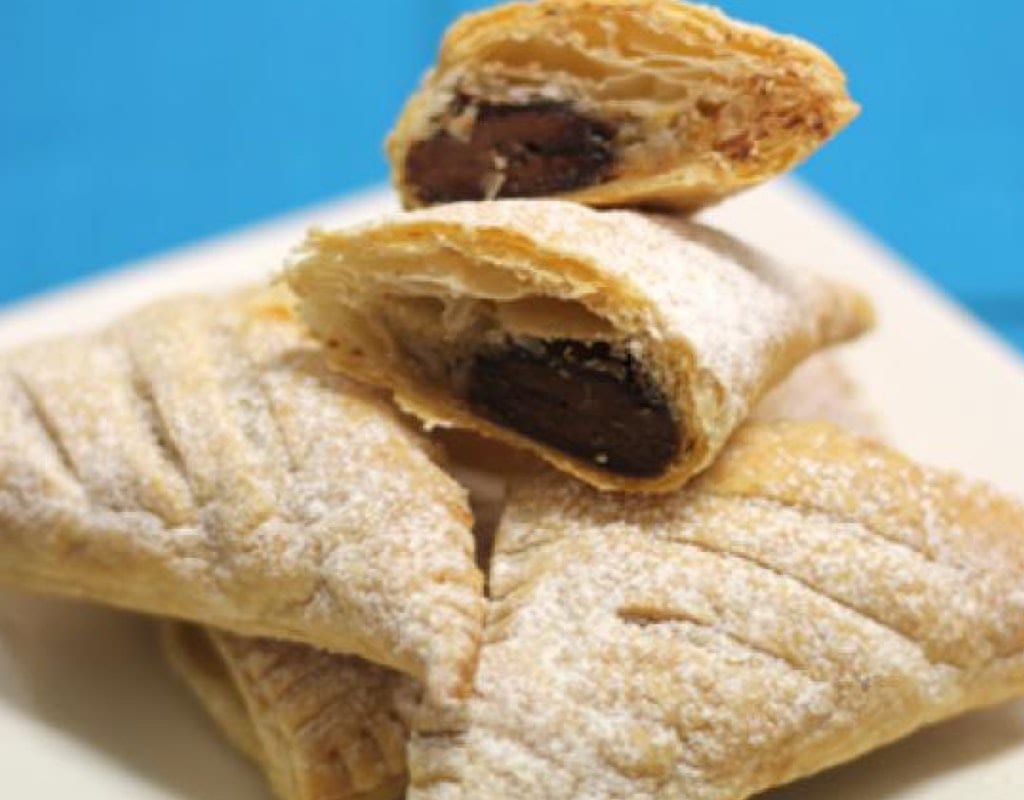
Preheat oven to 180°C. Place a sheet of baking paper on tray and set aside.
In a bowl, mash bananas and stir in brown sugar, almond flakes and chocolate chips.
Cut pastry sheet into 4 and place a tablespoonful of the mixture in the centre of a square and bring in the opposite corners to the centre and press them together, then repeat with the other two corners.
Brush with milk and place on baking tray. Continue with each parcel until all 8 are done.
Bake for 25-30 mins.
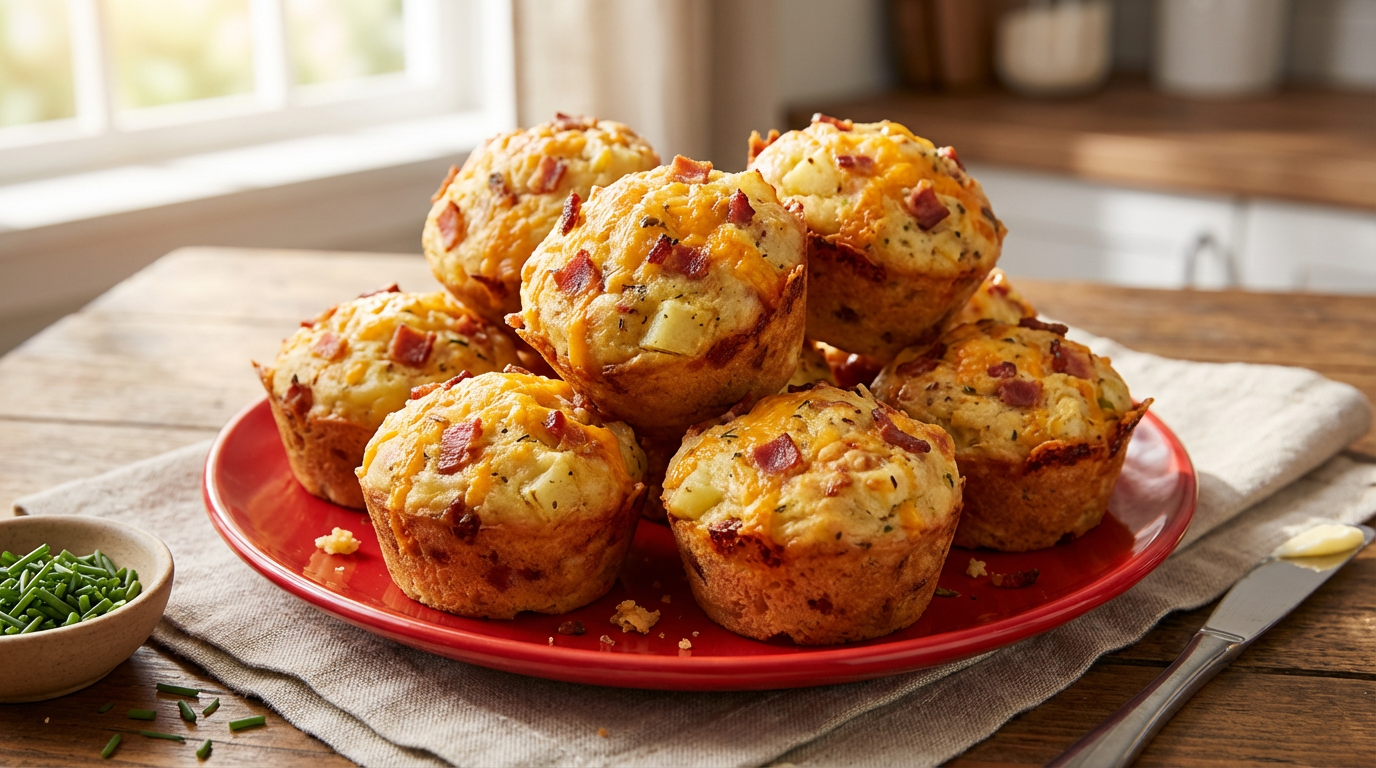
Preheat oven to 180°C fan-forced. Spray a 12-cup muffin pan with cooking spray and set aside.
In a frying pan, cook the onion and bacon until the onion is translucent and the bacon is crispy. Remove from heat and mix in grated potato. Season mixture well with salt and pepper and set aside.
In a large bowl, sift the flour and baking powder together. Add cheese and the onion, potato and bacon mixture. Combine with a fork.
In a small bowl, mix the egg and milk together and pour into the flour mixture. Fold together until all ingredients are wet.
Spoon mixture evenly into the muffin tin and bake for 15-20 minutes. Leave to cool in pan for 5 minutes then transfer to a wire rack to cool further.
Ingredients:
Place a medium pot of cold water on high heat. Add a good pinch of salt and bring to the boil.
While the water is coming to the boil, heat a large frying pan over a medium temperature.
Toss in the green beans with butter and bacon. Add salt and a good grind of pepper, then sauté for 3-4 minutes, stirring occasionally.
Add shredded silverbeet, garlic and chilli (optional) then stir to combine.
Add pasta to the boiling water.
Pour about ½ cup of the pasta water in with the pasta sauce, place a lid on the frying pan, turn down the temperature to low and simmer for 5-8 minutes.
Turn the heat off, add cheese and keep covered until pasta is ready.
When ready, drain pasta then place it in the frying pan on top of the sauce and thoroughly combine.
Serve.
Dust the bananas in the 1/4 cup of flour to coat.
In a bowl, mix the batter by combining the 1 cup of flour with the egg and milk and sugar and whisking vigourously.
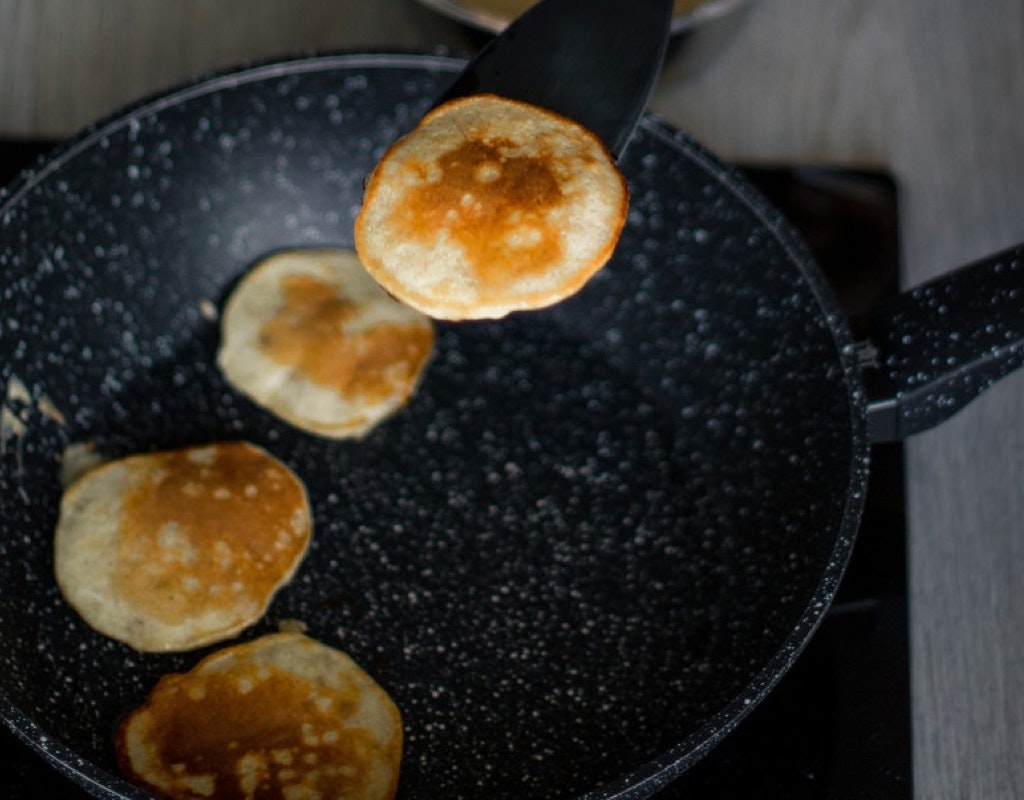
Heat a frying pan and melt a little butter in it.
Dip the banana disks in the batter and fry on each side until golden.
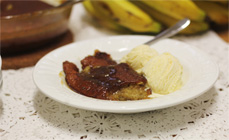
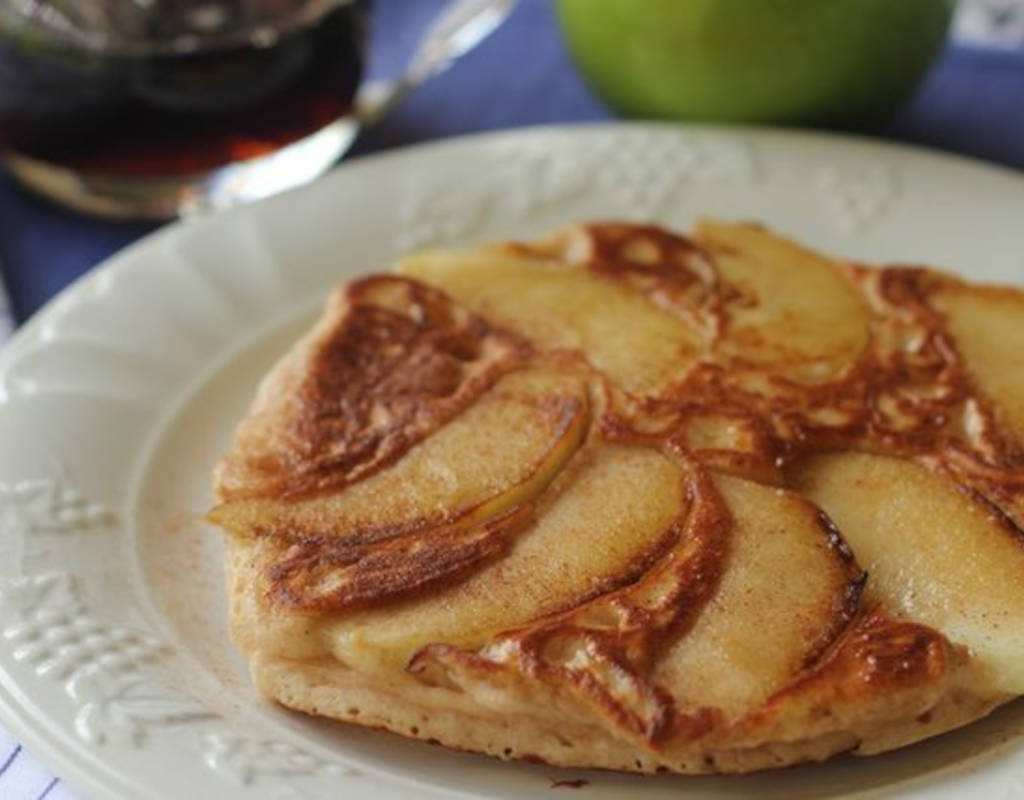
In a mixing bowl combine the flour, sugar, egg, vanilla and milk.
Heat a frying pan and add a little of the butter. Pour 3/4 cup of batter into the pan and arrange apples in a circle on top of the batter.
Brush the apples with a little of the melted butter in the pan and sprinkle with cinnamon.
Carefully turn making sure not to dislodge the apples and cook on the other side.
Kidspot New Zealand is all about simplifying the search for kid related fun, activities, sports and related trappings. It makes it fast and easy for kids and their parents to identify things and places of interest leaving more time for all to enjoy!
Please contact us with new ideas and suggestions on how to make this a reality for you and your family.
Stay in the loop with all things family and fun! Subscribe to the Kidspot Catchup and receive a weekly does of parenting tips, tasty recipes, and exciting activities for the whole family.