Sponsored content provided by Resene
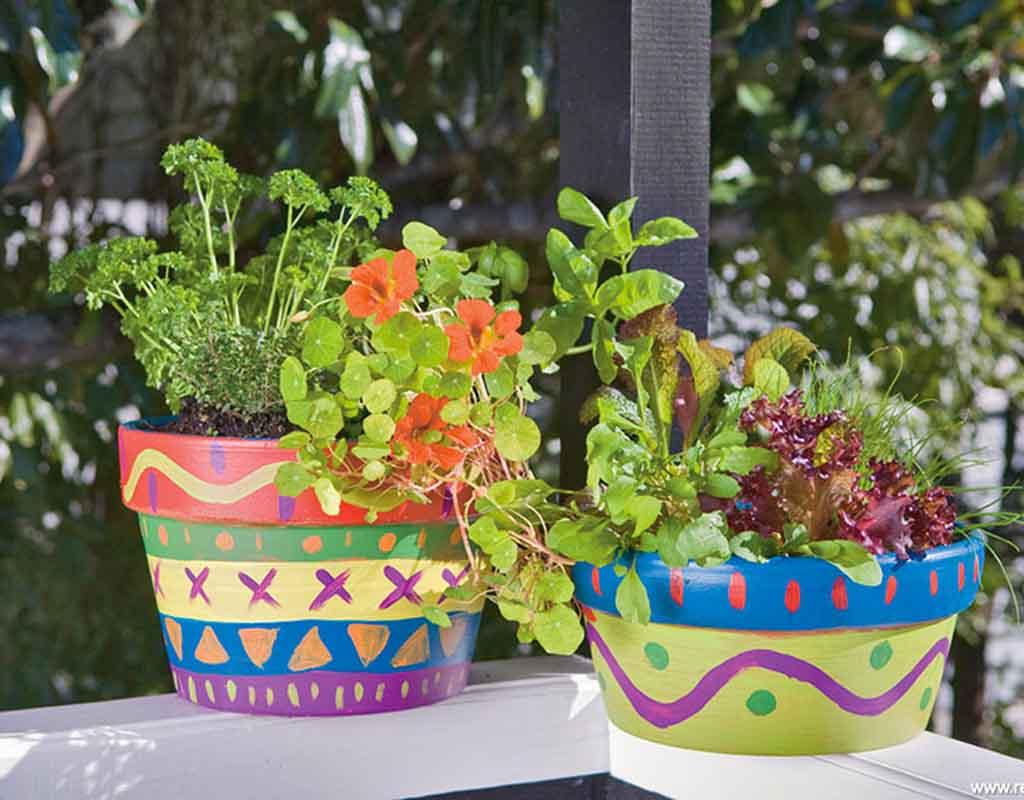
Give old pots a new lease on life with funky colour. Then fill them with herbs to add extra zest to your family’s meals!
You will need:
- Resene testpots of Resene Fast Lane, Resene Phoenix, Resene Limelight, Resene Guru, Resene Troubadour, Resene Lucky Break and Resene Gorse
- Old or new terracotta pots
- Selection of different sized brushes, pencil or pen
- Selection of herbs and salad seedlings, potting mix and trowel
Step 1:
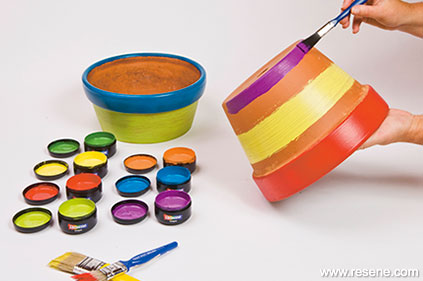
Clean pots if necessary first. Seal with Resene Waterborne Aquapel inside and out. Use different sized brushes to paint stripes around the pots. Leave a gap between the colours (you’ll paint this next) so that they don’t run together. Let the first coat of paint dry.

Step 2:
Finish painting the stripes round the pots, and let them dry. Draw a design onto the stripes with pen or pencil, using simple shapes like crosses, bars, hearts, spots, wiggly lines, vertical stripes, checks, diamonds, circles or ovals.
Step 3:
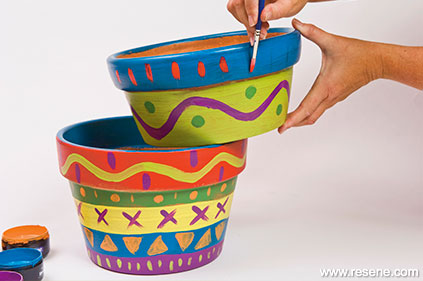
Paint the designs onto the pots. Choose contrasting colours for extra impact. Let the paint dry.
Step 4:
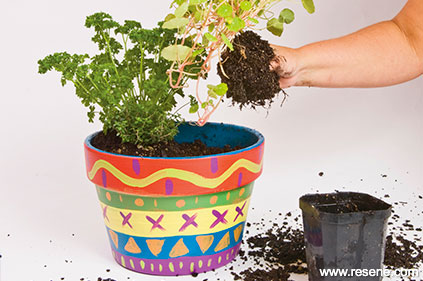
Pop a stone over the hole in the bottom of each pot, then half fill with potting mix. Remove the herbs from their containers and loosen the earth round the roots. Place them in the pots to decide what looks good with what. A mix of heights, colours and leaf shape works well. Once you’ve decided, place them in and fill in the gaps with more potting mix, so each plant is well supported. Water gently and place in a sunny spot outside.
For more projects and colour inspiration visit Resene.co.nz.
Article provided by Resene. Styling and words: Helena Dunn. Pictures: Mark Heaslip
Read more on Kidspot:





Leave A Comment
You must be logged in to post a comment.