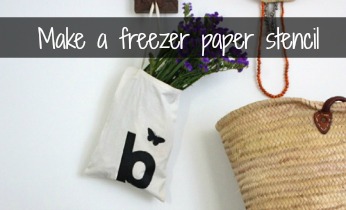
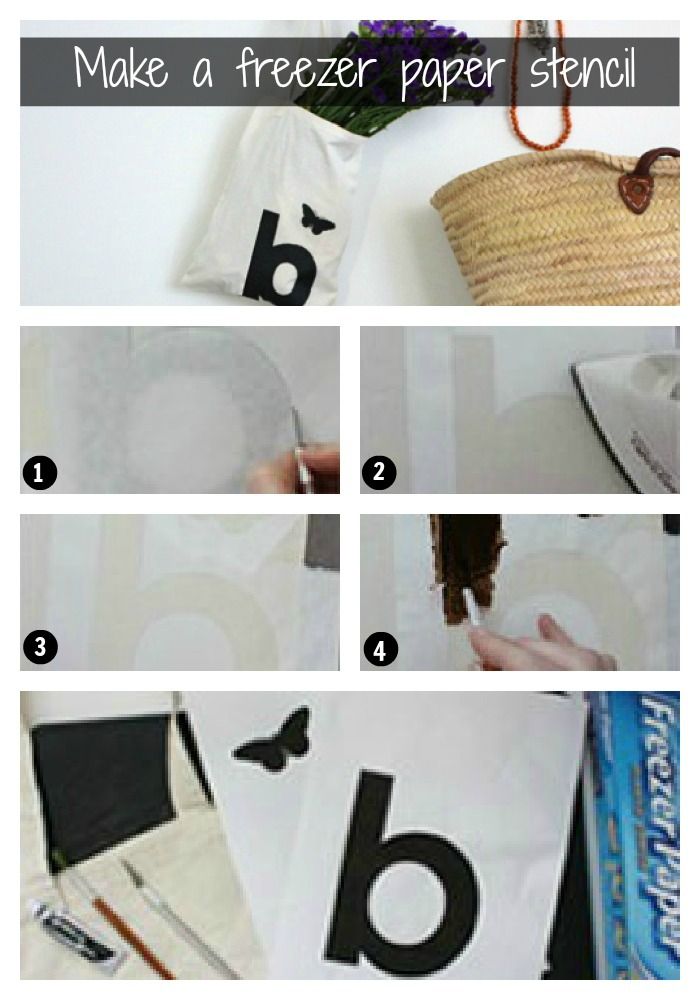
Make your own freezer paper stencil
What you need:
- a tote bag
- fabric paint
- paintbrush
- scalpel
- cutting mat or a chopping board
- prin tout stencil template
- freezer paper – it needs to be freezer paper for the paper to stick
- iron and ironing board
Number of players:
Activity:
Step 1. Tape a piece of freezer paper waxy-side down over the top of the stencil and cut it out with a scalpel. You could also trace the letter or image onto the freezer paper first and then cut the pencil outline. Keep all smaller, internal cut-outs such as the circle in a b or o.
Step 2. With the iron set on hot, put your main freezer-paper stencil into place waxy-side down on the bag and iron over it. The wax will gently melt onto the bag to create a seamless stencil. Now iron any insert cut-outs or smaller stencils into place. Slip another piece of freezer paper into the bag with the waxy side on the back-side of the area you’re stenciling and iron. This will create a seal that will avoid the paint bleeding.
Step 3. Paint the exposed area in the colour of your choice and leave overnight to dry or in the sun for several hours. Check fabric paint for specific instructions.
Step 4. Gently peel away the stencil … it will remove easily.
This activity was created by The Happy Home Blog.