Make the most of those DIY skills you picked up during Easter lockdown last year and create these cute-as crafts, courtesy of Spotlight.
There’s an easy-to-sew Glitter Poplin Easter Sack for a gorgeous way to collect all those eggs found on the Easter egg hunt. Or for those with Easter treats in mind, the Chocolate Bunny Lollipops are just the thing.
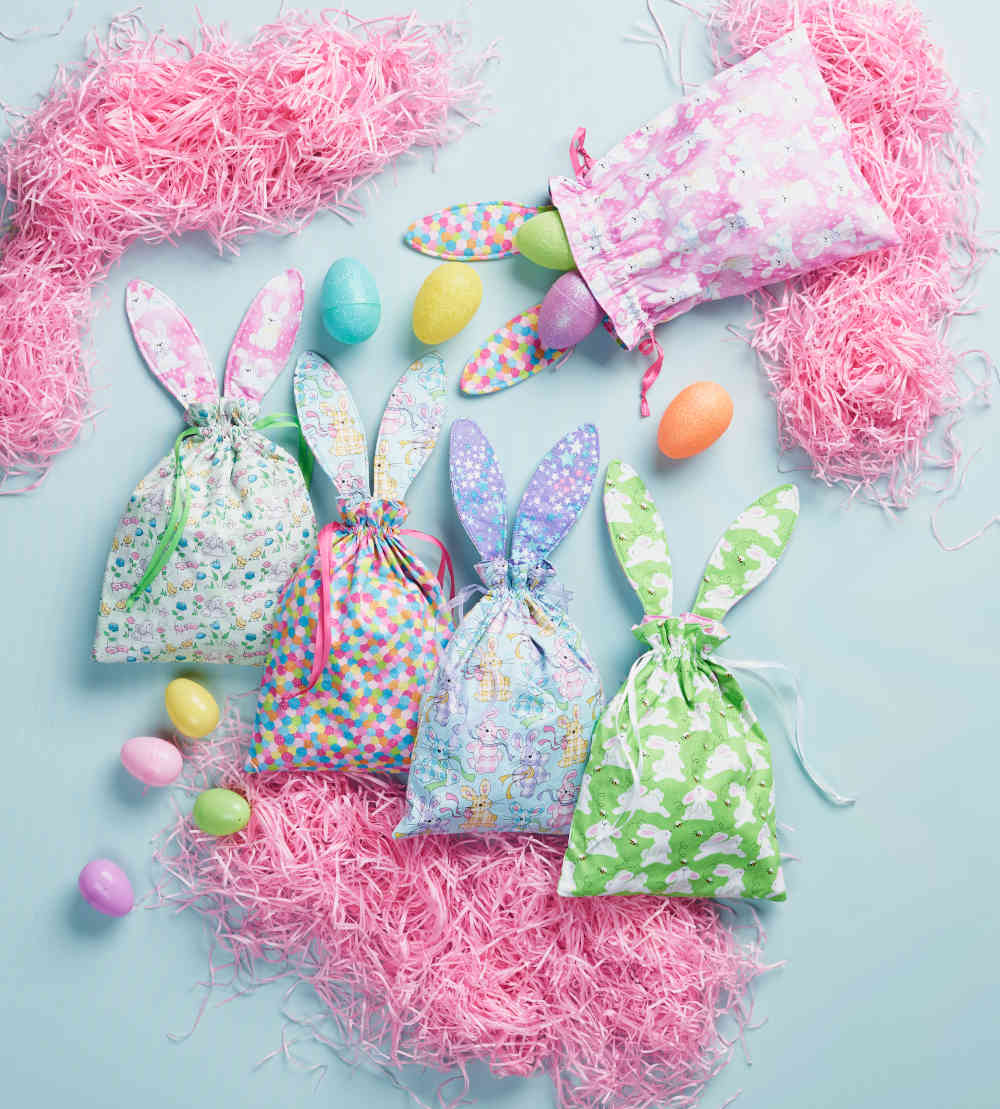
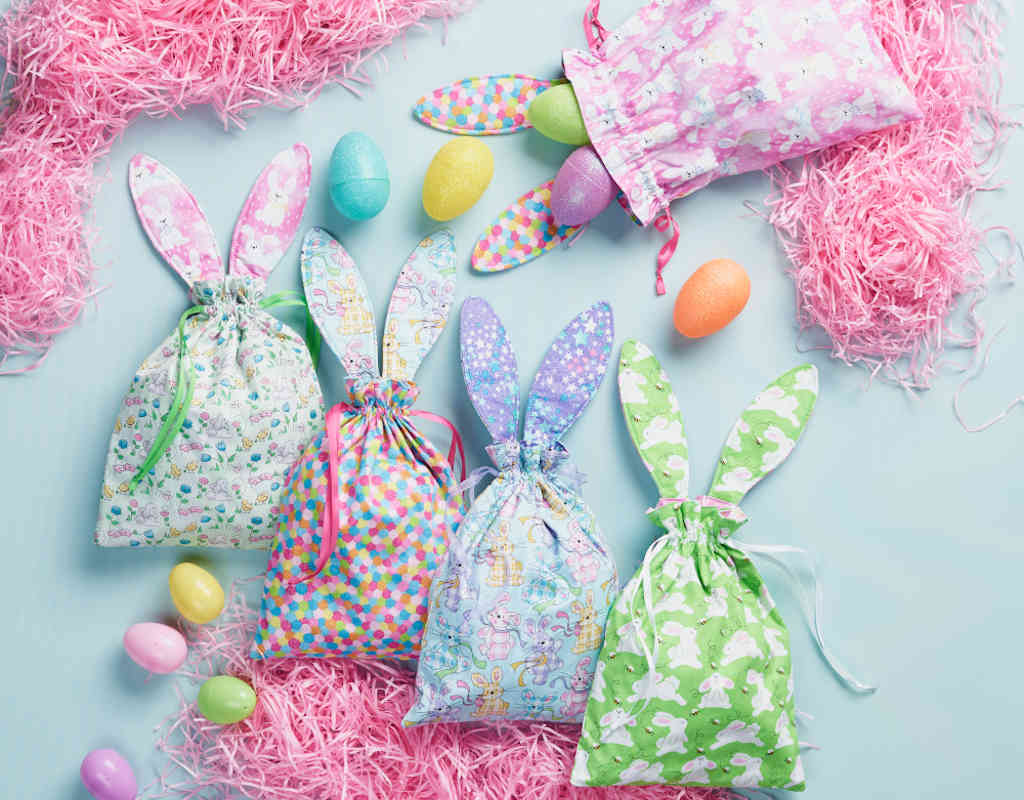
Glitter Poplin Easter Sack
WHAT YOU’LL NEED per bag
- 30cm of 112cm wide Glitter Print Poplin
- 30cm of 112cm wide Glitter Print Poplin – contrast print
- 16cm square of fusible medium/heavy Pallon
- 80cm of 3-6mm wide Ribbon
- Scissors, Pins, Safety Pin,Tape Measure/Ruler
- Sewing Machine, Sewing Thread
- Iron
INSTRUCTIONS
Ears:
Step 1 – From template* provided: Cut 2x ears from both of the Glitter Print Poplin fabrics. Cut 2x ears from fusible Pallon. Fuse wadding pieces to the back of two of the fabric ears.
Step 2 – With right sides facing, pin and sew ears together leaving the base of the ear open. Trim wadding back to the seam stitching. Trim and clip corners and turn ears right way out. Press ears flat. Top stitch around outer edges of the ears.
Drawstring bag:
Step 1 – Cut 2x pieces of fabric each measuring 30cm high by 24cm wide from one Glitter Print Poplin fabric which will be used for the outer bag.
Step 2 – With right sides facing, pin fabric together at sides and along the base. Sew down 4cm on one of the side edges. Leave a 1cm gap in the stitching, then continue sewing fabric together down the side and along the base. Repeat sewing along the other side edge the same as before, sewing down 4cm, leaving a 1cm gap, then complete sewing the side edge to the base.
Clip the base corners and turn right way out, press flat. Top stitch the seam allowance down along the 1cm gap in side seams to make it easier later when threading through the ribbon.
Step 3 – To make the lining of the bag, cut 2x pieces of fabric each measuring 30cm high by 24cm wide from the other Glitter Print Poplin fabric.
With right sides facing, pin fabric together at side and along the base. Sew pieces together along the side edges and the base leaving a 7cm gap in the base seam. Clip the base corners and turn right way out, press flat.
Step 4 – Aligning the raw edge of ears’ ends with the top raw edge of one of the top edge of the lining, pin ears 5cm in from each of the side edges of the lining. Sew ears to lining 5mm in from the top edge, ensuring that ears are only sewn to one side of the lining. Turn lining back wrong way out.
Step 5 – With right sides facing, place the outer bag inside the lining, matching side seams and top raw edges. (ears should be between layers pointing down). Sew together. Turn the lining out, top stitch the opening in the base seam of the lining closed. Place the lining inside the outer bag, pressing flat along the side and top edges, with the ears pointing up. Top stitch around the outer top edges of bag.
Step 6 – To make the casing for the ribbon, measure down 2.5cm from the top edge, and stitch around bag. Measure down another 1.5cm and sew another row of stitching around the bag. Cut ribbon into 2x 40cm lengths. With help from a safety pin, thread one ribbon length through one of the side openings in the seam, around the bag and back out through the same opening. Knot ends of ribbon together and cut to neaten if required. Repeat with the other ribbon length, threading through the other side opening in the side of the bag.
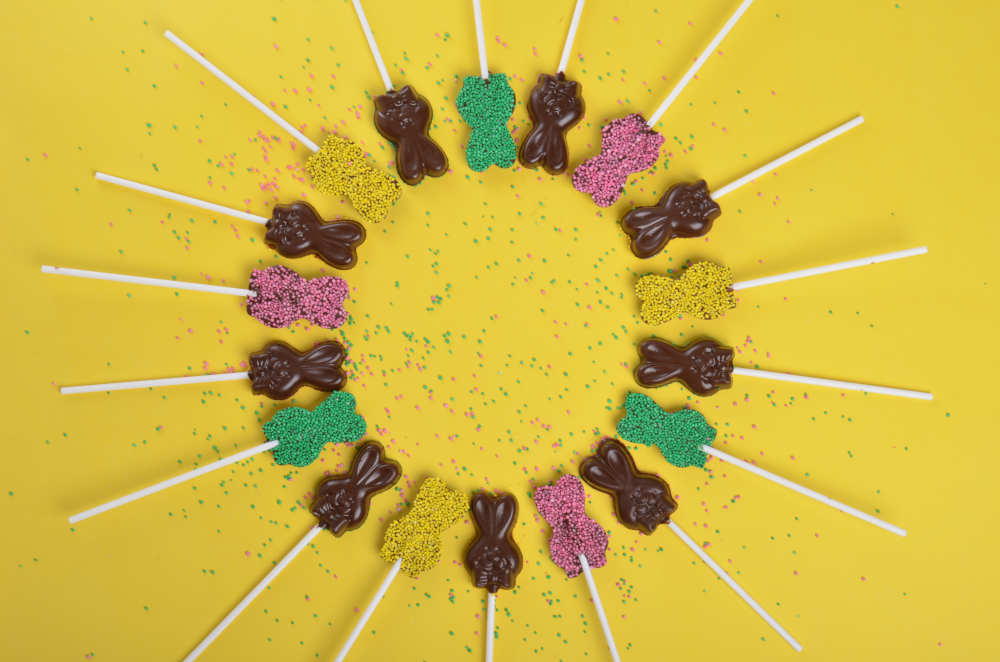
Easter Chocolate Bunny Lollipops
We hope you enjoy making lots of different types of chocolate bunnies! The best bit is, if you don’t like the look of one, just eat it, and try again!
WHAT YOU’LL NEED
- Easter Mould 121 – Bunny Lollypops (available at Spotlight)
- Melting Buttons
- Foil Wrapping
- Lollypop Sticks
- Easter Sprinkles
INSTRUCTIONS
Step 1 – Melt your chocolate according to your preferred method.
Step 2 – For a plain chocolate bunny, spoon or pipe the chocolate into each cavity, don’t overfill. Tap mould gently to release any air bubbles and leave in fridge to set, make sure you lay the chocolate moulds on an even surface for a smooth finish. Once set the piece should remove easily from the mould by gently flipping the mould over. If it doesn’t, it needs more time to set.
Step 3 – For a Chocolate bunny lollipop, following step 2 but after releasing any air bubbles, slide a lollypop stick into the back of the wet chocolate and gently rotate the stick so it also becomes coated in chocolate. Leave to Set.
Step 4 – For chocolates with sprinkles, follow step 2 but after releasing any air bubbles, gently sprinkle your Easter mix over the back of the wet chocolate. Then leave to set.
Step 5 – For a chocolate bunny wrapped in foil, follow step 2 to the end. Once set, remove from the mould. Place a piece of foil, coloured side down, over the back of the mould cavity. Place the chocolate on top, bunny face side down. Push the chocolate into the mould cavity and smooth the foil over the back. Remove from the mould, and smooth over again with your fingers.
The information is presented in good faith, but no warranty is given, nor results guaranteed. Quantities and selections may vary at each store. Copyright Spotlight 2020.
For more Easter projects visit Spotlight.co.nz
Information provided by Spotlight
See more: