Sponsored content for Resene
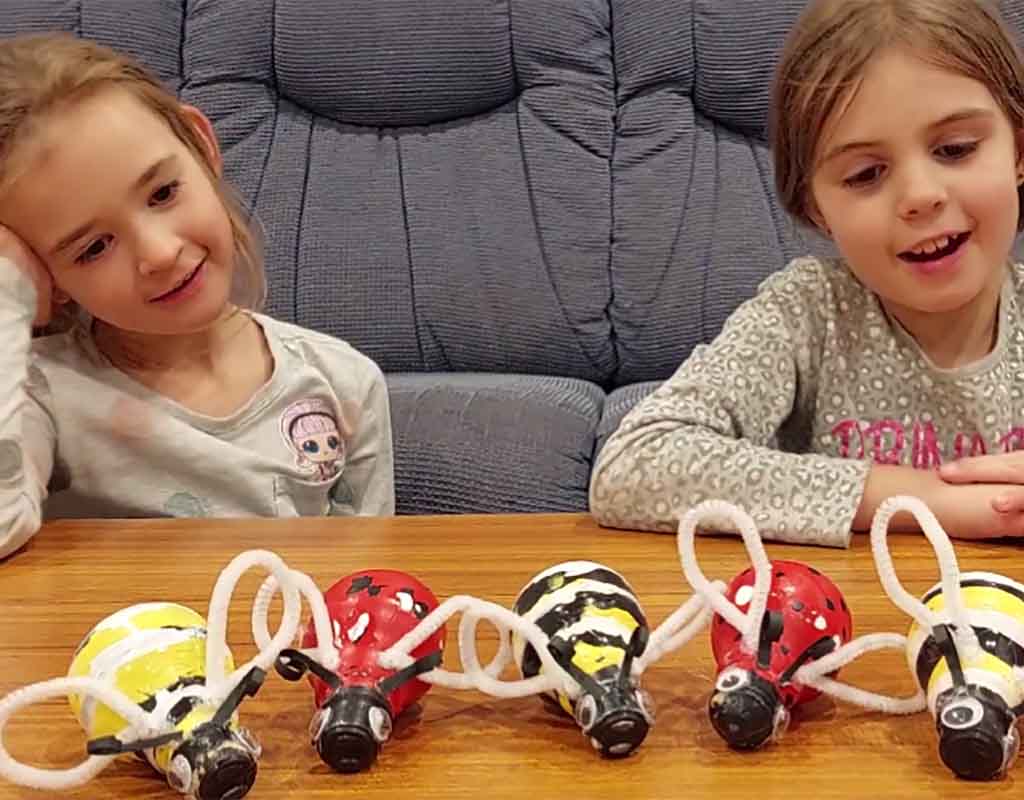
Repurpose old, blown lightbulbs and create some cute decorative glow-in-the-dark critters.
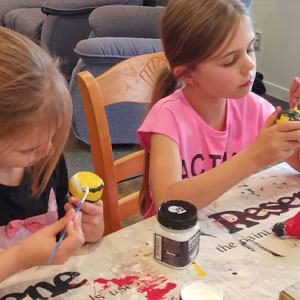
We asked Kidspot reader Katie and her gorgeous girls Ruby and Ella to create the project so we can follow along at home. They have provided step-by-step instructions plus a video below, on how to make your own glow-in-the-dark critters.
Although Katie hasn’t captured them glowing at night she promises they do! In fact, she loves the Resene FX Nightlight so much she’s going to use it on a larger scale in the girls’ room.
Tip – Katie used an end of a cardboard box and cut holes in it so the bulbs can dry safely without bumping the paint.
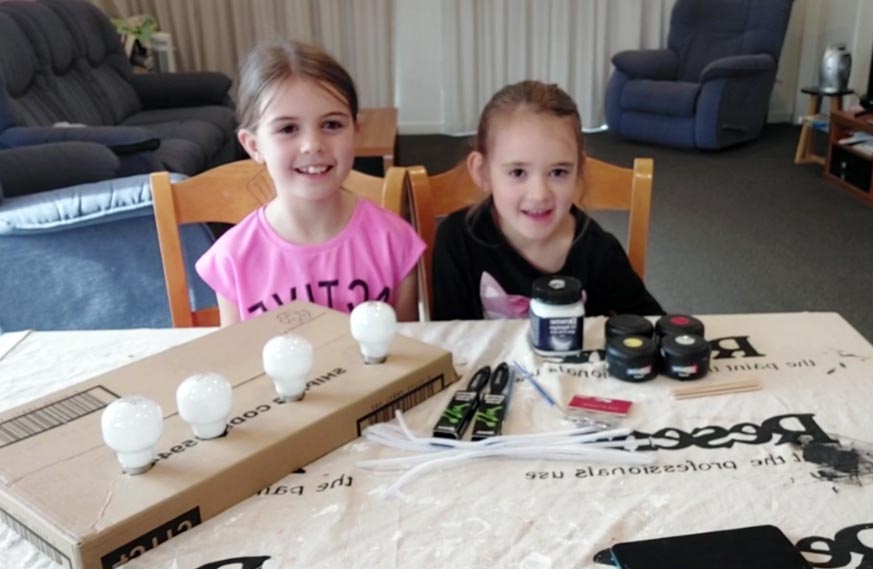
You will need:
- Old light bulbs to repurpose
- 4 Resene test pots, we used:
- Red (Bullseye)
- Yellow (Half Turbo)
- Black (All Black)
- White (White)
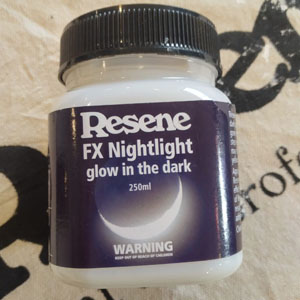
- Resene FX Nightlight glow in the dark
- Something to stir your paint with
- Resene Test Pot paint brush
- Smaller paint brush
- Black paper
- White pipe cleaner
- Googly eyes
- Hot glue gun and glue
Check out the video below of Ruby and Ella showing you how they created their glow-in-the-dark critters.
Step-by-step instructions to paint and create your lady bug or friendly bee
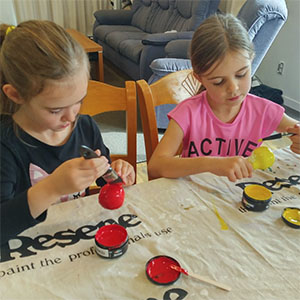
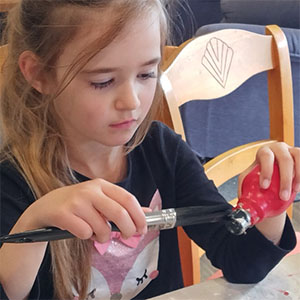
Step 1
Paint the glass part of the light bulb in either yed (for ladybug) or yellow (for bumble bee). You may need to do 2 coats for good coverage,
Step 2
Paint the metal part of the light bulb black (this part is the face), leave to dry than paint black spots on your red light bulb and black stripes on your yellow light bulb.
Step 3
Using the plain white, paint stripes on the bee and spots on the lady bug where you want them to glow.
Step 4
Using the Resene FX Nightlight paint, apply at least 3 coats over the white paint. Note that Resene FX Nightlight will only glow in the dark if painted over the white. Leave it to dry in between each coat.

Step 5
Glue two eyes on each light bulb, cut thin strips of black paper, twirl these around your thin paint brush to get a curly antenna, cut a pipe cleaner in two and glue them to the light bulbs to make the wing .

Step 6
You have now made two little cute glow in the dark critters to display in your room!
For more projects and colour inspiration visit Resene.co.nz.
Read more on Kidspot: