Promotion for Harvey Norman and Cricut
Struggling to keep the kids’ toys together in their sets and tidy? Katie, our resident Cricut lover, feels the same way. So she put her trusty Cricut Maker® 3 to work to bring some order to the playroom and make it easier for the kids to help tidy away their toys.
Cricut and Harvey Norman have a fantastic retail partnership that means an extended range of Cricut products is available to the growing community of New Zealand creators and aspiring makers alike.
Harvey Norman stores across New Zealand provide access to a great range of Cricut smart cutting machines that work with an easy-to-use app to help you design and personalise almost anything – custom cards, unique apparel, everyday items, and so much more!
Katie had already put her Cricut goodies to the test when she and her daughter created amazing decorations and props for an upcoming birthday party. Check out how Katie got creative this time with playroom storage.
The toy conundrum
I sometimes would call myself a bit of a “Monica” because I like everything to be put back in its correct place. I’m the mum that will stay up late at night sorting out the LEGO sets into resealable bags so all the correct pieces are together and I like the Barbie toys to be separate from the LOL dolls.
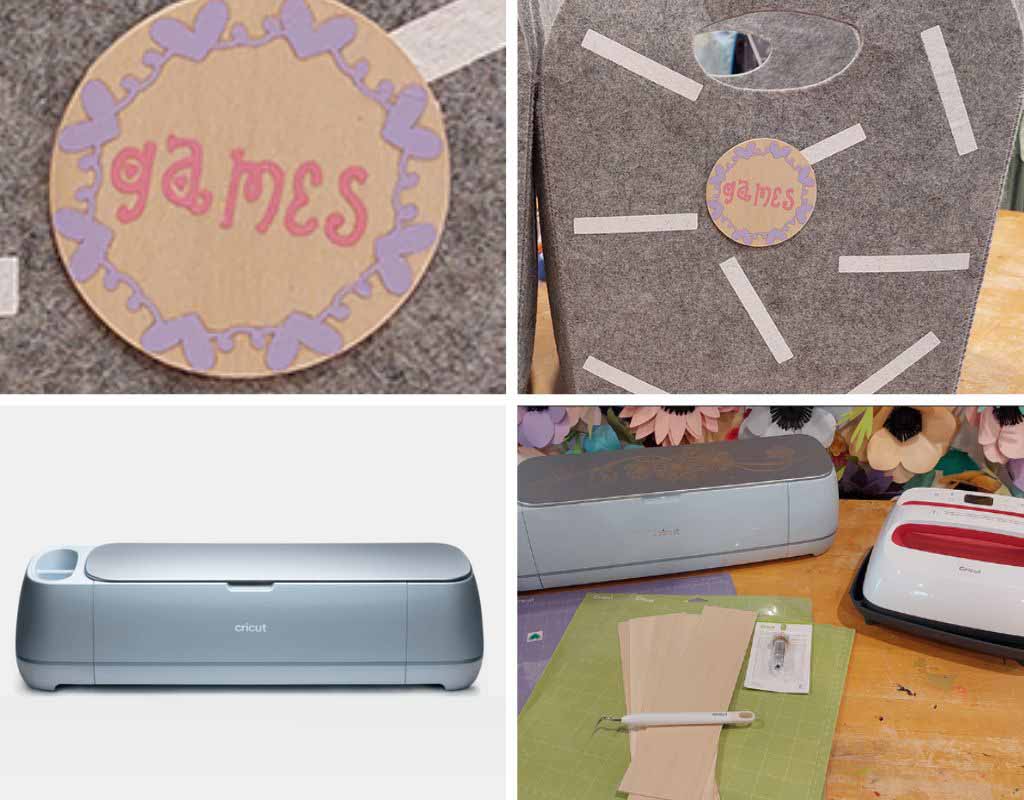
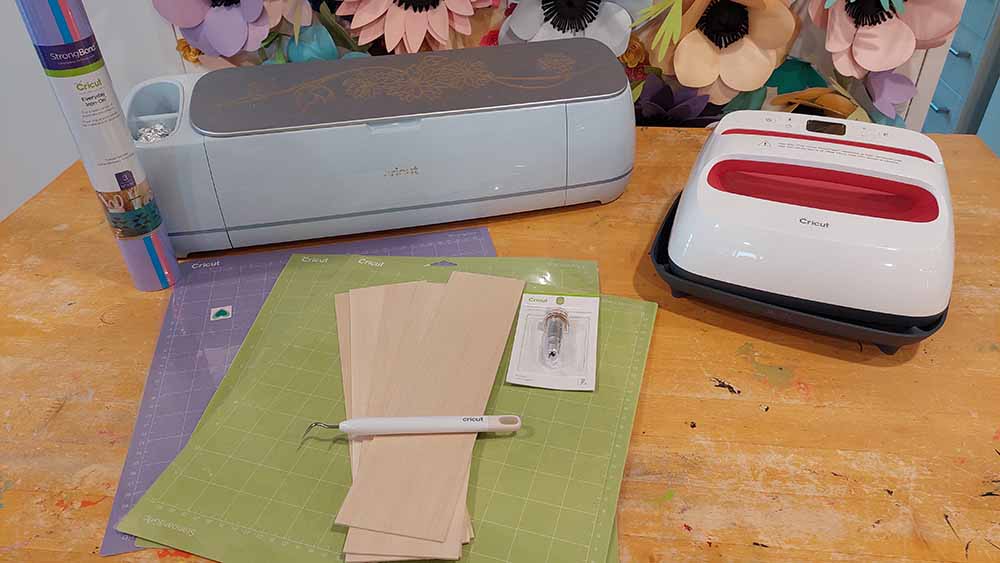
My kids (and husband) like to just chuck whatever is on the floor into any baskets, so I spend a lot of time sorting it out and putting it away correctly. That’s why I’ve decided to use my trusty Cricut to label our basket to make it easier for the kids to put items into the correct basket – oh and to make the playroom look prettier.
Project equipment
For this project I have used the following:
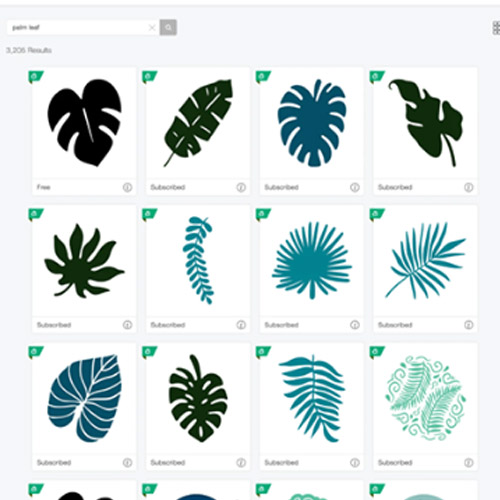
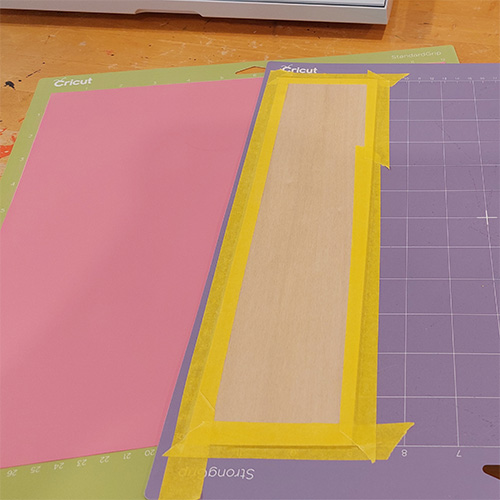
- Cricut Maker® 3
- Sample pack of Cricut Everyday Iron On
- Cricut Knife Blade + Drive Housing (please note this is not a standard blade and would have to be purchased separately)
- Cricut weeding tool
- Cricut Super Strong Cutting mat (purple mat)
- Cricut Standard Grip Mat (green mat)
- Cricut EasyPress
- Cricut Heat Tape
I also used:
- Balsa wood (I used 1.5mm)
- Painter’s tape
- Felt baskets
- Towel
- Hot glue gun
- Scissors
Step-by-step instructions
Step 1: Choose your label shape and design
Open up Design Space App. I personally find it easier to use the app on my laptop but you can also download the app to your Android or Apple phone or tablet. Find a design or create one for the label shape (the balsa) and the label decoration (iron on vinyl). Make sure you get all of your measurements correct!
Step 2: Prepare your mats
Get your mats ready to use in the Cricut Maker. If you’re not using Smart Vinyl, apply your Iron On Vinyl shiny side down to the Standard Grip Mat. Either way, ensure your vinyl is fully secured to the mat. I prefer the finish the Iron On Vinyl gives. Place and tape your balsa wood on your strong grip mat using painters’ tape or masking tape (make sure you don’t use a tape that will ruin your mat).
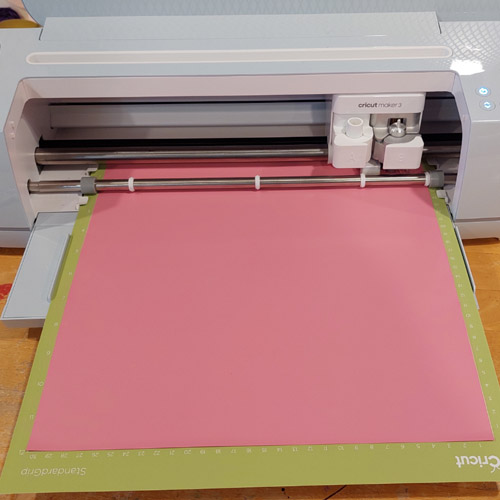
Step 3: It’s time to cut!
When cutting your balsa wood make sure you move the four white rollers to either side to let your balsa wood pass through the machine. Follow the prompts on the screen, select your material and start your cut. The machine will need to do more than one cut. If your wood is not cut through at the end you can press the Go button again (do not remove your mat) and keep doing this until your wood has been cut all the way through. The more complicated your shape/design is, the longer it will take to cut.
Tip: If you’re using iron-on, do not forget to mirror your image. Design Space will remind you to do this, however, if you’re like me there will be many times you forget!
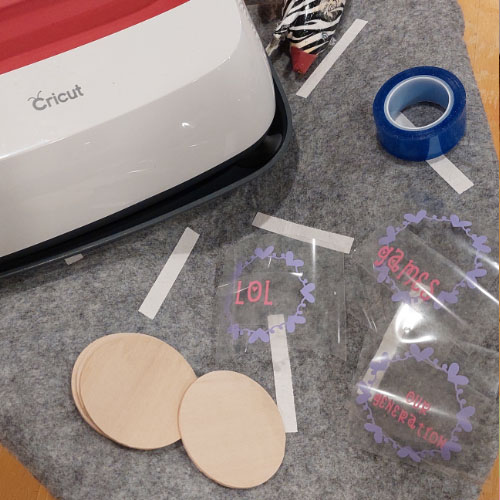
Step 4: Remove your material from the mats and weed
A good tip to remove your materials is to turn your mat upside down and roll the mat away from your material as this stops ripping or curling up your vinyl. Now using your weeding tool, weed your design.
Step 5: Apply the vinyl to the balsa
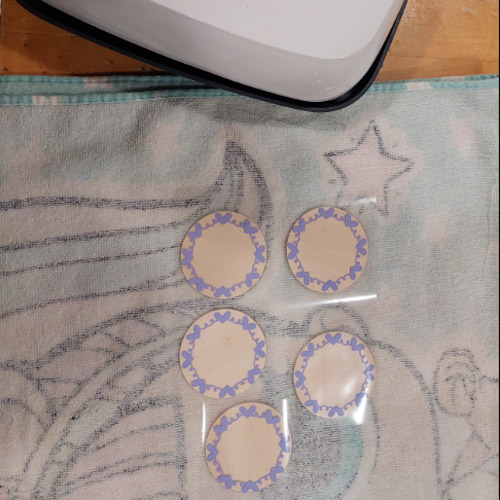
Using the Cricut EasyPress or Cricut EasyPress Mini (if you don’t have one you can try using an iron but I would recommend investing in an EasyPress), and a pressing mat (I currently just use a towel but a Cricut EasyPress Mat is on my wish list). When you are ready to select the heat for the transfer material and the base material you’re working with, click on Cricut Pressing Mat (it doesn’t matter if you don’t have one), then “Apply”. This will bring up detailed instructions for your material including the temperature you need and how long to press for. I have used the heat transfer tape to tape my design onto my wood to avoid it moving during the pressing process.
Tip: Make sure you read the instructions of your vinyl to know if it’s a hot or cool peel.

Step 6: Attach the labels
Attach your wooden labels to your felt basket with the hot glue gun, or you could even use command Velcro strips. Your project is now complete and ready to keep that playroom tidy.
Katie was provided with Cricut products from Harvey Norman for the purpose of this review. All views are those of the reviewer.
See more: