We’ve gathered a great selection of Christmas gifts that are perfect for kids who already love being outdoors, or kids who you’re encouraging to spend more time outside.

Save up to $1,000 on the world’s safest Trampoline!
This Christmas, be the reason they smile bigger!
Christmas feels a little extra special this year. Save up to $1,000 on Springfree Trampolines and create a backyard where summer memories come to life. It’s more than a gift – it’s joy, confidence, and moments they’ll never forget.

Funsicle Cool Ducky FunSpray Splash Mat
The Funsicle Cool Ducky FunSpray Splash Mat is the ideal way to refresh your kids on a hot summer’s day. With a bright duck design, this inflatable splash mat has its own built-in water sprayers for all-around sprinkler fun. Setup is simple – just connect it to any standard hose. The splash mat’s durable and puncture-resistant construction makes it suited for active play.

The gift that keeps on giving!
Looking for a gift that’s meaningful, memorable and full of wonder?
An Auckland Zoo membership is 364 days of unique experiences, wildlife and nature – the perfect solution for those in your life who are hard to shop for or if you’re looking for a last-minute gift! Available online for convenient delivery or pick up a voucher at the Zoo Shop. Price: Adult $84 and Child $49.

Banzai Disc Golf
The Banzai Disc Golf set is the perfect game for kids, families, and backyard champions! Easy to set up and fun for all ages, this colourful set lets players aim and toss discs into the target basket, combining skill, coordination, and active play. Great for the backyard, park, or beach, this disc golf set is your go-to for weekend fun, parties, or anytime you want to get moving and laughing together.

Swing Slide And Climb Sprout And Splash Station
Let your little ones dig into gardening and water play with the Sprout and Splash Station – the ultimate outdoor sensory table designed for curious minds. Whether they’re planting, pouring, scooping, or splashing, the Sprout and Splash Station inspires hands-on learning and creative outdoor play. Made from a durable and weather-friendly timber frame for year-round outdoor fun.

Disney Lilo & Stitch 3D Multi Sport Helmet
Bring your favourite alien to life with the Stitch 3D Multi-Sport Helmet! This helmet features adorable plush ears attached to the shell and a printed Stitch face on the front – so you can take Stitch wherever you go! The helmet conforms to the AS/NZS 2063:2008 standard for bicycle helmets.
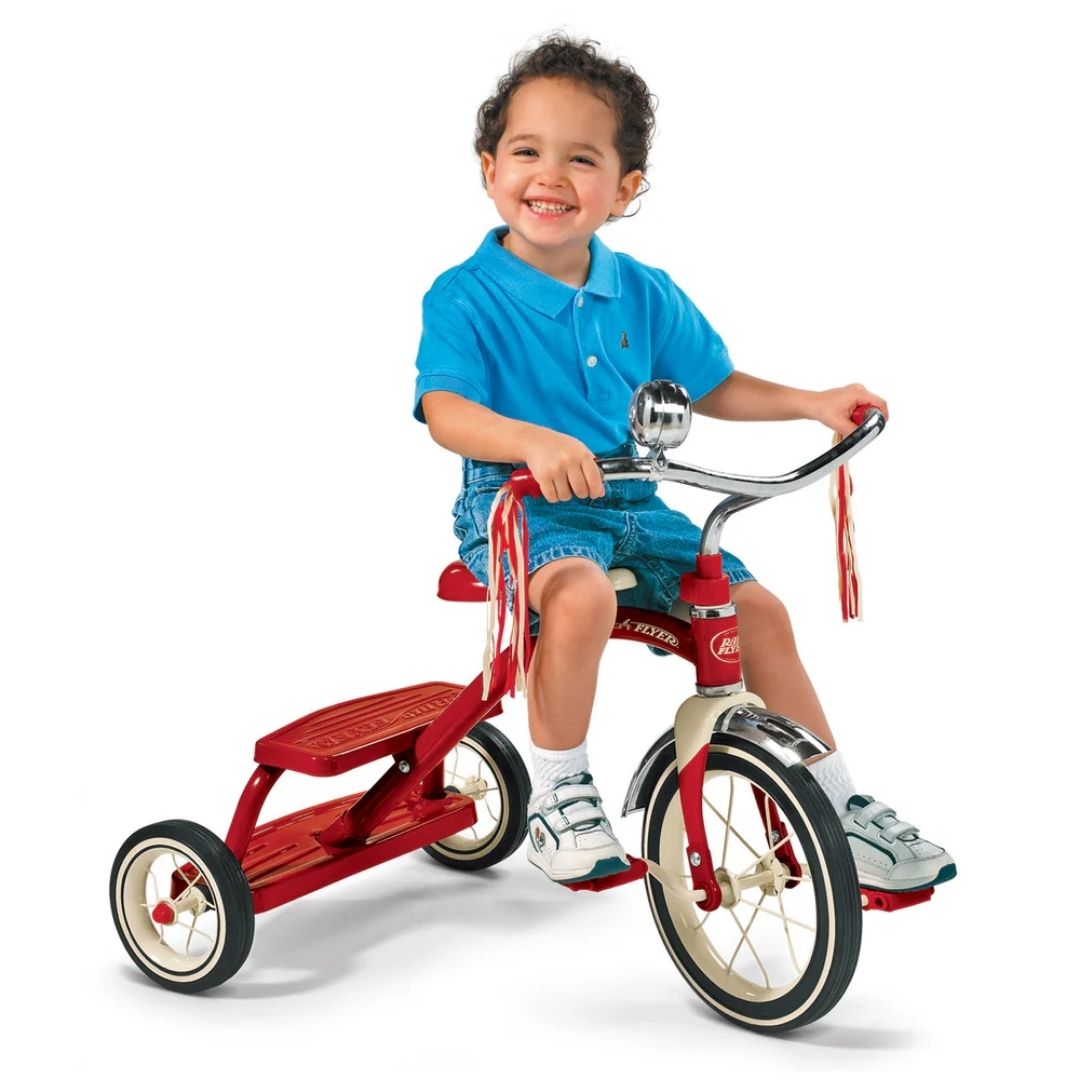
Radio Flyer Classic Dual Deck Tricycle Red
This classic tricycle features sturdy 12” spoked wheels and real rubber tires for enhanced durability. The steel frame and chrome accents add to the premium look and quality design. From the chrome handlebars and fender to the playful streamers and deluxe ringing bell, the classic style of this tricycle is a timeless icon of childhood.

Outdoor Explorer Activity Kit
Discover the wonders of nature with the Outdoor Explorer Kit! The easy-to-use kit includes everything needed for curious kids to explore and learn! This kit encourages kids to engage with nature, sparking their curiosity and respect for the natural environment around them while also enhancing their observational skills. Includes habitat container, net, magnifying glass, binoculars, tweezers.

Standard 3-In-1 Swing Set
This 3-in-1 Swing Set is a backyard dream! Featuring a nest swing, a standard swing, and a two-seat gliding swing, there are options to keep the kids entertained.

Razor Scooters Kick2Glow Scooter
The Razor Kick2Glow Scooter transforms every ride into an exciting adventure with its dynamic multi-colour LED lights that come to life with each kick-off, requiring no batteries. Built with a sturdy yet lightweight steel frame, this scooter offers exceptional durability and a smooth ride, making it an ideal companion for young riders seeking both fun and functionality..
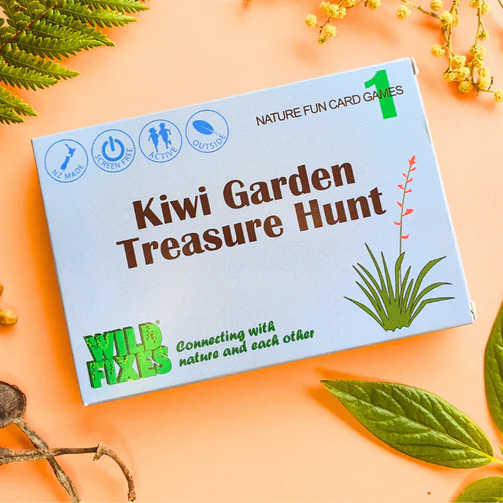
Kiwi Garden Treasure Hunt
Step outside in this fun treasure hunt! Explore NZ’s special and unique wildlife – right in your own back garden or local park! Pack includes 20 activity cards that guide you to connect with nature and each other. Get up close and personal with tiny creatures, take part in a human dawn chorus, search for a rainbow of lichens and much more!
All details are correct at the time of publishing.
See more:


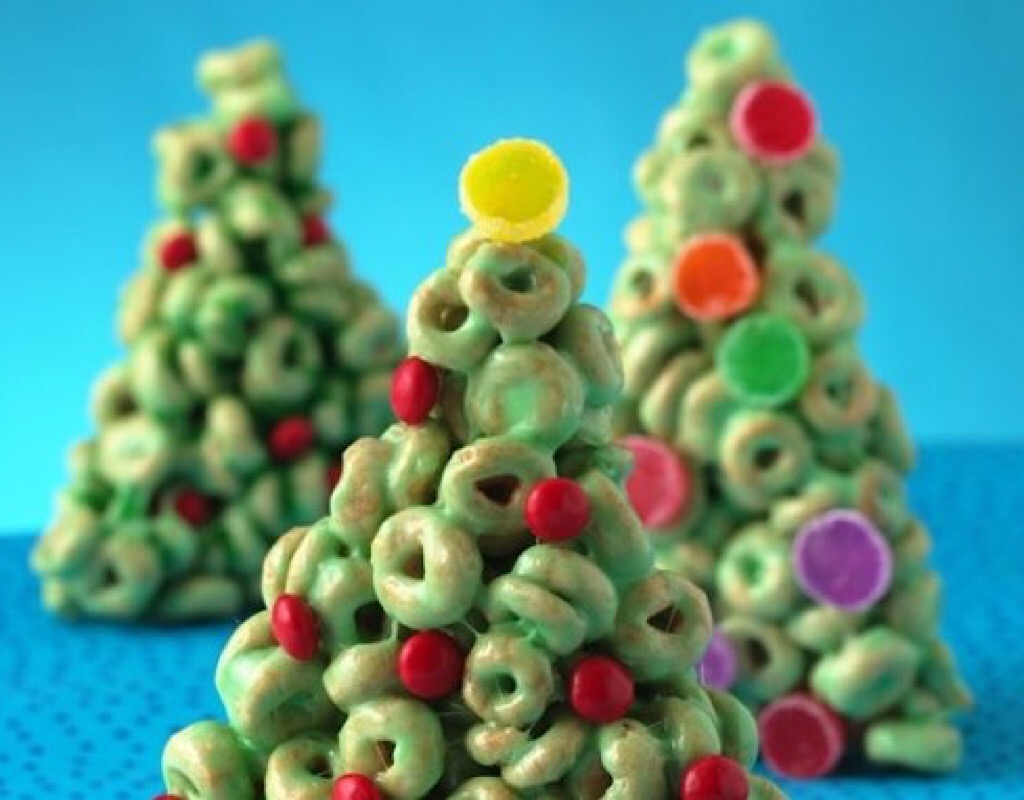


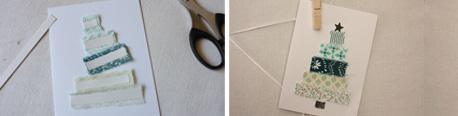


 As suspected, he was delighted to print and make marks with his finger. We used the time to talk about the colours he was choosing and about stamping ON the green triangle/tree.