Promotion for NeutraLice
There are many myths and theories about head lice and nits. Let’s look at what’s true, what’s an urban myth, and – more importantly – how you can really get rid of nits the easy way with NeutraLice Advance!
Head lice, nits or louse are small parasitic insects about 2 to 3mm long, that feed on human blood and live on scalps. Although they are wingless they are very efficient at spreading. You most likely will see their eggs, commonly referred to as nits, before you spot them.
Do nits like dirty hair or clean hair?
You may have heard that having nits is a sign of poor hygiene however this is simply not true. The life source for head lice is your scalp and they really don’t care if your hair is dirty, clean, straightened, dyed or bleached. Head lice are the true equal opportunists.
It’s all in a name
The actual head lice themselves can be called louse, lice, cooties, or kutu while their little white/grey eggs are called nits or in Māori, riha. Nits is a term that is commonly mistaken for headlice, but in fact is the name given to the eggs that the head lice lays.
How head lice spread
Head lice (Pediculosis capitis) are tiny, wingless insects so contrary to some beliefs, they cannot fly, nor can they jump or swim. They are about 2-3.5mm long, with six legs, each with a claw at the end that they use to move quickly across the scalp from hair to hair.
Kutu most often spread via head-to-head contact. To survive, kutu need to feed on blood three or four times a day so there is a low risk of catching lice from hair brushes, hats, car seat head rests and bedding.
Kids and kutu
Because head-to-head contact is the most effective way of lice moving between people, children are the most likely to get kutu but adults are not immune. Your school likely has a policy that asks for long hair to be tied back and there is good reason for this – it reduces the chance for the lice to spread amongst the children. During swimming season, packing a hair brush in the kids swimming bags is also a good tactic to ensure they don’t borrow one.
Head lice and disease
The good news is that kutu, despite their bad rap, don’t spread any disease. People with a well established infestation can develop a rash from where the lice feeds on their scalp blood and also from scratching but in general kutu are just plain annoying.
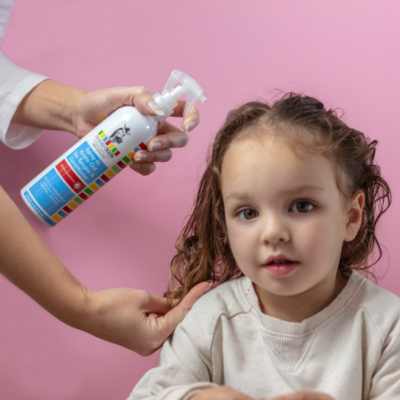
Treating head lice with NeutraLice Advance
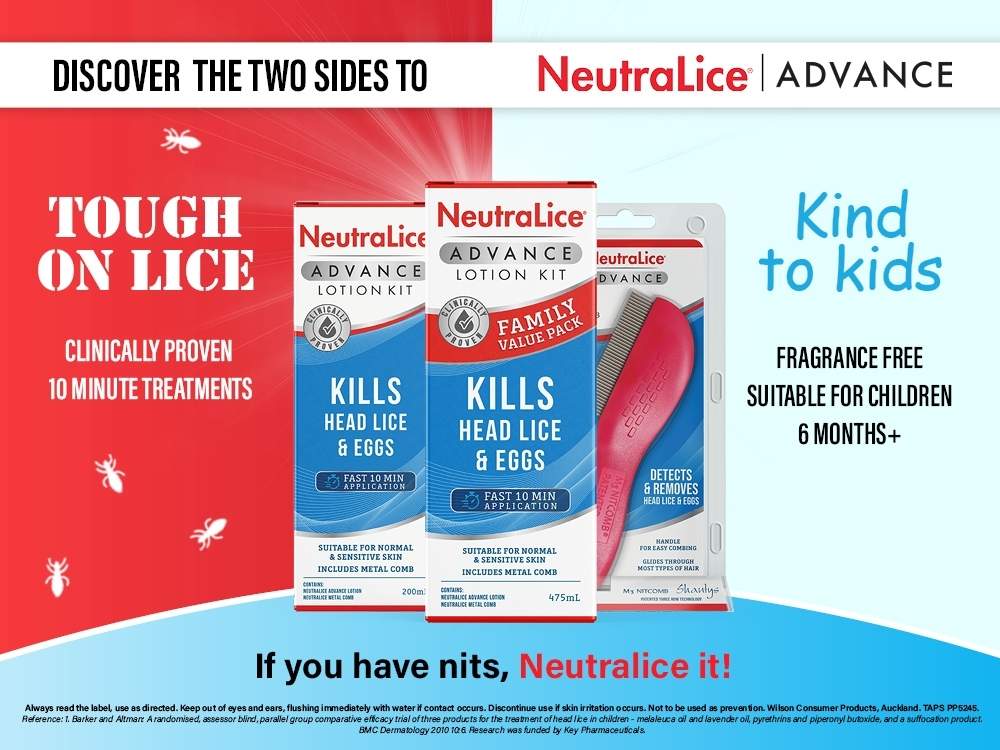
There are a range of homemade, over-the-counter, and natural products that claim to conquer head lice so it can get a little confusing about what really works. NeutraLice Advance is a fast-acting, easy-to-use solution that is clinically proven to eliminate head lice effectively.
But why is NeutraLice different? Evidence shows that head lice are developing resistance to some of the chemical products used, but NeutraLice Advance, unlike these products, is a new generation treatment which actually kills lice and eggs by suffocating them (not by poisoning). Resistance has not been reported to be a problem with suffocation products. What’s more, as long as Neutralice is used correctly, they offer a money-back guarantee through the NeutraLice website (provided the products are used as recommended).
NeutraLice Advance and the M3 Nit Comb
Nits attach to the hair with a glue-like substance and are difficult to remove. After treating with NeutraLice Advance, use the NeutraLice M3 Nit Comb with its patented 3-row technology to remove dead head lice and eggs.
- Backed by clinical research to ensure effectiveness against head lice
- Fast and easy to use
- Hassle-free 10-minute treatment
- Fragrance-free
- A complete solution: includes a metal lice comb to detect and remove eggs (nits)
- Money back guarantee
Life cycle of head lice
To effectively treat head lice NeutraLice recommends 3 treatments, 7 days between each treatment; so that head lice that hatch from any surviving eggs are killed before they can mature and lay more eggs.
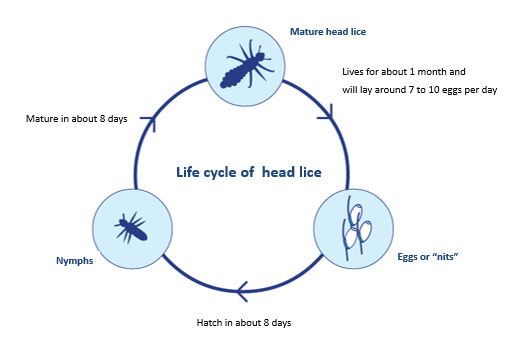
Diagram: Tebruegge M, et al. What’s bugging you? An update on the treatment of head lice infestation. Arch Dis Child Educ Pract Ed. 2011;96:2-8
New Family Value Pack
Those of us who have experienced head lice will know that they can spread through the family before you even realise they’re there! NeutraLice Advance now comes in a family value pack with an extra 475mL, providing greater convenience for larger households.
The NeutraLice Advance range is suitable for the whole family, including those with sensitive skin, and children from six months. NeutraLice is available from selected supermarkets (PAK’nSAVE, Woolworths, New World), The Warehouse, Chemist Warehouse, and other selected pharmacies.
Visit the NeutraLice website for more information, facts and FAQ: www.neutralice.co.nz.
Break the head lice cycle with NeutraLice Advance: Tough on Lice – Kind to Kids.
Written with information supplied by NeutraLice.
See more:


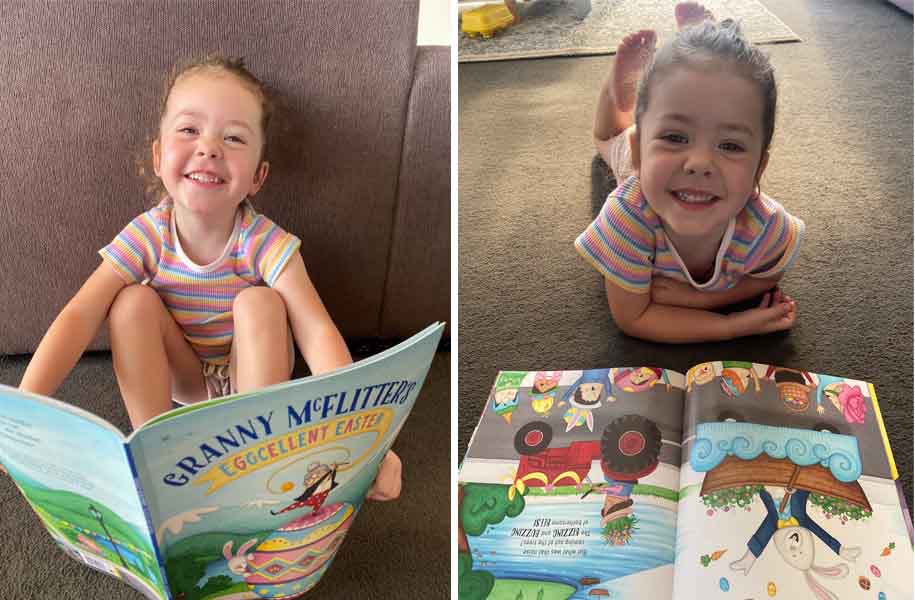
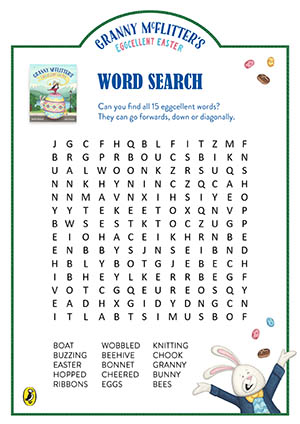
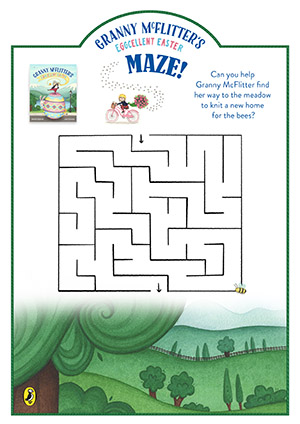
 The story is about the town’s annual Easter Parade and all the fun costumes that Granny McFlitter and the townspeople have knitted for the big event, BUT some bizzing and buzzing bothersome bees become attracted to the flowers on the Easter Bunny’s float and start causing chaos at the parade. And it’s Granny McFee to the rescue … she knits a floral bouquet to lure them away to a beehive that she knits for their new home. After returning to the parade, she saves the day by knitting new hats, costumes and bonnets for all the townspeople!