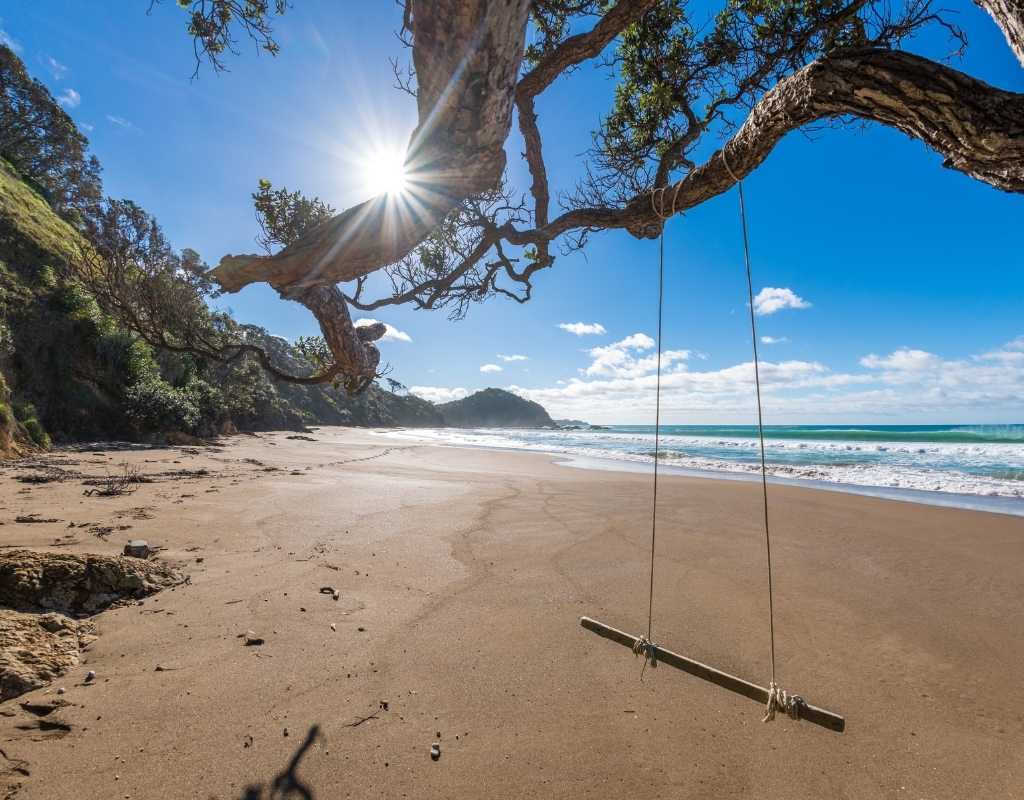
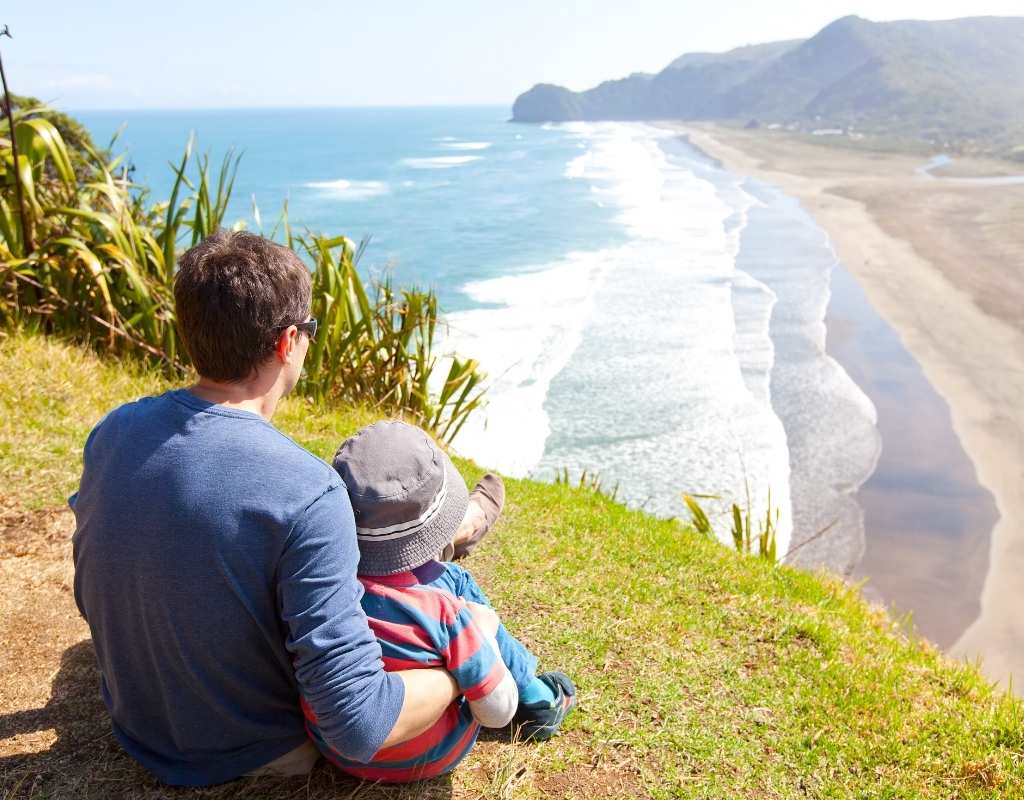
The subtropical region of Northland is a fantastic destination for a family getaway. The combination of history, cultural heritage, forests and stunning coastlines means that the region has a great range of holiday options.
To inspire your next holiday, we’ve curated five family escapes to showcase what Northland has to offer.
Our Northland Destination Guide has more information on things to see, places to stay, eat and play.
Please note: Venue information was correct at the time of publication. Please check with individual venues for the latest opening dates, times, prices, etc, before making plans. Regions and venues may have travel and access restrictions due to the Covid-19 Protection Framework.
1. From city to sea: Whangārei and the Tutukaka Coast
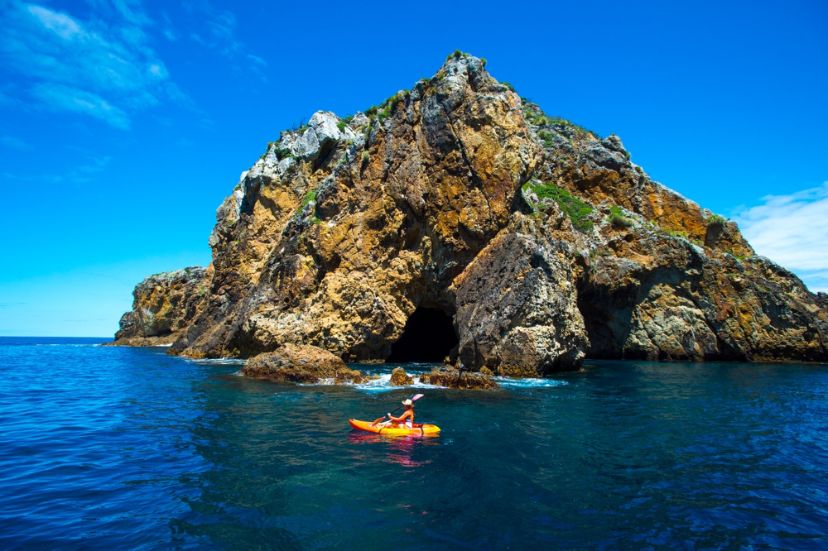
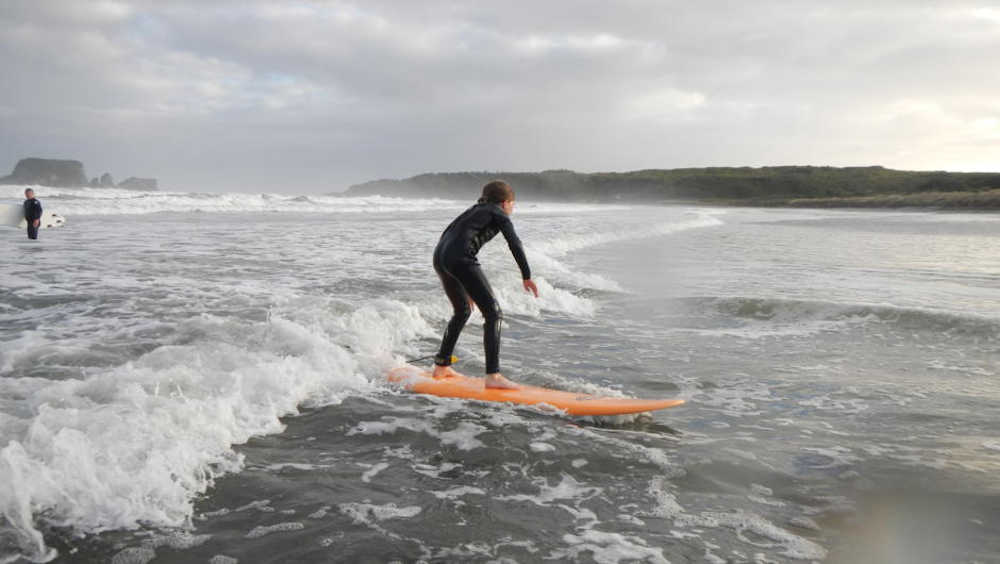
Whangārei is a great place to base the family for a holiday full of memories. The city’s Town Basin features a picturesque marina and nearby Whangārei Falls is a popular spot for a walk and picnic, while the summit of Mount Parihaka has a great lookout over the city. To the north east, the Tutukaka Coast is within easy reach and has the most beautiful white sandy beaches and world-class marine adventures at Poor Knights Islands.
Top picks:
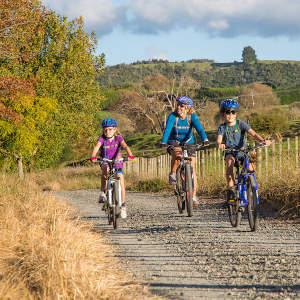
- Walk or cycle the Hātea Loop around the Whangārei Town Basin and follow the art and sculpture trail
- Explore the Whangārei Quarry Gardens, a subtropical oasis created in a former stone quarry that will delight the senses
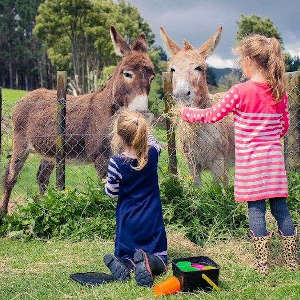
- Kiwi North is the place to see NZ’s national icon, plus there is an interesting museum and heritage buildings to explore
- Matapouri Bay on the Tutukaka Coast is just one of the beautiful beaches on this stunning coastline
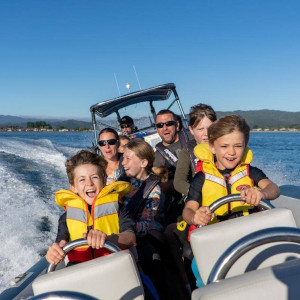
- A Perfect Day can take you on a cruise out to the Poor Knights Islands for snorkelling fun in this beautiful underwater world
2. Beautiful Bay of Islands
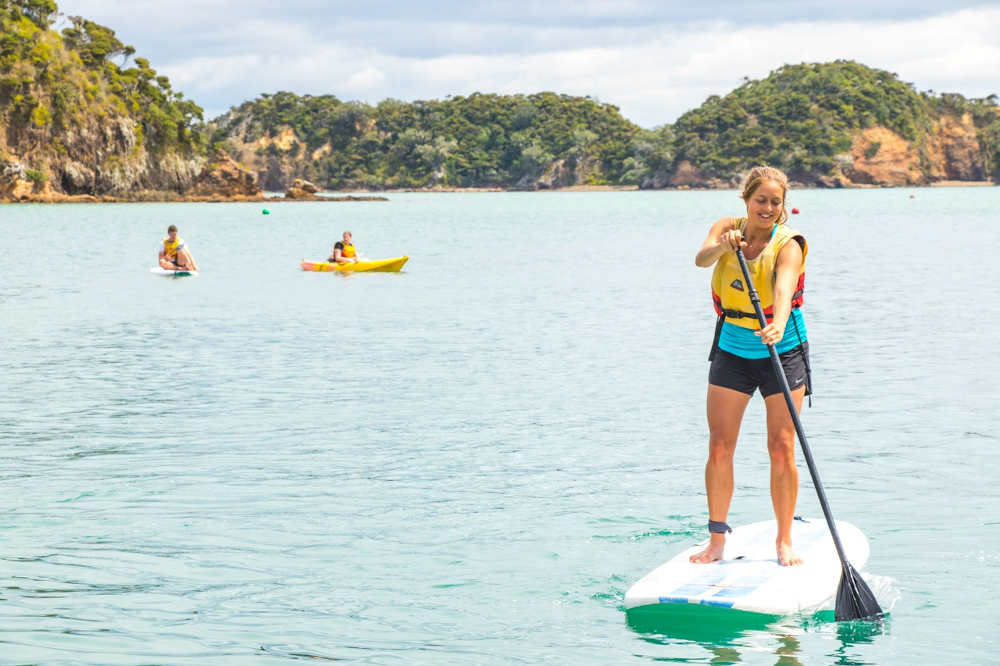
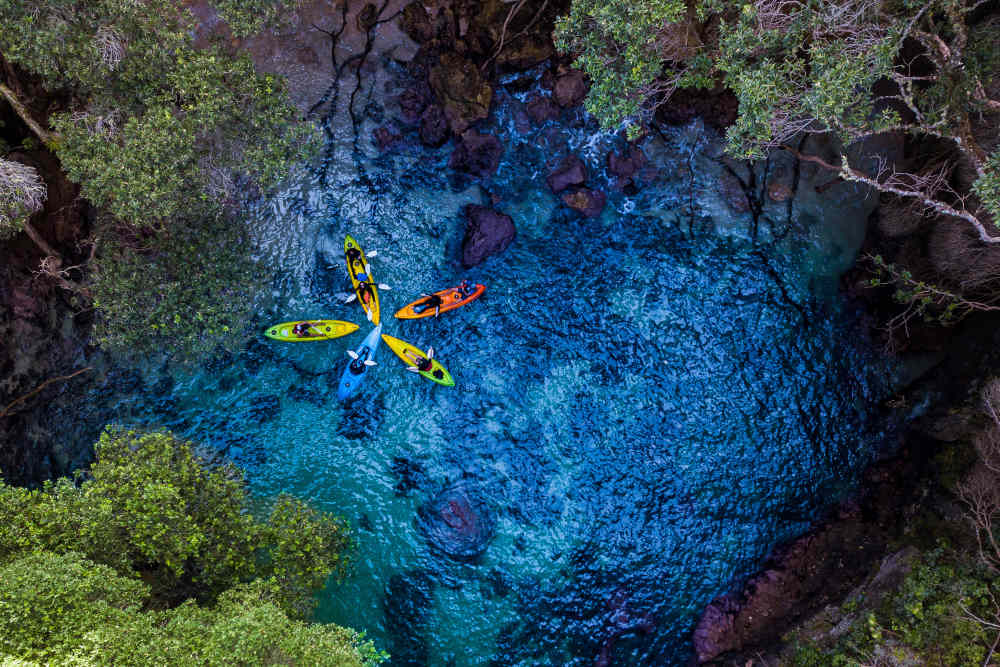
Get away to the Bay of Islands for a family holiday that everyone will love. Bustling Paihia is the base for many tour operators who will get you out on the water to discover marine life, islands, and beautiful scenery. From Paihia, catch a passenger ferry to Russell, the historic first capital of New Zealand. This charming town has a wonderful esplanade of shops, cafés, restaurants, galleries and colonial architecture. The region is also rich in history and includes New Zealand’s most important historic site at Waitangi.
Top picks:
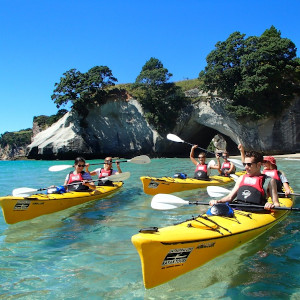
- Take the 30 minute ferry ride from Paihia to idyllic Urupukapuka Island and explore the walking tracks on this recreational reserve, hire a kayak or paddleboard to get out on the water, or simply chill out on the beach.
- Explore the Waitangi Treaty Grounds to see the contemporary museums, carving studio, Treaty House, carved meeting house, and traditional Māori waka.
- Haruru Falls is particularly spectacular after rainfall and is easily accessed via a short track – or hire a kayak for an even better view.
- Take a cruise to the famous Hole in the Rock and see dolphins and other marine life.
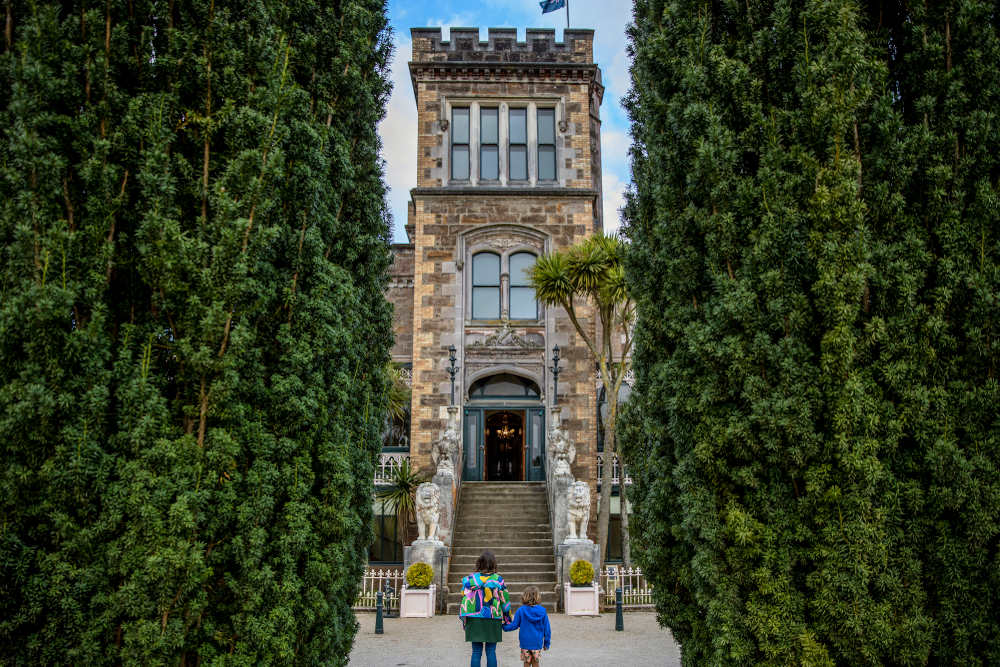
3. Historic Kerikeri
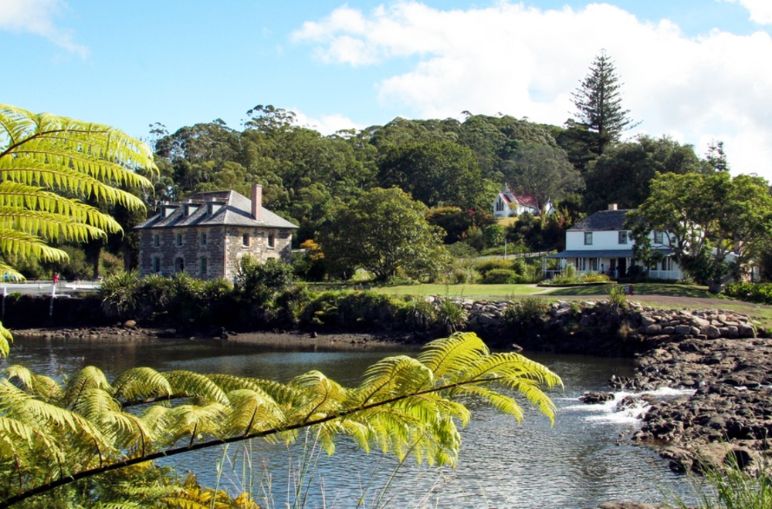
History, nature, and the good life combine in Kerikeri. Home to New Zealand’s oldest surviving stone building, there are beautiful gardens and a stunning waterfall, as well as art galleries, cafés and popular markets to explore. The Old Packhouse Market has fresh local produce and crafts on weekends as does the Sunday Farmers Market. Check what’s on at the Turner Centre, an impressive arts and and performance venue, and explore the Puketi Nature Trail (20 minutes from Kerikeri), a one hour loop track, perfect for a family walk, through a kauri forest.
Top picks:
- Rainbow Falls are just outside Kerikeri and the viewing platforms are easily reached via a short walk along the riverbank.
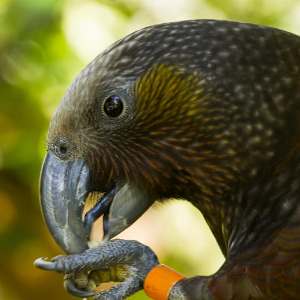
- Meet some feathered friends at The Parrot Place where you can see 300 colourful birds from around the world.
- Kerikeri’s Kororipo Heritage Park includes the historic Stone Store, Kemp House, Te Ahurea, and Kororipo Pa Site.
- Have some putting fun with the family at Kerikeri Mini Golf.
4. Top of the North
The “Top of the North” stretches up into the Pacific Ocean towards the iconic Cape Reinga and the meeting point with the Tasman Sea. The warm weather, sheer beauty of the region and family fun activities will have you coming back for more. Kaitaia is the largest town in the area and makes a great base for your Far North adventure.
The nearby Karikari Peninsula boasts beaches to rival the Caribbean and on the western side, Ahipara has dramatic sunsets, unspoilt beaches, and a rich history. On your travels be sure to stop in at the Te Kao Local Store for a legendary six scoop ice cream!
Top picks:
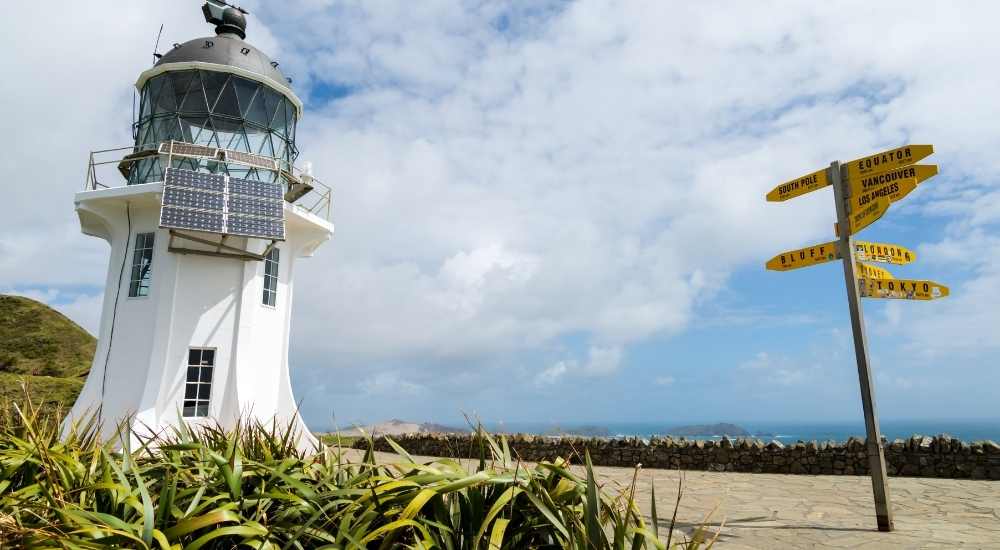
- Make your way to the northernmost point of New Zealand and get your photo taken under the international signpost in front of the lighthouse at Cape Reinga.
- Te Ahu in Kaitaia is a community hub that includes a museum to share the stories of this region and its people.
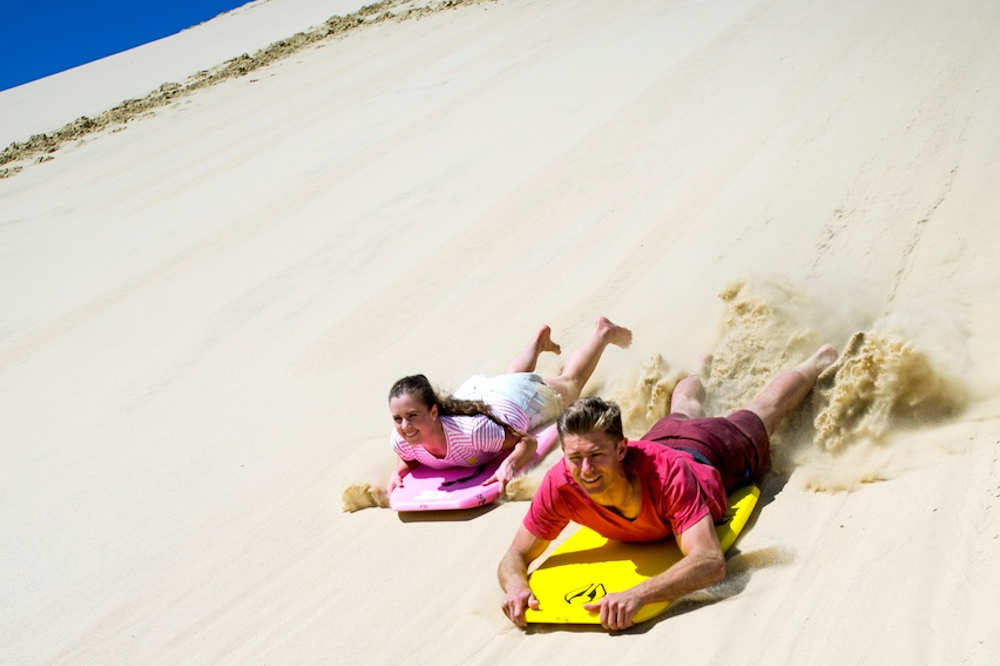
- Grab a boogie board and get set for massive fun as you slide down the huge Te Paki Sand Dunes for a thrilling detour on your way back from Cape Reinga.
- Ninety Mile Beach is an incredibly long strip of sandy beach that stretches up the western coast (though it’s only 55 miles long in reality). You can drive on the beach with a four-wheel drive vehicle but we recommend jumping on a tour so you can relax and enjoy the commentary and stories from the local guides.
5. The Kauri Coast & Hokianga
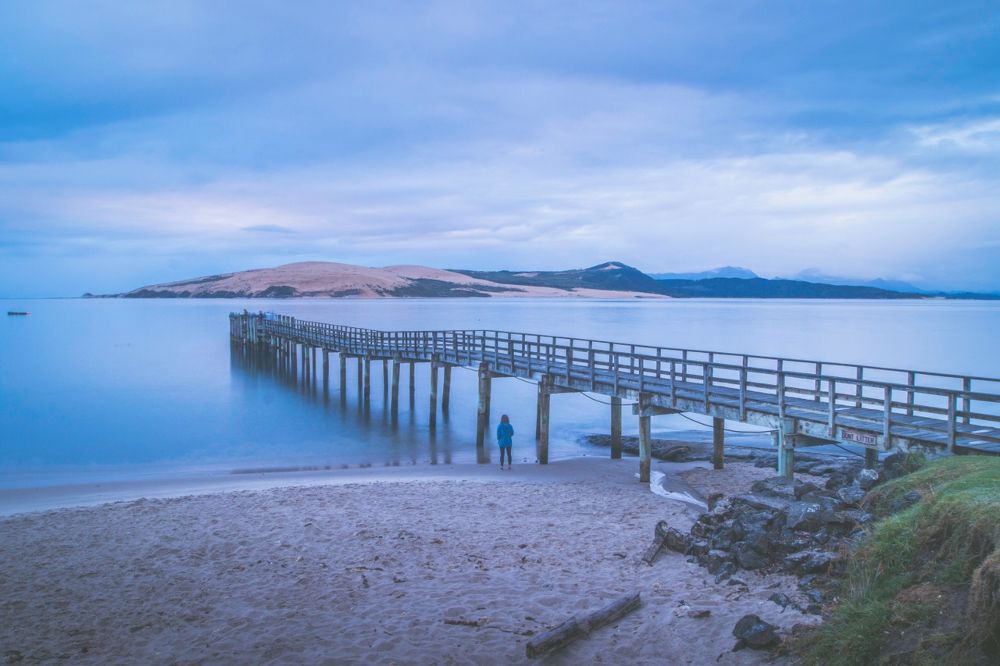
Northland’s west coast is where the first Māori set foot in New Zealand and is ideal for a family holiday with lots of activities on offer. Opononi, by Hokianga Harbour, is dominated by the sight of huge sand dunes while further south ancient kauri forests are home to some of New Zealand’s best known native giants. Check out the pre-historic rock formations, beautiful freshwater lakes, and interesting small settlements.
Top picks:
- Take a beach walk two hours each side of low tide to see the immense round Koutu boulders.
- Jump aboard Hokianga Express Charters and enjoy sandboarding on the giant sand dunes (free board use included).
- Take a stroll through the Waipoua Forest to see NZ’s largest living kauri tree, Tāne Mahuta.
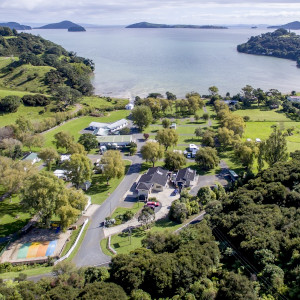
- The crystal-clear freshwater Kai Iwi Lakes are ideal for swimming, kayaking, fishing, and watersports. Stay and play at Taharoa Domain campground.
- The Kauri Museum in Matakohe tells the story of the area’s pioneering past through hands-on displays and has more than a few surprises.
Image credits: Kerikeri Mission Station, Bay of Islands SUP, & Omapere Wharf – Northland Inc; Main image – Canva; All other images – David Kirkland
Explore further
- Northland destination guide
- Become a Kiwi Guardian and earn cool rewards
- How to find a safe family beach
- 10 family-friendly nature adventures in Aotearoa
Written by Kidspot New Zealand in partnership with Northland Inc
 Written by Julie Scanlon

 Written by Julie Scanlon


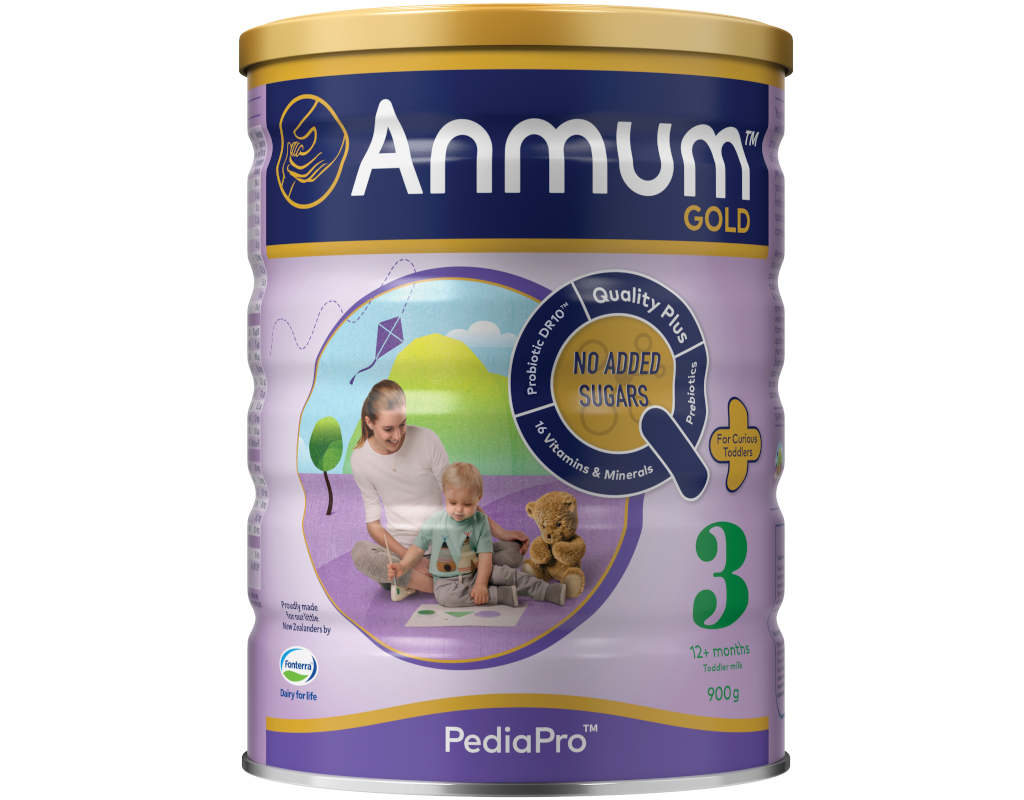
 4.56 out of 5 – Kidspot mums would purchase Anmum PediaPro 3 Toddler Milk again and recommend it to their friends and family.


