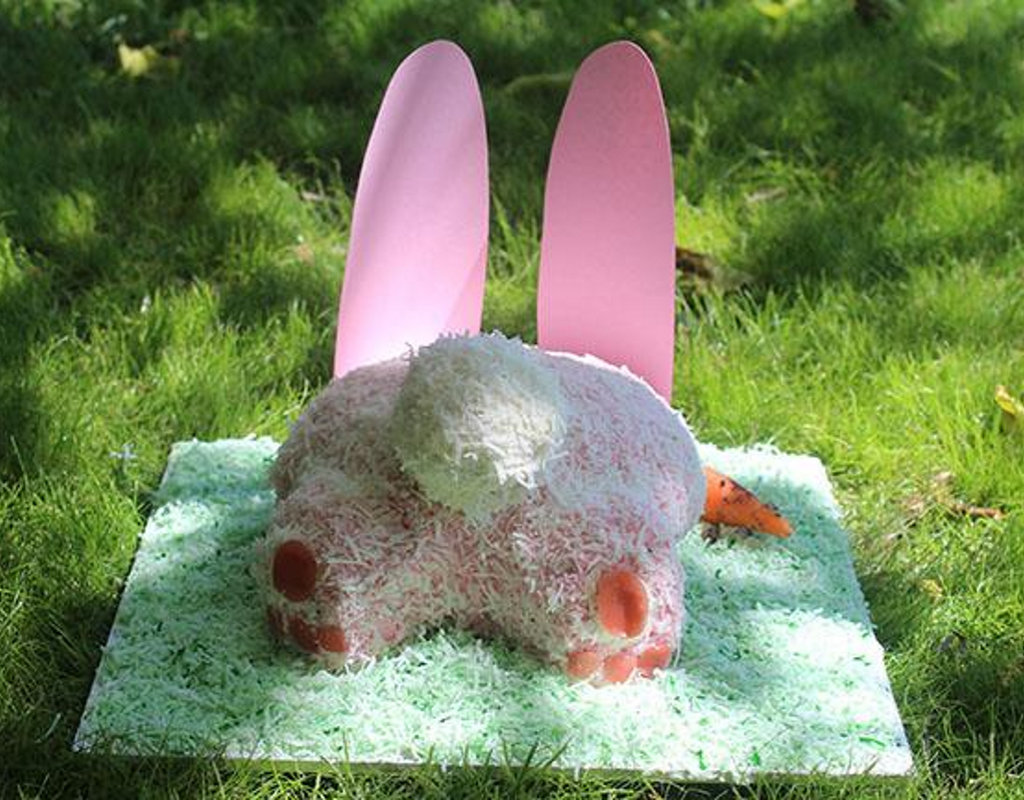
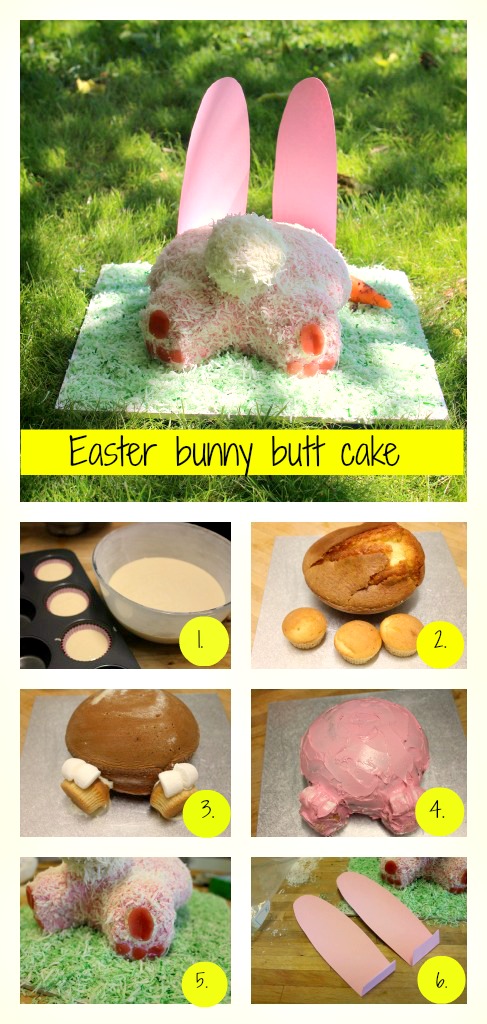
Easter bunny butt cake
Serves:
Ingredients
- 1 Betty Crocker vanilla cake mix
- 1 cup (250ml) water
- 1/3 cup (80ml) vegetable oil
- 3 eggs (59g)
- 1 tin (453g) Betty Crocker creamy deluxe vanilla frosting
- pink food colouring
- 1 large marshmallow
- 250g shredded coconut
- 1 pkt (93g) fruit Roll-ups, strawberry flavour
- green food colouring
- 1 baby carrot
- 1 Oreo biscuit, crushed
You will also need:
- pink cardboard
- 1 skewer or large toothpick
Method
Step 1. Preheat oven to 200°C conventional (180°C fan-forced). Grease and flour a 20cm round ovenproof bowl (for the bunny butt) and line 3 cups of a muffin tin with cupcake liners (these will be your bunny tail and paws).
In a mixing bowl, using a mixer, combine the cake mix, water, oil and eggs and beat for 2-3 minutes until you have a smooth consistency.
Fill 3 cupcake cups 2/3 full. Pour remaining mixture into the glass bowl.
Step 2. Place both in the oven, removing the cupcakes from the oven after the first 20 minutes and then cook the bowl for a further 40 minutes (a total of 60 minutes for the bowl). Test the cake with a skewer and if it comes out clean, the cake is ready.
Cool the cakes for 5 minutes and remove from the bowl to cool further.
Step 3. Remove 2 tablespoons of frosting from the container and set aside to frost the bunny tail.
In a bowl, mix the remaining frosting with pink food colouring until thoroughly combined.
Place the bunny butt on a serving tray. Smooth a spoon of frosting under it so it sticks to the tray. Place the 2 cupcake paws into place and cut the marshmallow in half and place them on top of the paws to make heels.
Use a knife to smooth a thin coat of frosting over the whole cake. Place in the freezer for 30 minutes. This is called a “crumb coat”.
Step 4. Give the whole cake a second coat of frosting. Sprinkle liberally with 2 cups of coconut. Frost the bunny tail with the reserved white icing and roll in coconut. Use a toothpick or skewer to secure into place on the bunny butt.
Step 5. Using a roll-up, cut 2 large oval paw pads and 6 smaller round ones with scissors. Use leftover frosting to adhere to the bunny paws.
Brush away any excess coconut around the bunny. Place the remaining cup of coconut in a resealable bag with green food colouring and massage until coloured evenly. Sprinkle green coconut around the bunny to make “grass”.
Step 6. Using the cardboard and scissors, cut 2 long bunny ears and fold over a flap on the bottom of each. Slide these under the head of the bunny and adjust to stand up. Place the carrot beside the ears and sprinkle with a little crushed Oreo.
Find related Easter recipes
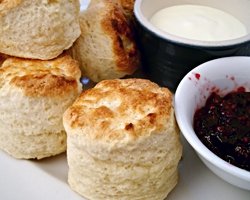
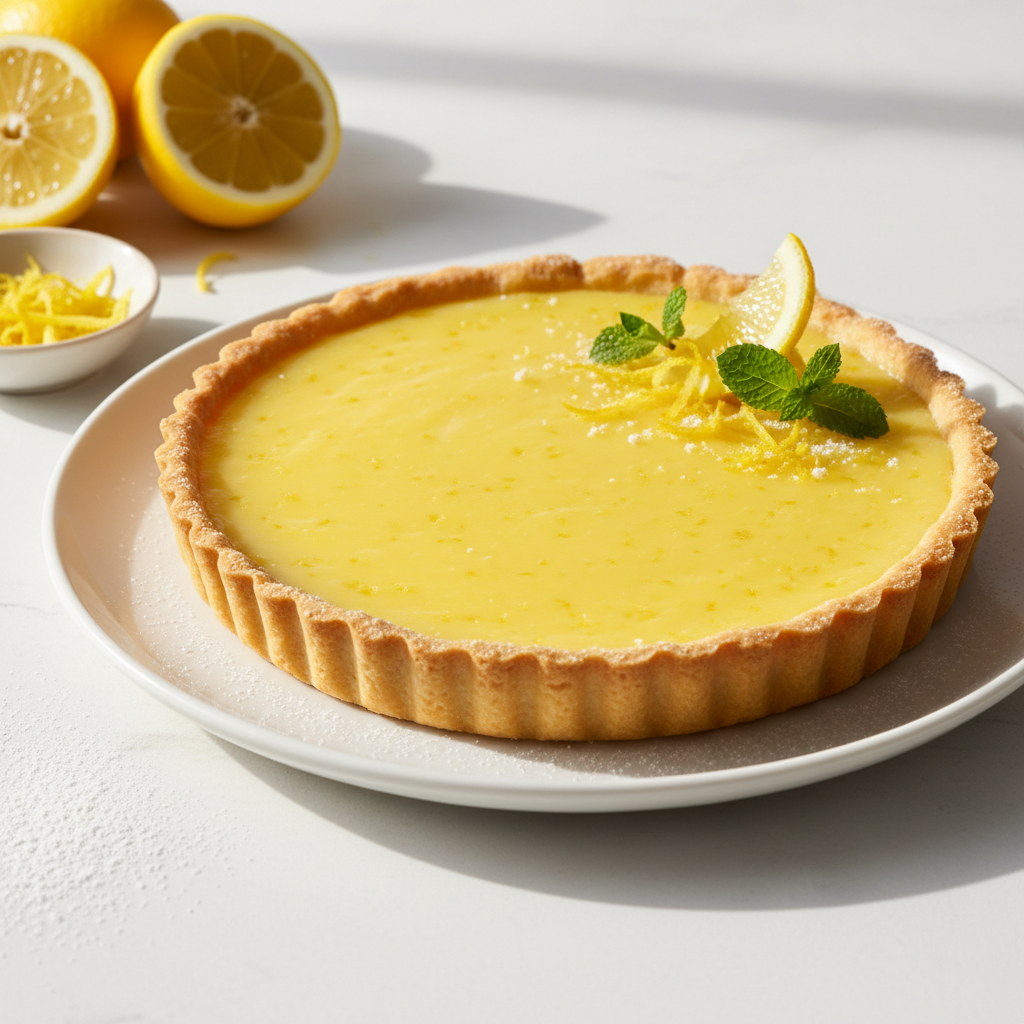
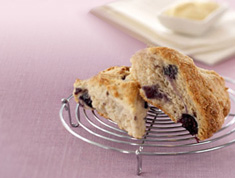
Serving Suggestions
Note
- If you are in a hurry, you can skip the crumb coat but your finished product will look slightly messy.
- You may have to trim the top of your cake to make the “butt” sit flat.
- I have seen this recipe use a “dirt” base for the bunny instead of “grass”. For this you can use crushed Oreo’s instead of green coconut.
- This recipe was created by Jennifer Cheung for Kidspot, New Zealand’s best recipe finder.