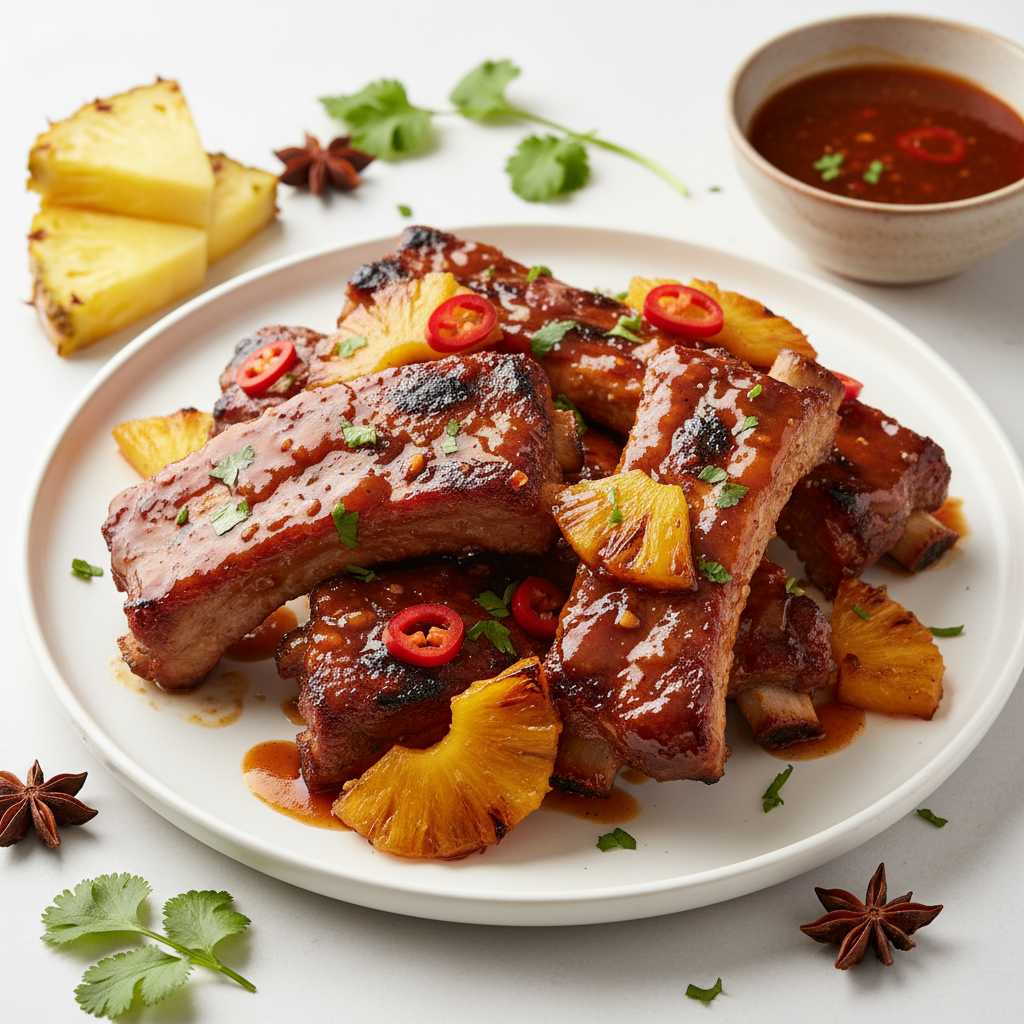
Sticky pineapple pork ribs
Ingredients
- 3 racks of pork spare ribs
Marinade
- 3 cups pineapple juice
- ½ cup brown sugar
- ¼ cup honey, warmed
- 2 tablespoons soy sauce
- 2 cloves garlic, chopped
- 1/2 teaspoon cracked pepper
- ¾ cup good-quality barbecue sauce, plus more for serving
Method
Lay each rack on a chopping board upside down. Using a very sharp paring knife, carefully remove the membrane that runs underneath. Using a tea towel, hold one corner of the ribs firmly, and pull the membrane sheet off in one long strip (hopefully!).
Place the rib racks in a large non-metallic dish – you may need to split them into two dishes.
Whisk all marinade ingredients together and when the marinade is completely cool, pour over the pork ribs.
Cover the ribs tightly in cling film and let marinate for a minimum of 4 hours or overnight.
If using a charcoal barbecue, organize it for indirect grilling – two small piles of hot charcoal on either side of the barbecue with a drip pan made from aluminum foil in the centre.
If you are using a gas grill, set the grill on medium heat.
Place the ribs in the middle of the barbecue, away from direct heat.
Close the lid of the barbecue and leave the vents open for 1 ½ hours. Turn the ribs after 40 minutes. Baste them every 20 minutes with the remaining marinade.
The ribs are ready when the meat has shrunk back away from the end of the bones. Slice between the bones and serve slathered in extra barbecue sauce.
Notes:
- This is so good with a Texas-style potato salad. Boil a kilo of brushed potatoes, chop up a handful of dill pickles, and mix in mayonnaise and yellow mustard to taste. Add salt and pepper as well to taste.
- We like to have this with slices of bread to mop up the barbecue sauce with as well.
- If you find the ribs are cooking too fast in your gas barbecue, remove them once they are nice and browned on all sides; wrap them tightly in foil and place in a roasting pan. Continue cooking them in the oven at 180°C instead.
- This recipe was created by Kristine Duran-Thiessen for Kidspot, New Zealand’s best recipe finder.
Serving Suggestions
Note